What is Augmented Reality?
Augmented Reality is a type of technology that allows virtual elements to be overlayed over real world objects or locations. Now unlike Virtual Reality, Augmented Reality is actually cheaper to produce and is often more accessible for a wider range of audiences since it does not require specialised hardware, it also allows interaction between virtual objects and the real world, as in the case of the popular Pokémon Go or even visualise a project or a plan in a specific location. However, like with VR, Augmented Reality also suffers from some drawbacks, those include limited field of vision (due to the devices that it is primarily used on such as phones), health and safety concerns (such as being distracted from real world events while using an AR application) and a more limited intractability compared to Virtual Reality mainly due to less freedom when it comes to overall movement and manipulation of objects (Yissel Álvarez, 2024).
Zapworks Lab Session
In the third weeks lab session, we were learning about how to create an AR experience using Unity and an AR design website called Zapworks. This marker based AR (this is a type of AR that requires patterns/QR codes in order to show images/models as opposed to other AR software) software is a browser based development tool that allows anyone to create AR (augmented reality) and WebXR (mixed reality) content with no coding experience required in order to use it (Zappar, 2024).
Creating a stationary Zapworks Project
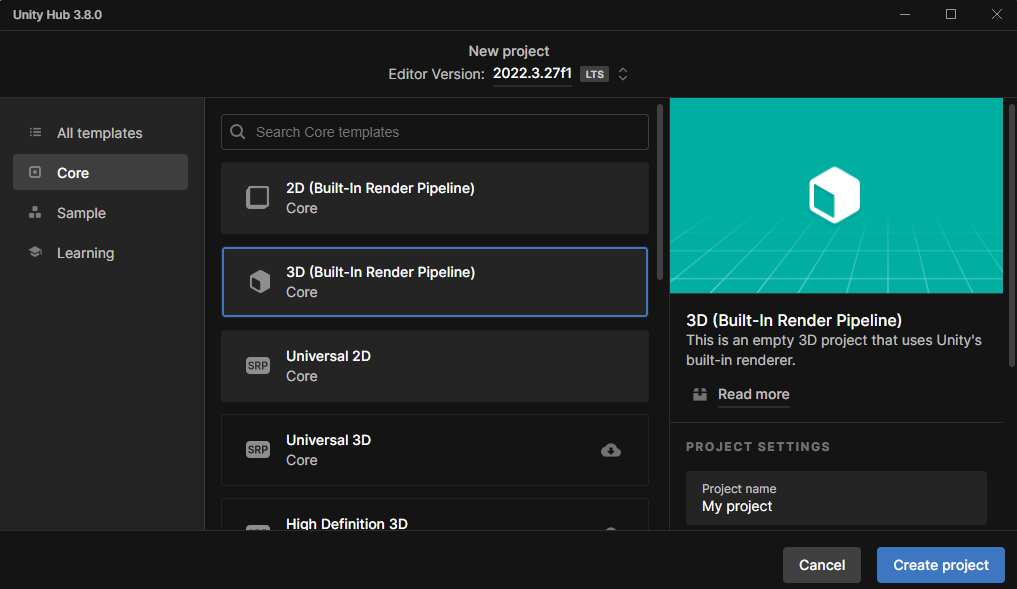
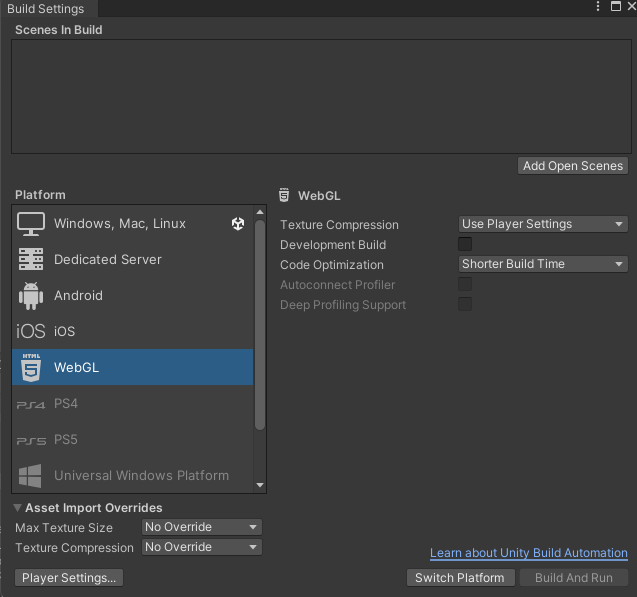
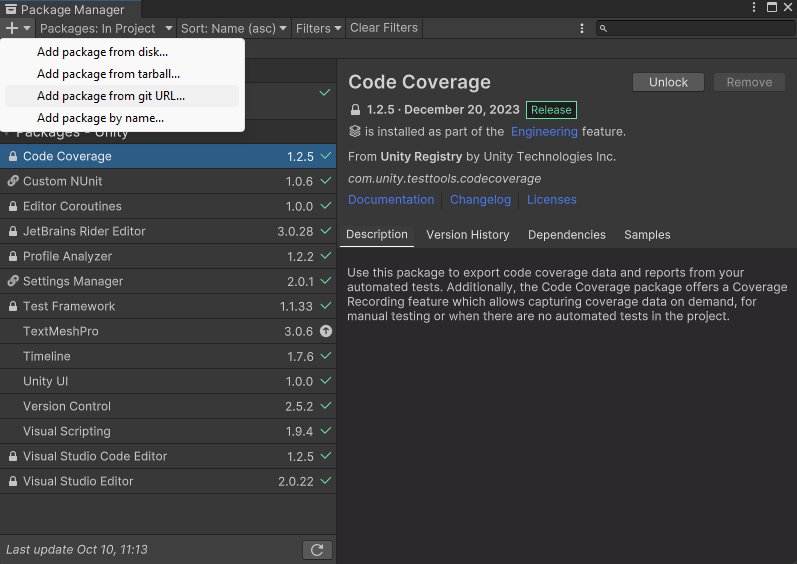
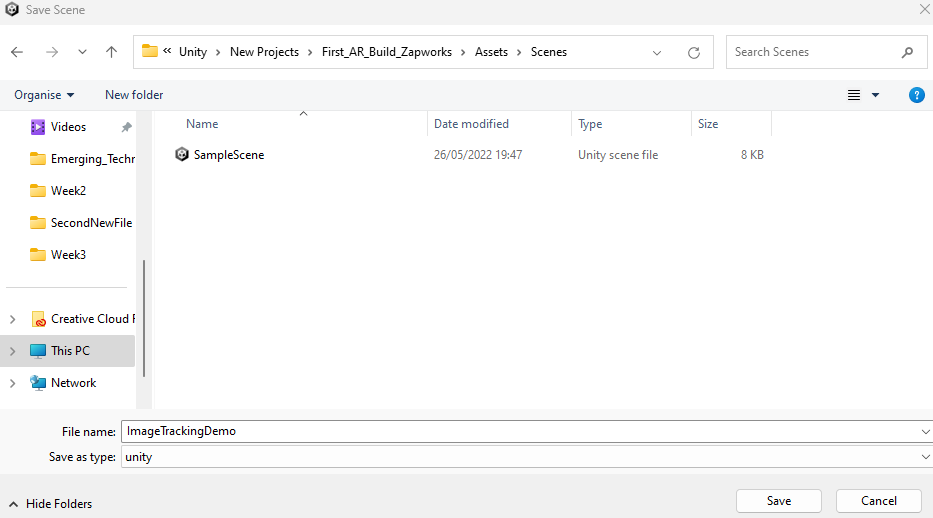
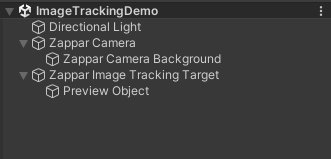
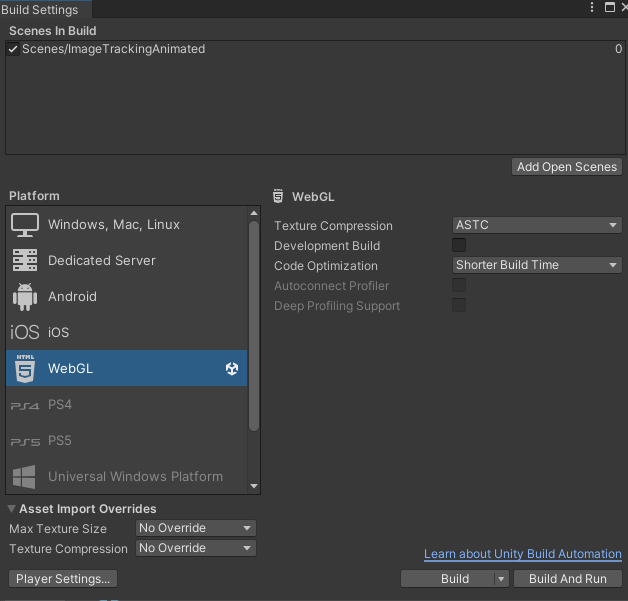
So to start off with I created a new unity project and in the build settings I stitched the platform form the default windows platform to WebGL and pressed switch platform. After waiting for a bit I went to plugin manager and added a GitHub Zapworks plugin link so that I could have access to a new Zapworks tab, and right after I decided to save my scene as ImageTrackingDemo as seen below (this is because I will make another scene where I will place the animated version of this AR project).
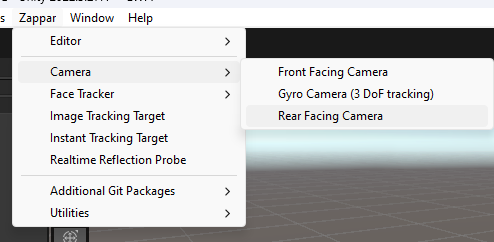
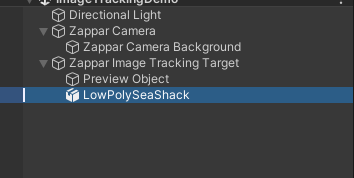
Following that, I went to the new Zapworks window and selected a Rear Facing camera and Image Tracking Target to put into my scene. Then I went to the inspector of the Rear Facing Camera and dragged the image tracking target to the bottom section of that inspector to make sure that the AR tech is linked up with the camera itself.
The next thing that I had to do is set up the image trainer in the zapper menu. This function allows me to add a source image file that I want the 3D object/model to appear from. It basically works by showing the 3D model whenever a device using the AR software shows the same image from its camera, so this is pretty important for the overall functionality of this build. I also had to ensure that the image tracking target was set to the image that I just trained using the image trainer so that it would actually work when I test it later.
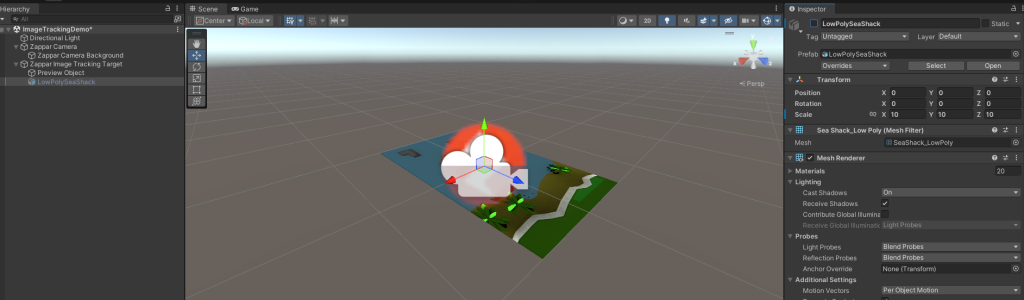
After finishing that, I had to import and add the low poly shack asset package into my scene. So I went to the assets tab and picked import package and selected the low poly shack asset package as seen below. Then I went to the assets folder and dragged the low poly sea shack asset into the scene and made it into a child of the image tracking target, so that I could set an on seen and on not seen event in the image tracking target’s inspector tab as seen below. The way in which this works is that whenever the camera of a device hovers over the image that’s being tracked, it will show the 3D model, but if it doesn’t, it won’t show the 3D model at all. This works because of the Booleans that are set on the on seen and on not seen events.
After that, I hid the low poly sea shack asset in the inspector tab so that it would not show up on default when booting up the AR software.
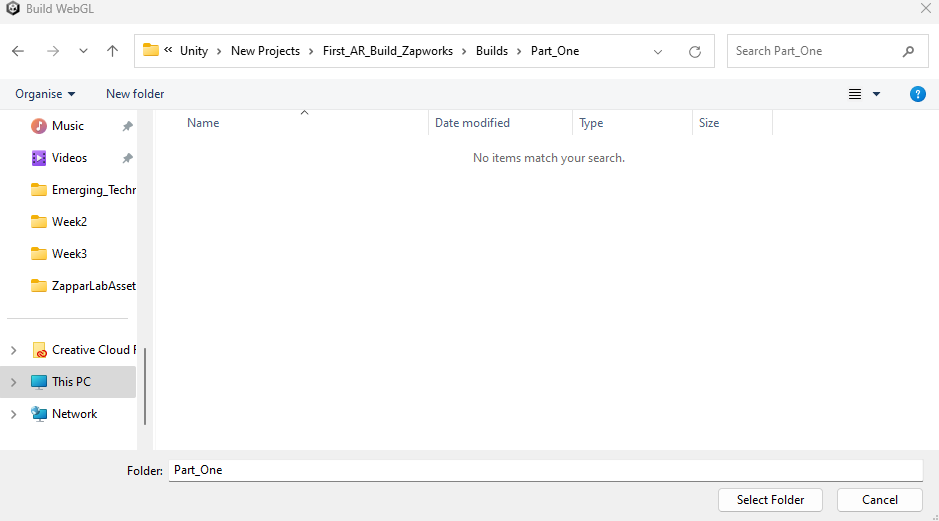
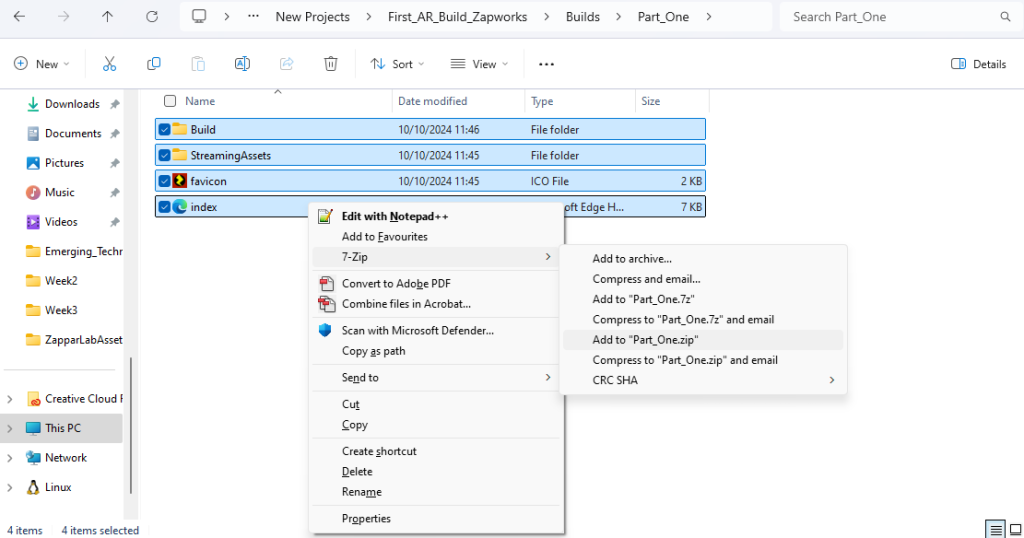
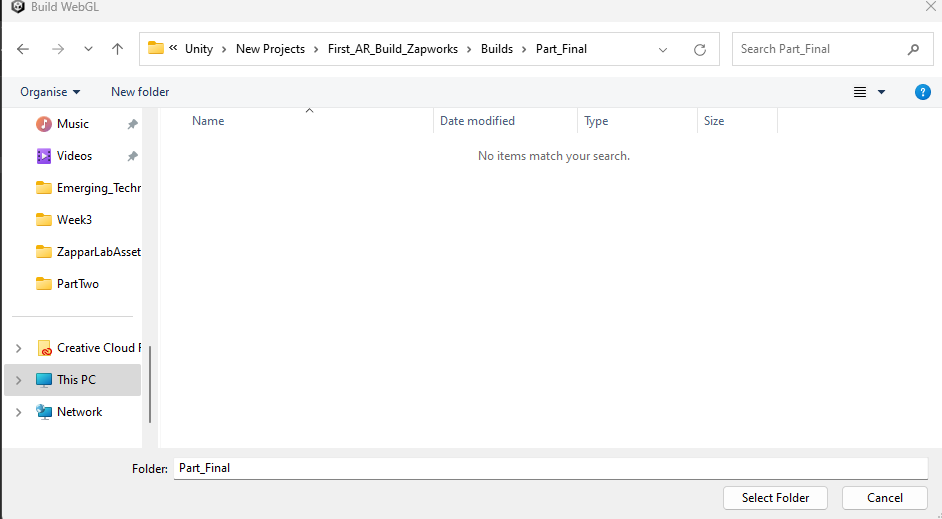
Then it was time to build the the project, so I created a builds folder in the project folder and a part one folder in that builds folder (that’s where I would save my build to). After I finished building the project, I zipped it up by selecting all the files located in the folder so that I would be able to upload it to Zapworks.
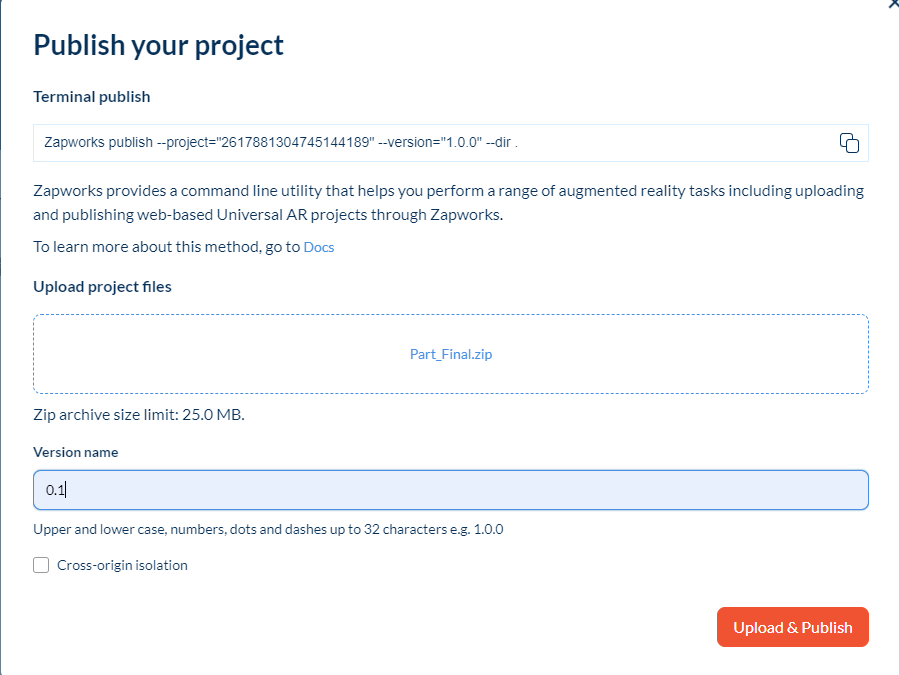
In the second part of the workshop I was required to make a Zapworks project and upload the build that I have made in Unity to that project. The setup was fairly simple, I just had to name the project, choose the type of project (I chose Universal since its powered by an SDK, which is a category that Unity falls under), select the SDK (which for me would be Unity), add a cover image and upload the file that I just built with a version number.
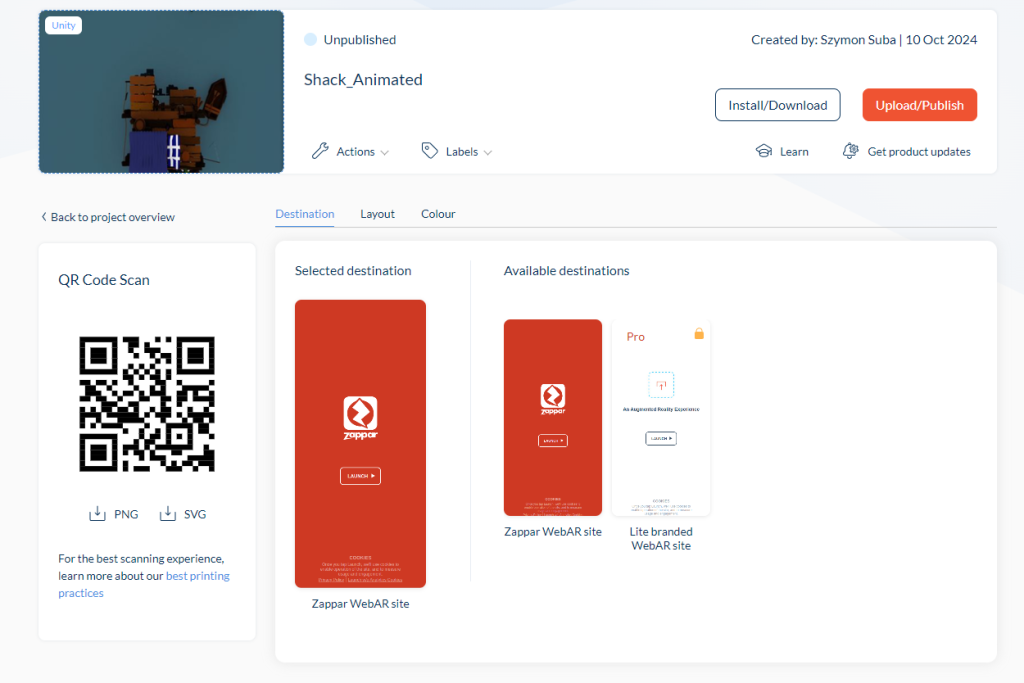
Creating an animated Zapworks Project
The third part of the workshop was fairly similar to the first two stages, with the only differences being that I had to upload the animated shack package instead of the normal shack package, creating a new scene and build for the project as well as creating a brand new Zapworks project.I did not have to use the image trainer due to the fact that I already trained the image earlier (since I will be using the same image for this project), but I had to remove an extra camera that was attached to the animated version of the model as that would mess up the whole system as a result.
Creating a Custom Zapworks Project
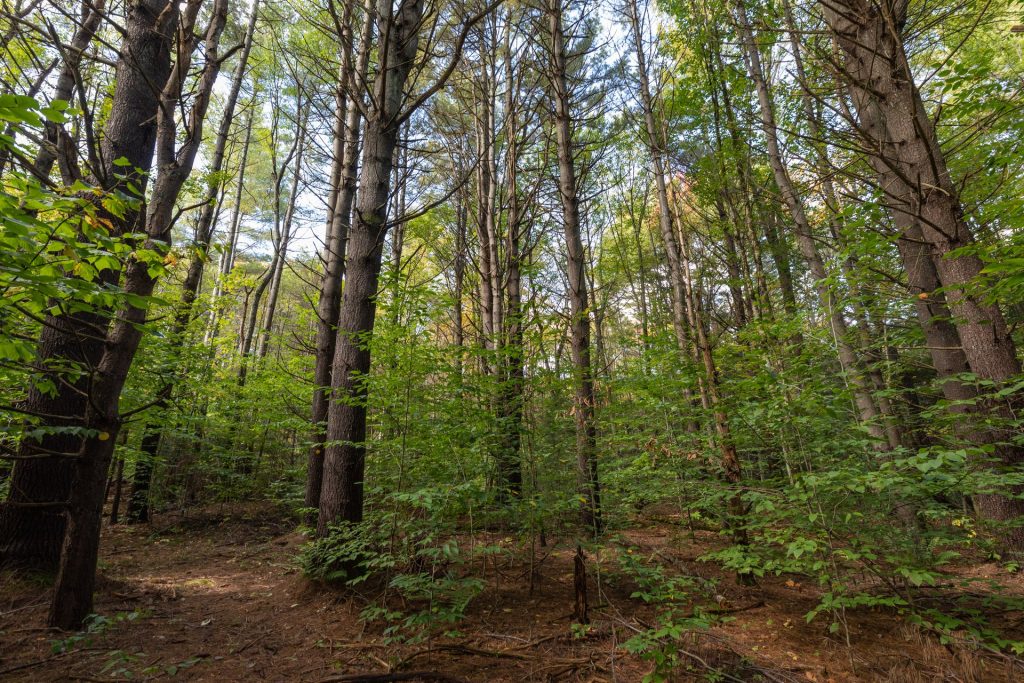
For the final part of the workshop, I decided to create my own AR project with the Wendigo 3D model that I have made in the past, so I took an image from the internet (that being of a forest) and used that as my image tracking target. Since I was making a new project, I had to redo the image trainer using the image that I just got from the internet, and following that I added my Wendigo 3D model into the project with the appropriate textures. After that all I had to do was to redo all of the zapper things again (so the on seen event and not seen event functions, as well as targets for the zapper camera and image tracking target) and following that I made the wendigo model a child of the image tracking target object. Unfortunately, due to the file size limit in Zapworks being 25 mb, it meant that I could not add any extra maps (such as normal and roughness maps) on my models textures so it turned out less detailed than I wanted it to be.
Final thoughts and conclusion
Overall, I think Zapworks is a great way to start off with AR projects, especially in terms of image generated AR but the file size limit prevents me from exploring it further. However, if I were to end up creating an AR project I would most likely create an interactive experience that is educational or make a horror experience out of it.