After I finished setting up the character it was time for me to start animating. Before I started to animated I created 3 separate projects for each animation sequence (this is to make sure that I do not have to delete all progress on one sequence to start another). However, I had to create a separate folder for each project with a source images folder (that contains the textures of the asset), with the source images textures needing to be applied to the asset.
Animation
I started with the roar animation, which as mentioned previously had a video reference. So, I imported an mov version of the reference into maya, but it did not work. This issue happened across all files, so I had to improvise and follow the videos from a different tabs I started all of the animations by keyframing the hip joint and then moving up the joint hierarchy where needed. I did need to adjust the controls slightly in some cases, more notably the attack animation as I was using the IK controls for the arms and the fingers would not bend as I wanted. This prompted me to connect the finger and thumb controls over to the IK controls rather than the FK controls. This ended up working pretty well and I ended up using it for the rest of the animation. As normally it would be fairly difficult to adjust keyframes after adding them in, I decided to use the animation workspace tab on the top right corner. This feature has the benefit of being able to move and remove keyframes across the graph as seen below, which makes the process much easier since it saves having to redo all the steps in the animation process (therefore saving time).


Rendering
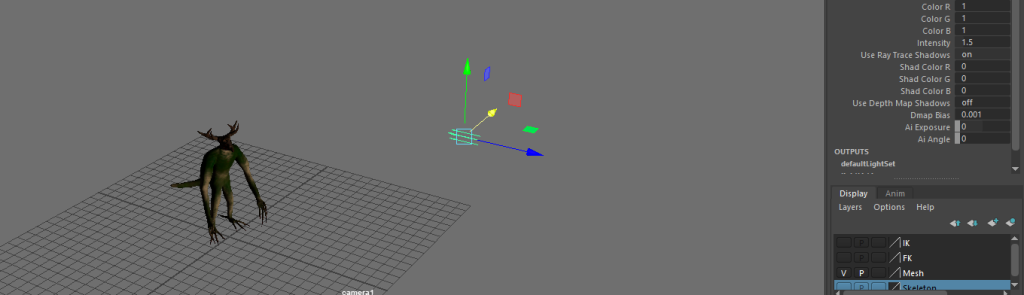
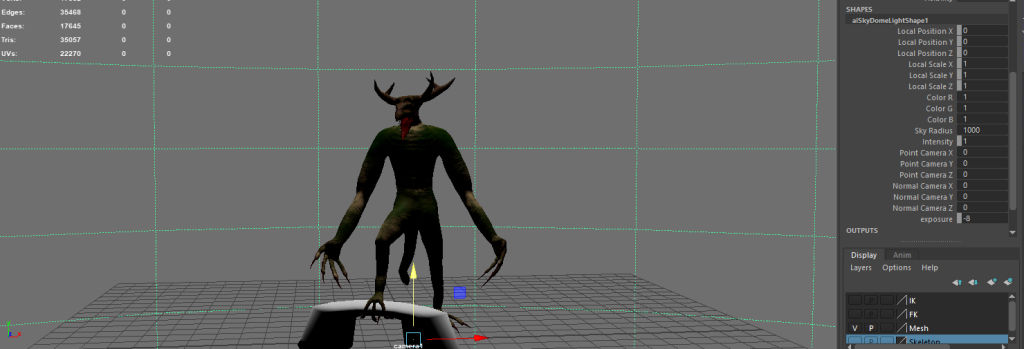
After keyframing all the poses I wanted, it was time for me to render the animation. As I mentioned earlier, I was required to make a source images folder in which I placed all textures I used on the model. At first I did not connect the textures in the source images folder to the mesh so the first time I rendered the animations they did not have textures (and still might not have due to the textured renders not being sent through). The reason as to why I needed to do this, and also create the folders is because I am using the viper renderer which is a maya plugin that will create images of the animation and send the video through after a set amount of time. Before I rendered out the animations, I created the lighting and set up cameras on the animations, making sure that the cameras are also keyframed to create unique shots. I used a variety of lighting, including the sky dome lights (cover the entire scene in light), point lights (cover a selected spherical area in light) spot lights (lights up an area in a cone shape) and directional lights (act like sunlight). All of those lights can have adjusted exposure and lighting through the