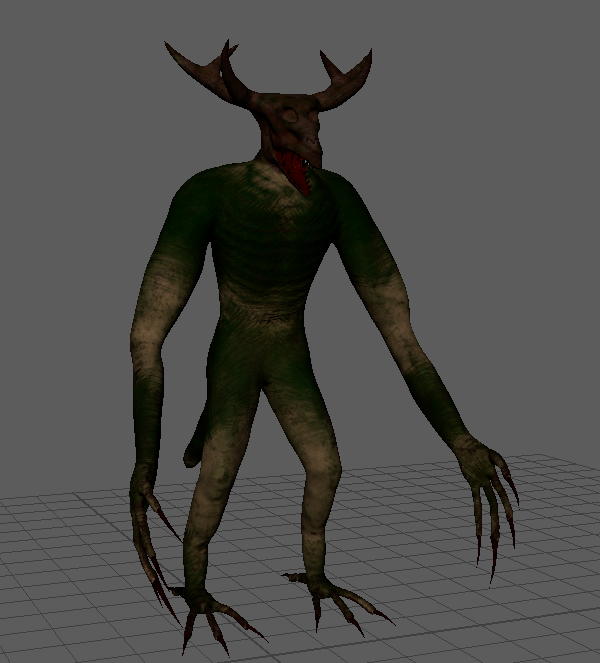
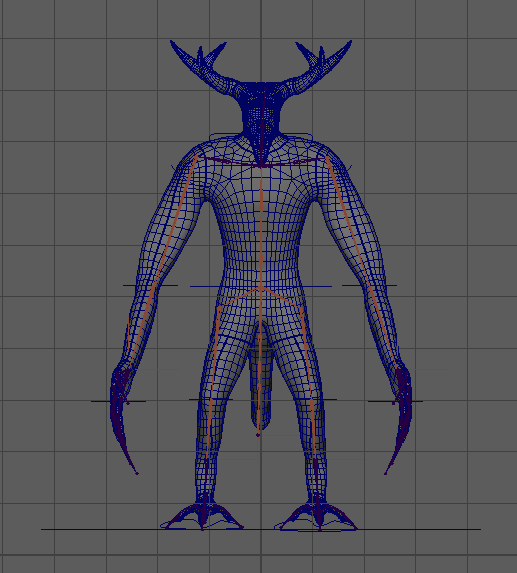
I had to make sure I prepared the model by ensuring all the textures were applied, as I hadn’t done them in Maya, before I could begin animating it. I was creating the textures for the model and was having trouble applying them to Maya. However, after experimenting with the texture settings, I managed to accomplish the task. The addition of bones or rigs to the model—a procedure called as rigging—was the second step in the preparation process.
Bones and IK Handles
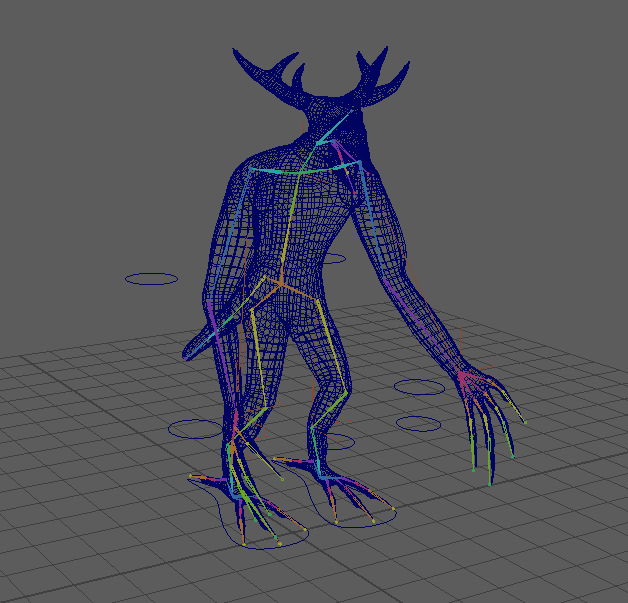
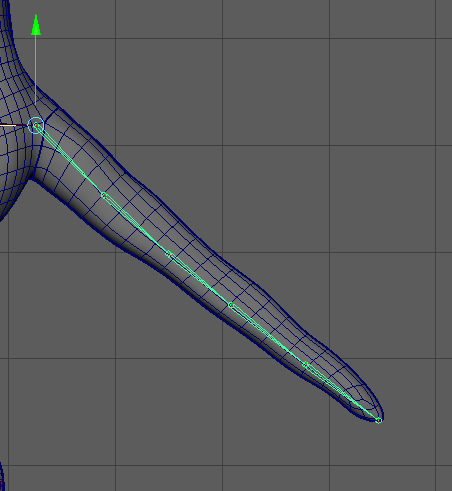
Adding more bones as I worked down the model, I started the rig at the hips. I started with the legs and then worked my way towards the rest of the body, making sure that I place the points exactly where I wanted to. The primary motivation for my need to do this was to replicate body movement as closely as possible while also streamlining the later stages of preparation. For instance, the knee would bend wrongly if I didn’t move the knee joint to the right on the tip of the leg. When I had finished one side, I used the mirror to mirror the joints on the other side as seen below.
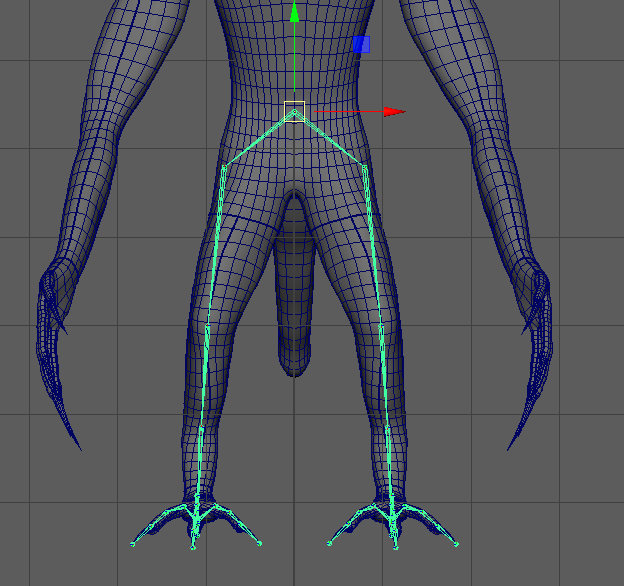
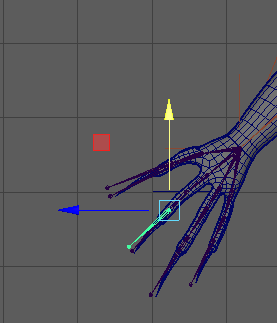
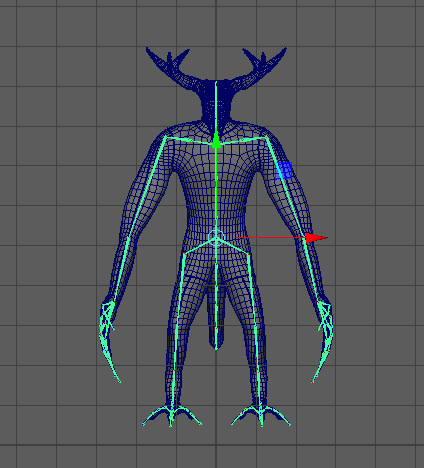
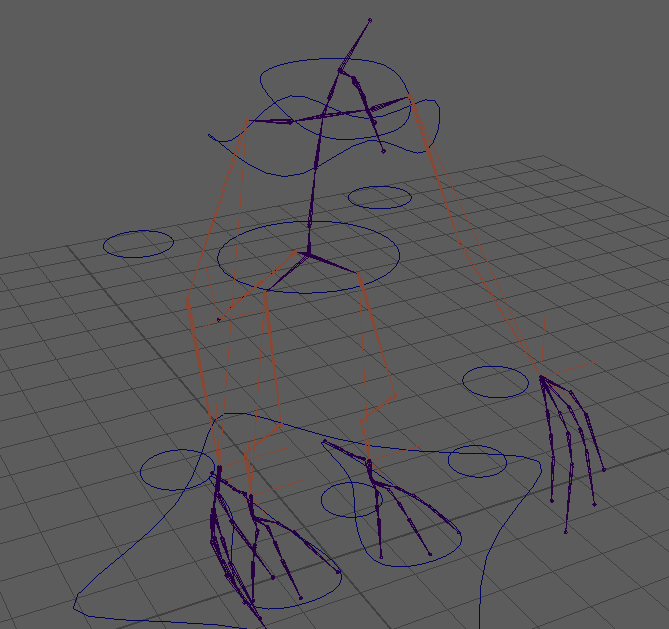
I had to make some adjustments to my model after adding the basic joints before adding the IK joints. Thus far, I’ve been incorporating FK (Forward Kinematic) joints, which are excellent for robotic motions with minimal constraints. On the other hand, IK (Inverse Kinematic) joints limit joint movement to emulate natural motions, like moving arms and legs. This is helpful because, with the exception of a few items like teeth, claws, and antlers, my character is organic and does not have any stiff metallic parts attached to it. To incorporate this, I would just make an IK handle that extends from the joint at the hips and shoulders to the wrists and ankles as seen below.
Controls
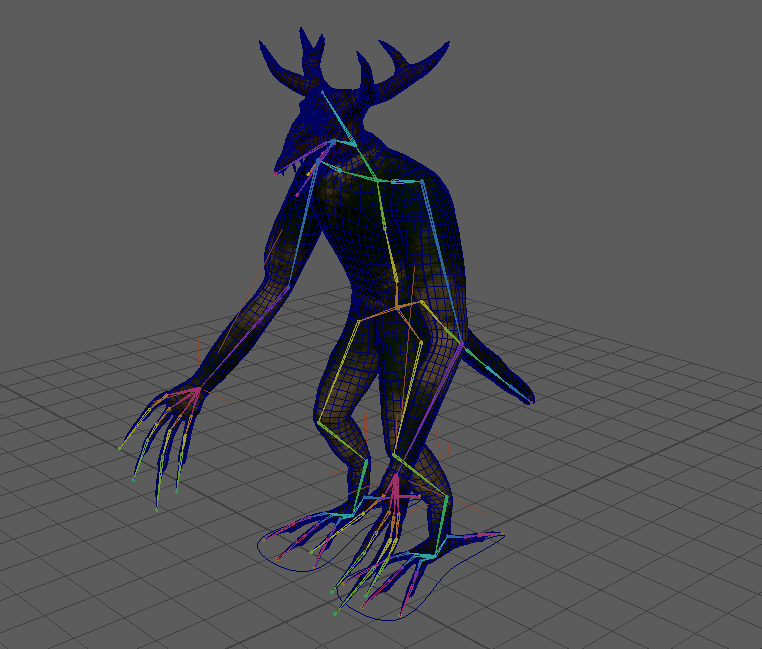
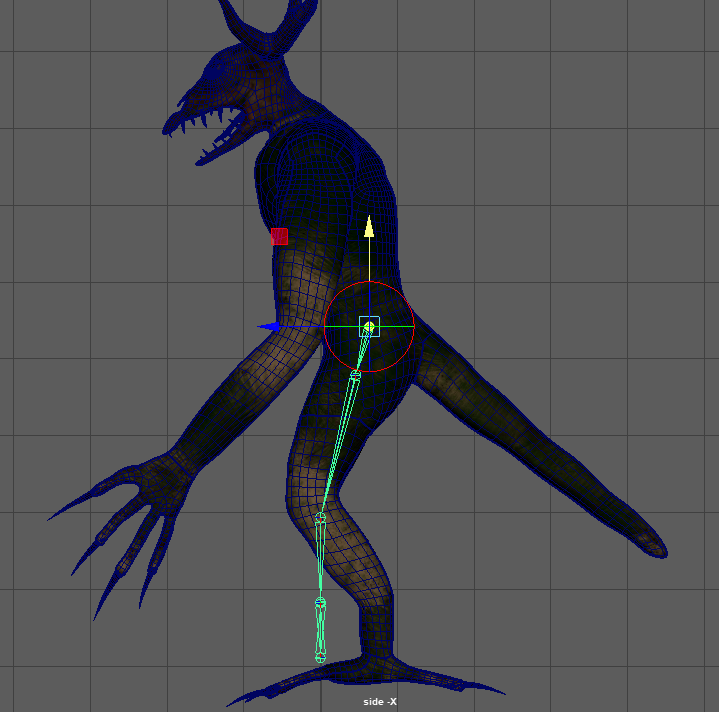
I created an IK spline handle for the spine after adding IK joints to the arms and legs. IK spline handles are excellent for spines since they function similarly to regular IK handles but do not impose as much movement restriction. I also attempted to create an IK spline handle for the tail, but once more, the limitations prevented me from moving the tail in the desired direction. It was now time to give the character controls after I had included all the joints and IK handles that I need. I started creating controls for the arms and legs, and point constrained the I had to go back and alter and freeze transformations to get the control settings back to default.
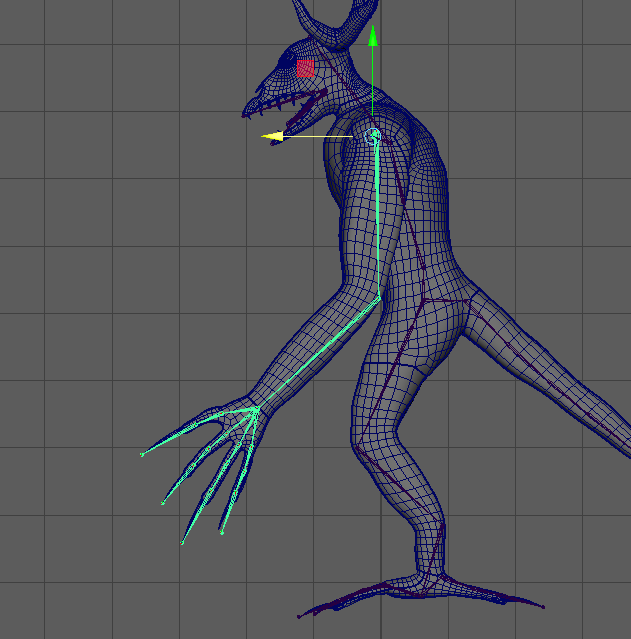
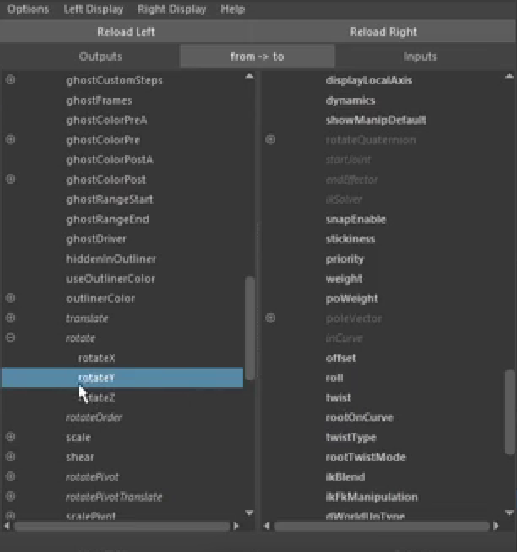
The controls for the neck, chest, and hips were to be made next. For these, I had to constrain the hip, chest, and neck controls to the spine curve object—which is made when creating an IK spline handle. I have to constrain the controls to the spine curve that is formed after producing the spline handle, which is a slightly different from other constraining methods. Using the connection editor, I connected the hip and chest controls the roll and twist of the IK spline handle as seen below. And lastly, I just had to point and orient constrain the neck to the actual neck joint itself.
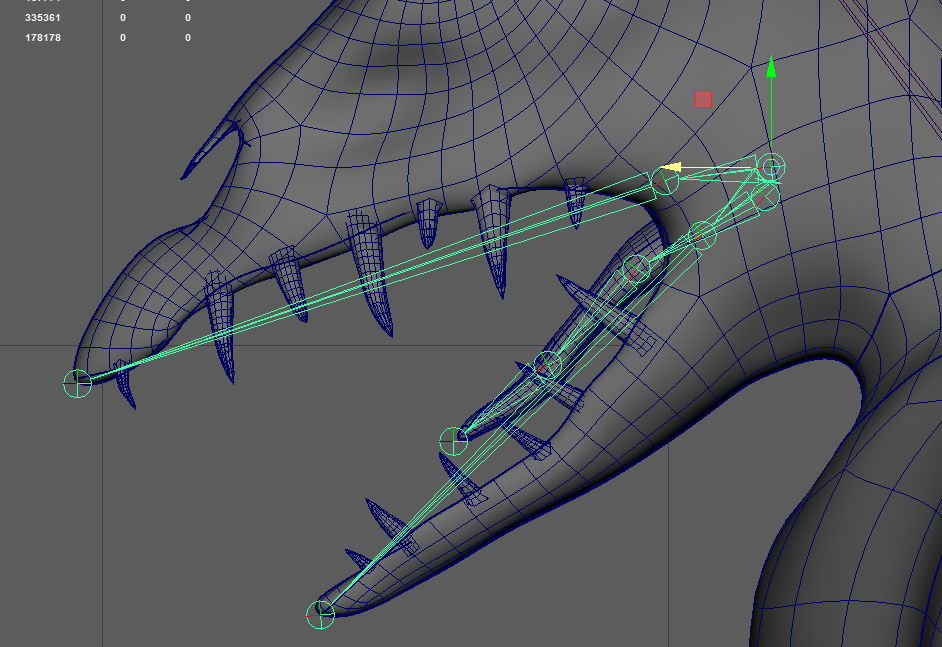
I also decided to make a control for the jaw so that it could move as I would want it, the process was fair simple as I only had to orient constrain (constrain the rotation) of the control and the jaw joint in order to get it working. Unfortunately, I still did not get the tongue to have a control due to the control not working as it intended, so I decided to leave the tongue control for later.
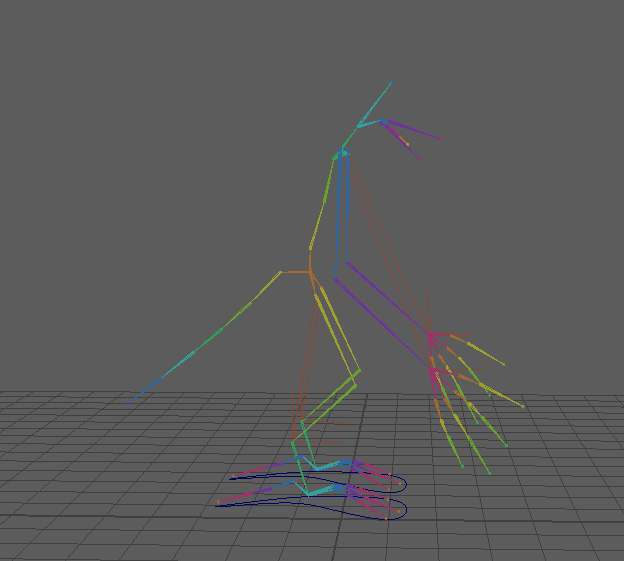
After I added the first few controls, I decided to bind the mesh with the rig as seen below. Binding allows me to move a part of the bound mesh as I am moving a joint in the mesh. I can select where the bones will influence the movement of the mesh but it automatically does it when you initially bind it. The problem with this however is the fact that the mesh will move quite strangely when you first move it in certain areas, and this is where skin weighting plays a role.