Camera Setup
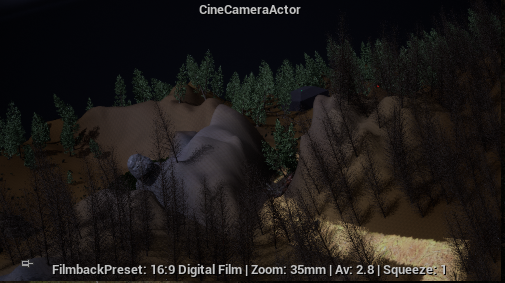
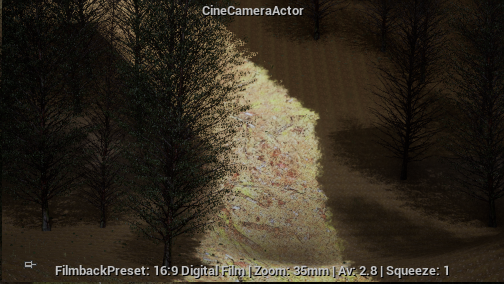
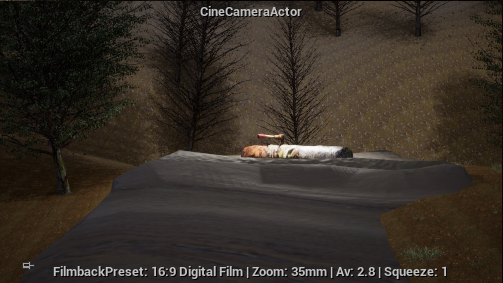
After I finished creating the environment/level, I moved to placing cameras in the positions that I mentioned in my camera mapping. To achieve some of these camera angles, I had to use the crane and rail actors that are in Unreal, as they allow for a smoother lifting/dropping and movement of the camera respectively. However, to make this work I had to make sure that the camera was the child actor of the rail or crane that it was attached to. Afterwards, when I placed the cameras, rails, and cranes in their appropriate locations, I had to create a sequence for each shot, as I wanted to control how the cameras, rails and cranes would move throughout the shot, how long the shot will be and the events that would happen in each shot (this only applies to the portal and boulder shots).


Sequencer
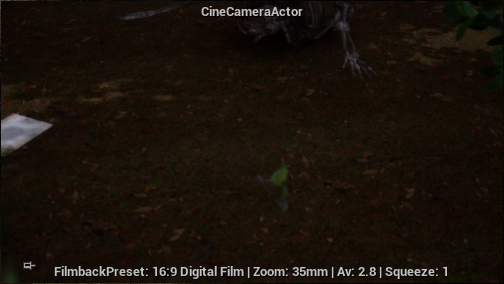
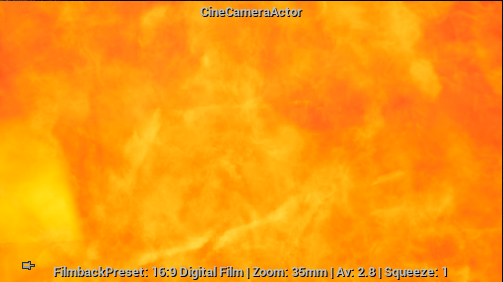
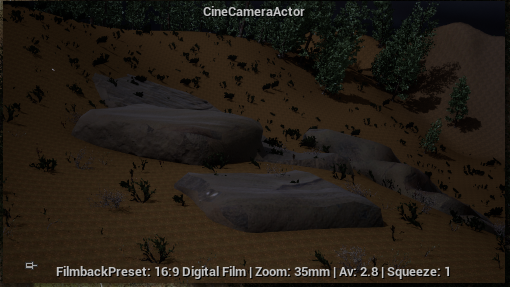
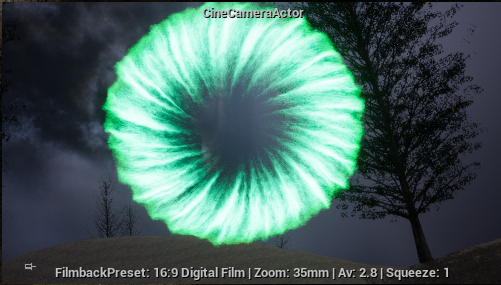
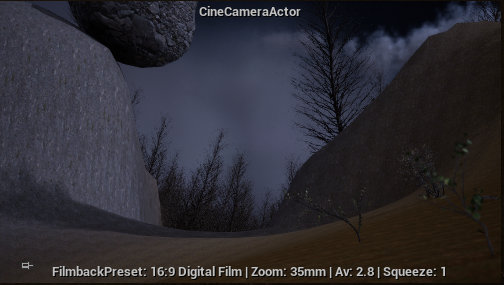
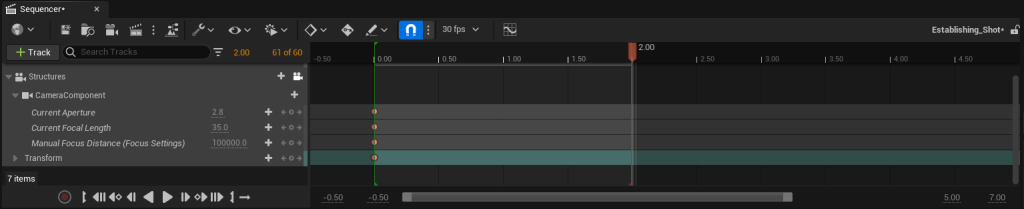
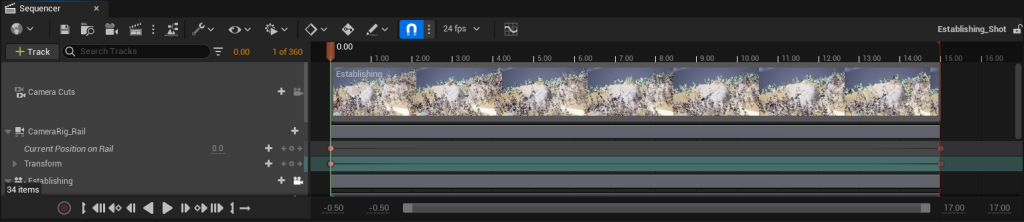
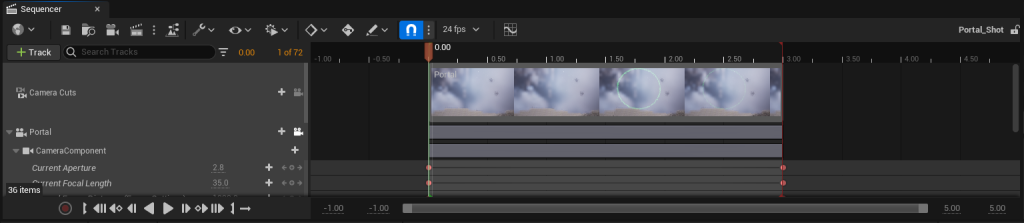
In the sequencer, it was important that I added the right camera, rail, and crane components, alongside any object and visual effect that I would need to keyframe. For most shots the keyframing process was simple, with the start positions of the camera, crane, and rail being keyframed at the start of the shot and the end positions of the camera, crane, and rail being keyframed at the end of the shot. As seen below, apart from rail, crane, and camera positions, I also changed the aperture, focal length, and manual focus distance on the camera where applicable. Since I was making a video, I had to change the framerate from 30 frames per second to 24 frames per second on each shot. In the boulder and portal shots (shots 10 and 9 respectively), I also had to keyframe the boulder and portal respectively. For the boulder, it was simply just keyframing it at its starting location and then keyframing the final place that the boulder would land on, meaning that I had to adjust the rotation of the boulder as well to make it look as if it was falling by the force of gravity. On the other hand, since I wanted to keyframe the activation of the portal visual effect near the beginning of the shot it was in, it was much harder for me to figure out how to make it work in a sequencer. It took me a while to make the portal activation work in the sequencer, but I managed to figure it out with some external information that I could activate the portal through getting an activation track from the particle component.
After I created the shots I wanted at the desired length, I decided to record them by using OBS studio recorder so I could import them to adobe premiere pro as mp4 files so I could edit these shots into the video itself.