Base Video (No extra effects)
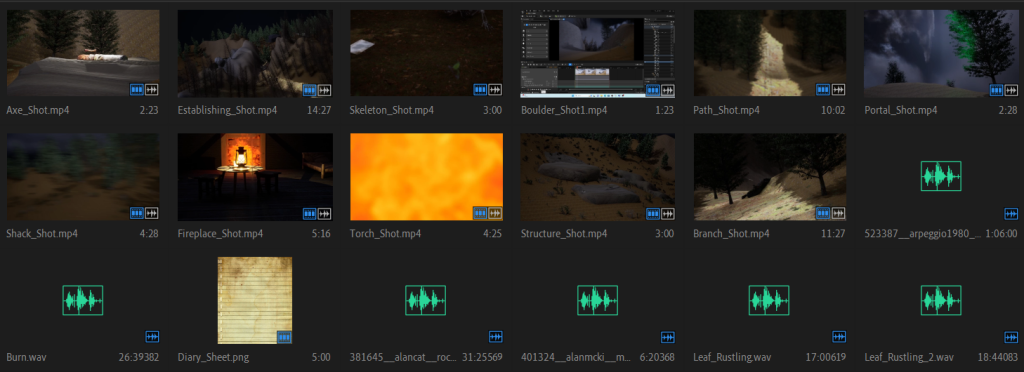
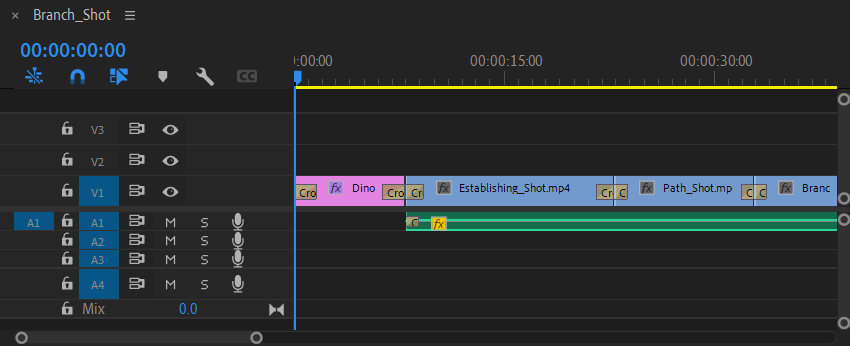
When I recorded the shots for my scene and gathered the suitable audio files, it was time to import them to my premier pro project. The first thing I did was select the parts of the obs recordings with the use of the mark in and out function (located in the source clips panel) and then drag each of these sections into the timeline. I also imported a diary sheet png file into the premier pro project as part of shot 12 which will have writing on as mentioned earlier.
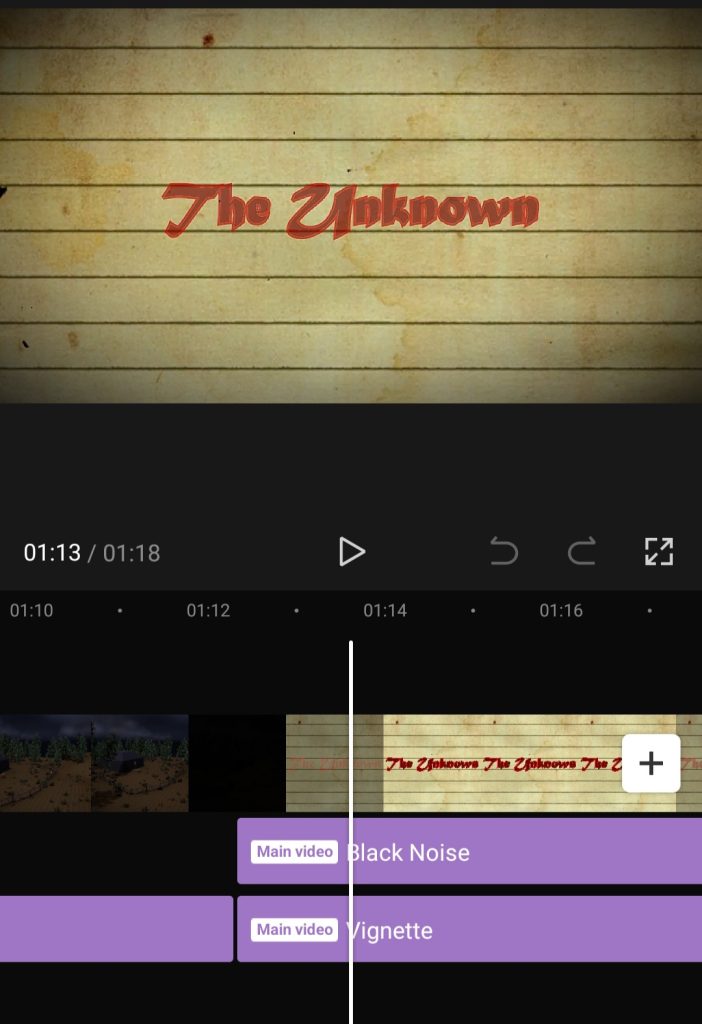
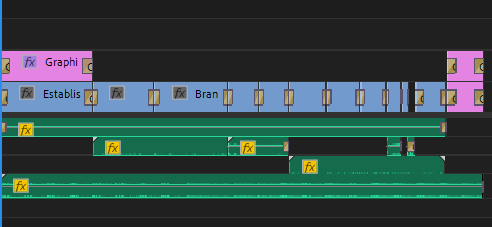
After I added each shot in the correct place and adjusted them into the frame accordingly, I decided to add a cross dissolve transition on each shot and a constant power transition in a few of the audio clips. Cross dissolve and constant power are basically just fades for a clip or an audio track respectively, you can change the length and position (beginning or end of the clip/audio track) of these fades by selecting them and changing the value of it. On longer clips, I made the fades last longer whilst on the shorter clips I made the fades last shorter. After that, I added in the text both in the first and last shots respectively, making sure that the text faded at the same time as the actual clip itself so that they flow together. On the text at the very end of the sequence I also decided to make sure that I placed it on one of the lines in the middle of the frame, so that it would be more realistic and therefore believable to the audience. During this time, I decided to make some shots longer in the actual sequence, more specifically the axe, structure, and boulder shots, as they were too fast for the overall feel of the sequence, so I just changed the speed of these shots to make them more noticeable.
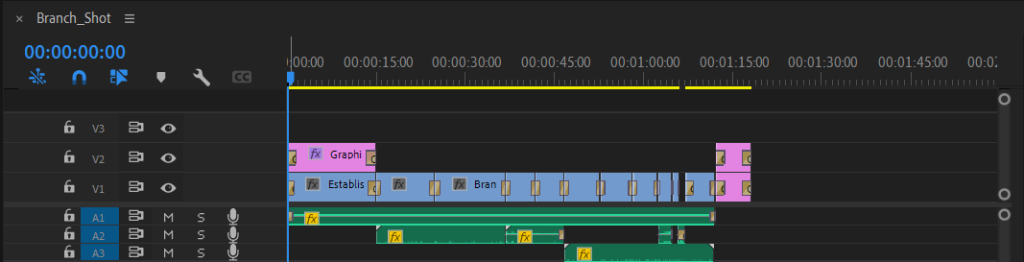
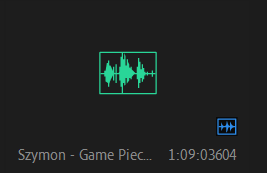
After exporting what I have done so far, I noticed that the audio was not as immersive as I wanted it to be, since video game openings often have music playing in the background. With that being considered, I asked a close family member to make me a mysterious piece of music that would match the video that I created. After they made it, I was impressed by the result, so I decided to import it into my adobe premiere pro project, with the only adjustments that I needed being to make the track slower so that it would run throughout the whole sequence (this resulted in a much deeper and better sound for the track overall) alongside making some audio tracks quieter or louder. After that, I exported the sequence so that I could edit it in either capcut or adobe after effects.
Extra Effects
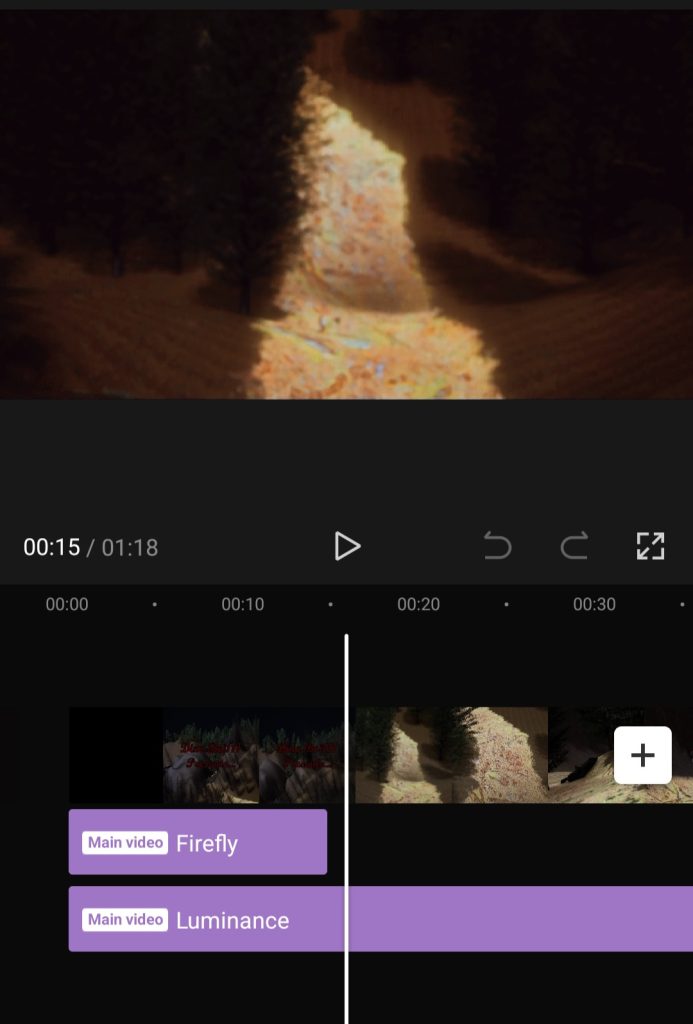
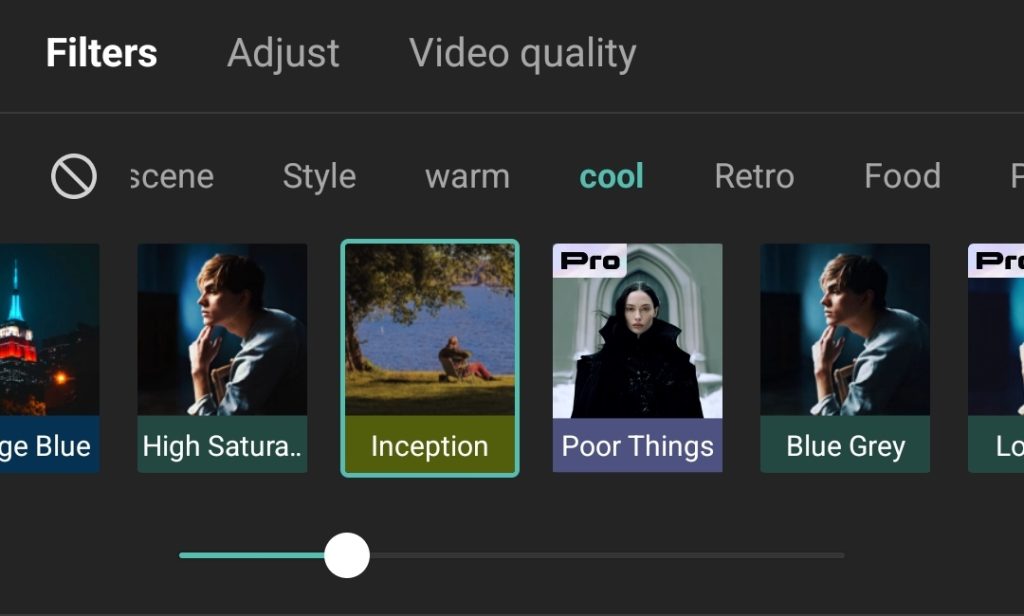
After careful consideration, I decided to try adding some effects on capcut instead of adobe after effects, as I felt more confident with it as I have extensive knowledge on the tools, filters and effects that capcut has to offer. The only issue with capcut is that it is a mobile editing app, which might reduce quality of the clip, though luckily capcut has an option to export at a resolution of 1080p. Once I imported the sequence into caput, I was exploring with different effects and filters to see which ones worked best in this sequence. For the filter I chose a cool colour scheme filter called inception, which separates cool colours from warm colours while also creating a slightly darker appearance to the overall piece. I also chose the effects as seen below with careful consideration, so that they work with the appearance of the sequence itself, this combination of the luminance, vignette, firefly, cold lab, and black noise effects created a smoother feel to the sequence rather than ruining the core of what I was aiming to do in the first place. After I finished adding extra effects in capcut I exported the sequence and imported it back to premiere pro so that I could improve the quality by increasing the resolution to 2160p, which resulted in the final product.