Creating Seams
After I have finished the retopology of my character model, it was time to UV unwrap it. UV unwrapping is a process that generates a 2D representation of a 3D object, which is generated by a UV/texture coordinates (Disguise, n.d.). This method is important for the texturing process that I will be carrying out in substance painter.
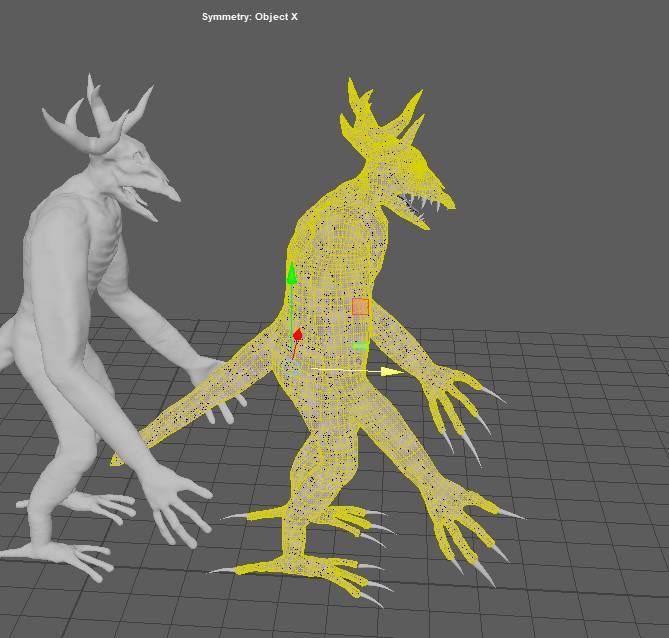
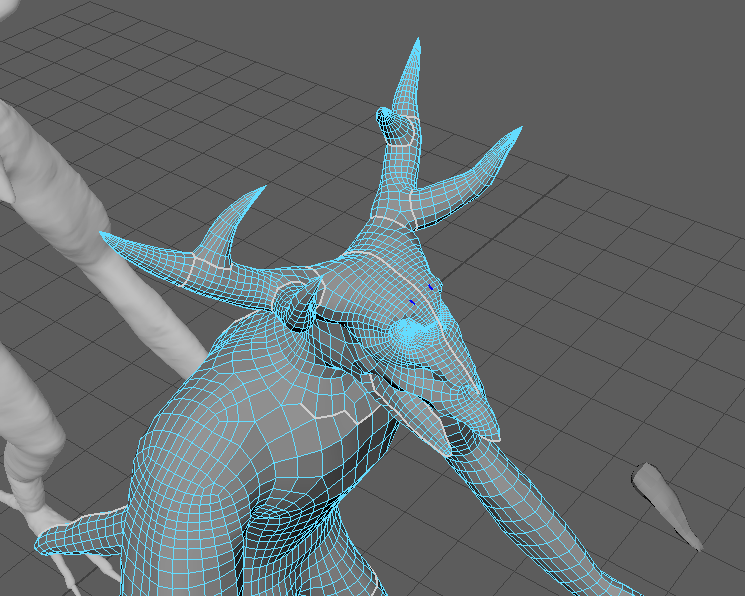
The first step to UV unwrapping is creating the seams/cuts on the edges of the model so that it could be unwrapped more easily. There are multiple different methods of doing this, but the two methods that I will use are automatic unwrapping for the claws and teeth and the 3D Cut and Sew tool for the tongue and main body. Making seams in the right places is important as placing seams in random places on the asset can ruin the flow of the texture. Seams should primarily be placed on bending points such as the neck, mouth, eyes, ears, wrists ect. Since my creature is not a human, I must place the seams relative to the shapes of my character (mainly around the antlers and the tail) and places where it still has human like anatomy. Maya has a 3D Cut and Sew tool which allows me to make seams on my mesh without opening the UV editor, this is important as the UV editor shows the UV map in 2d, so it can get confusing as to where I need to make seams on my mesh.

UV Unwrapping Process
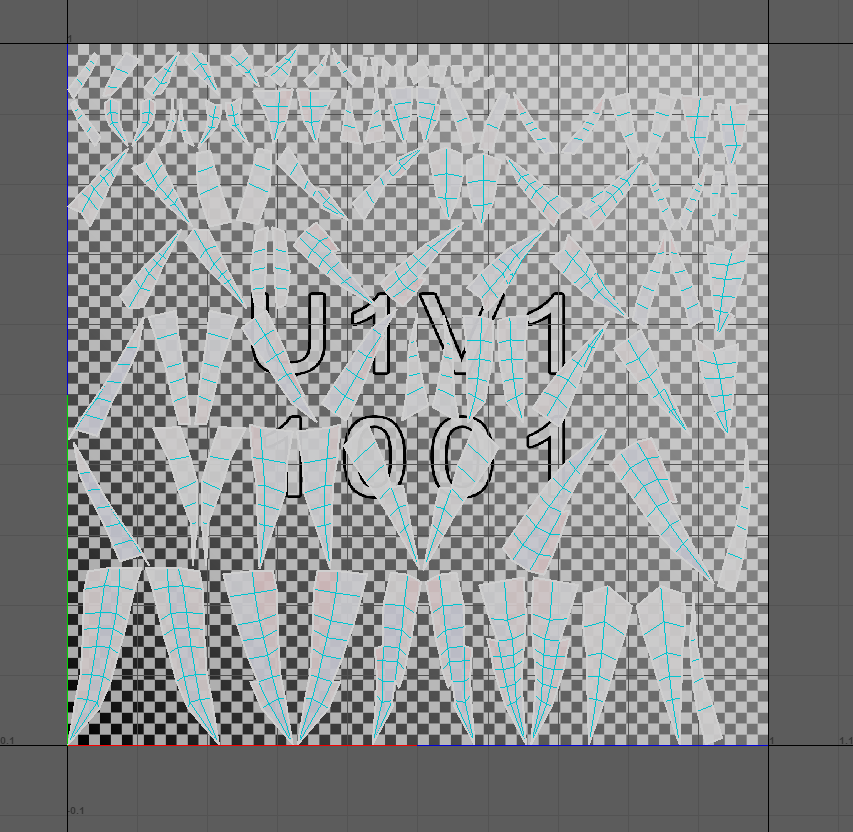
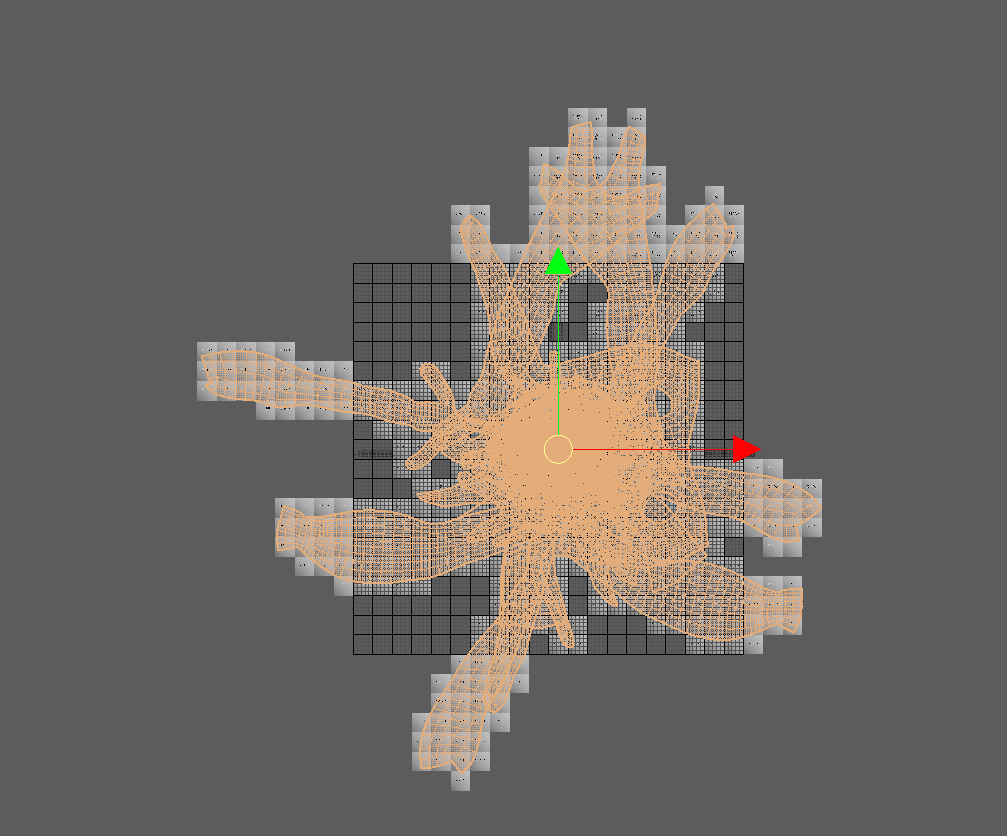
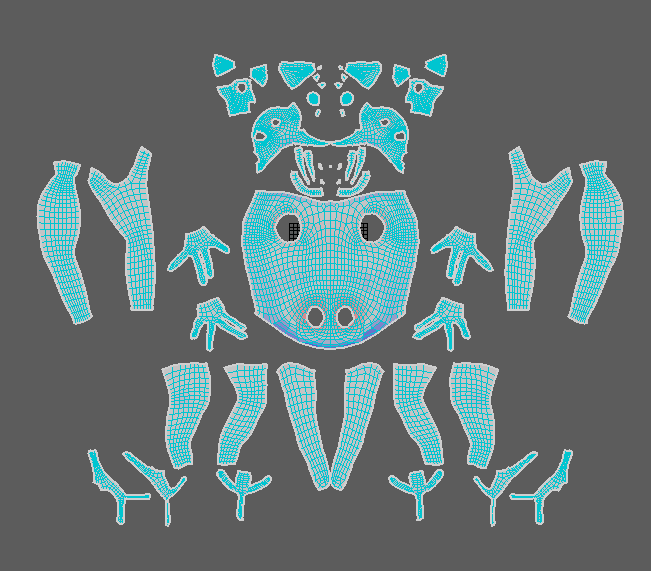
After I finished making seams in the appropriate areas, it was time for me to organise the UV maps so that it would be easier to texture them. So firstly, I unwrapped the seams in the main body UV editor by selecting all UV shells and pressing the ctrl + U keys so I could see them much more clearly. Then I set the texel density (texel density is a unit of measurement used to make textures in an asset fit together well in comparison to each other (Dries, n.d.)) of the UV maps to 4096 to see what I am working with much more clearly and make the organising much easier to deal with. To make the view of the UV editor symmetrical I used the symmetrise tool, which is a tool that makes similar shells symmetrical to each other on the UV layout as seen below. I had to do this several times whilst also rearranging different UV shells so that they would fit when I put them on the same UV sheet. After that, I pressed the ctrl + L keys to get the UV shells on the same UV layout which decreased the texel density of the UV shells down to about 200 (as I wanted to keep each separate body part the same texel density).

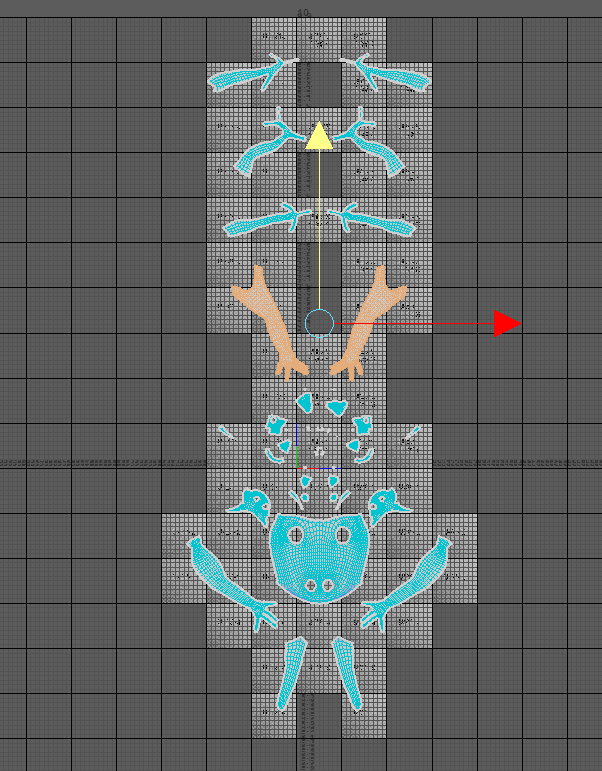
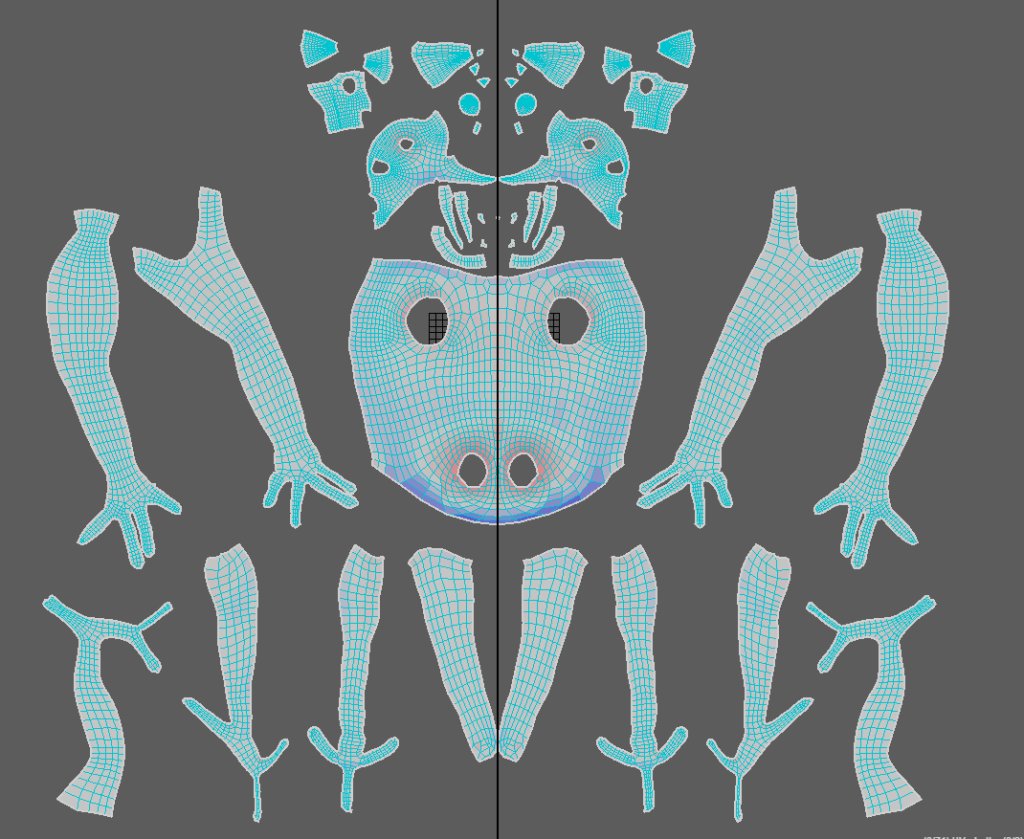
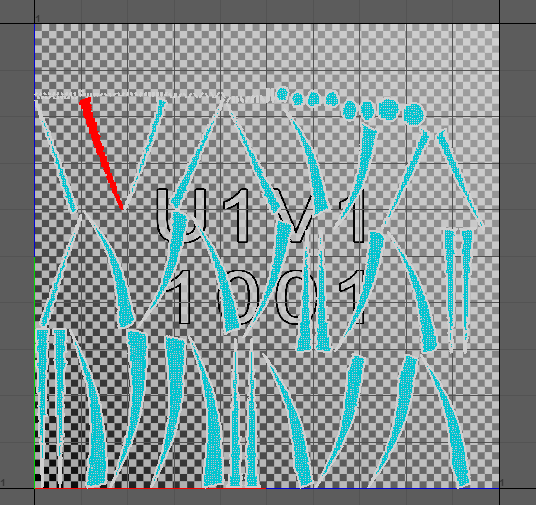
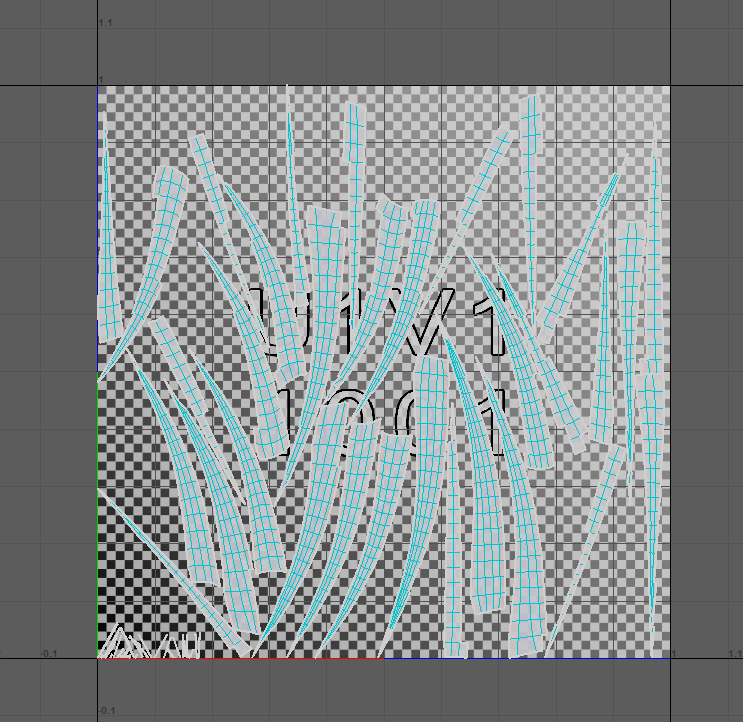
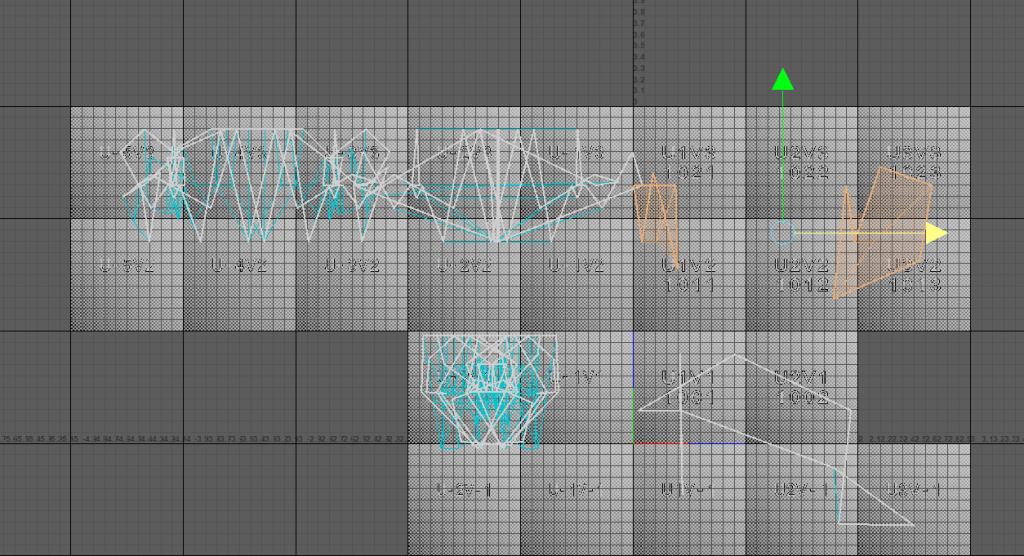
The two images below show some of the UV mapping process for the tongue, which ended up being the hardest part to UV unwrap due to how overlapped the UV shells were. This caused me to waste a bit of time trying fix the issue before unwrapping the whole thing by pressing ctrl + U, and then organising it by pressing ctrl + L whilst also setting the texel density to 200.
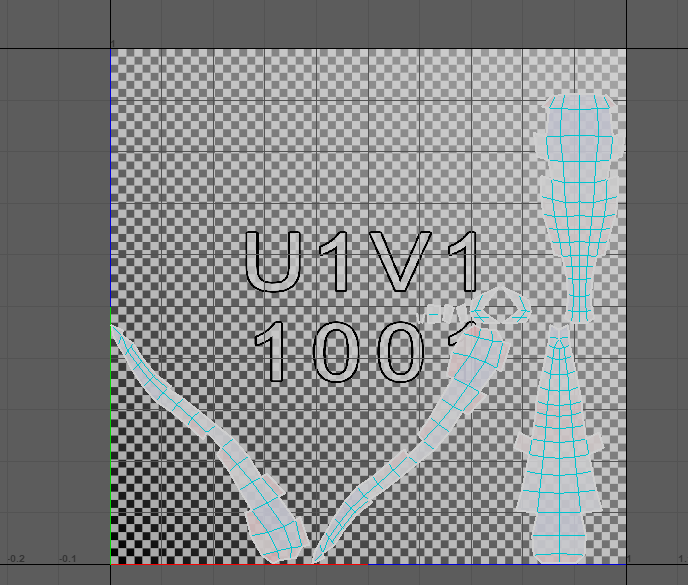
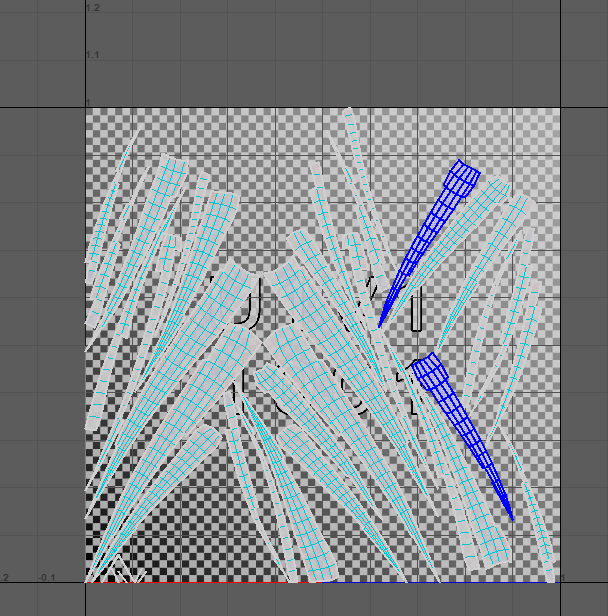
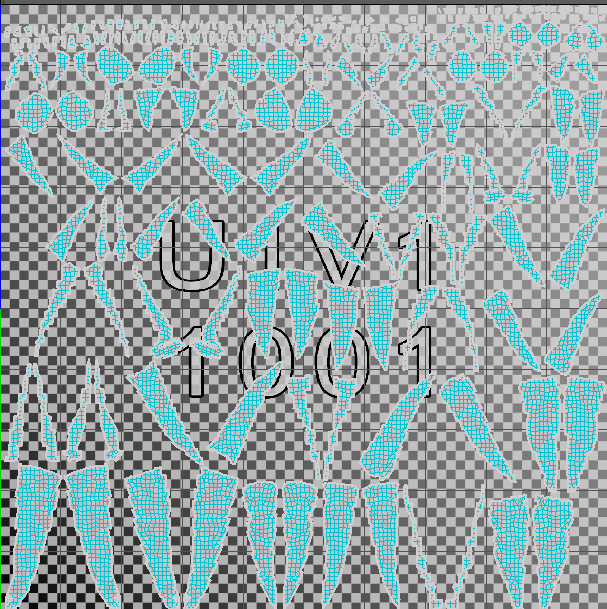
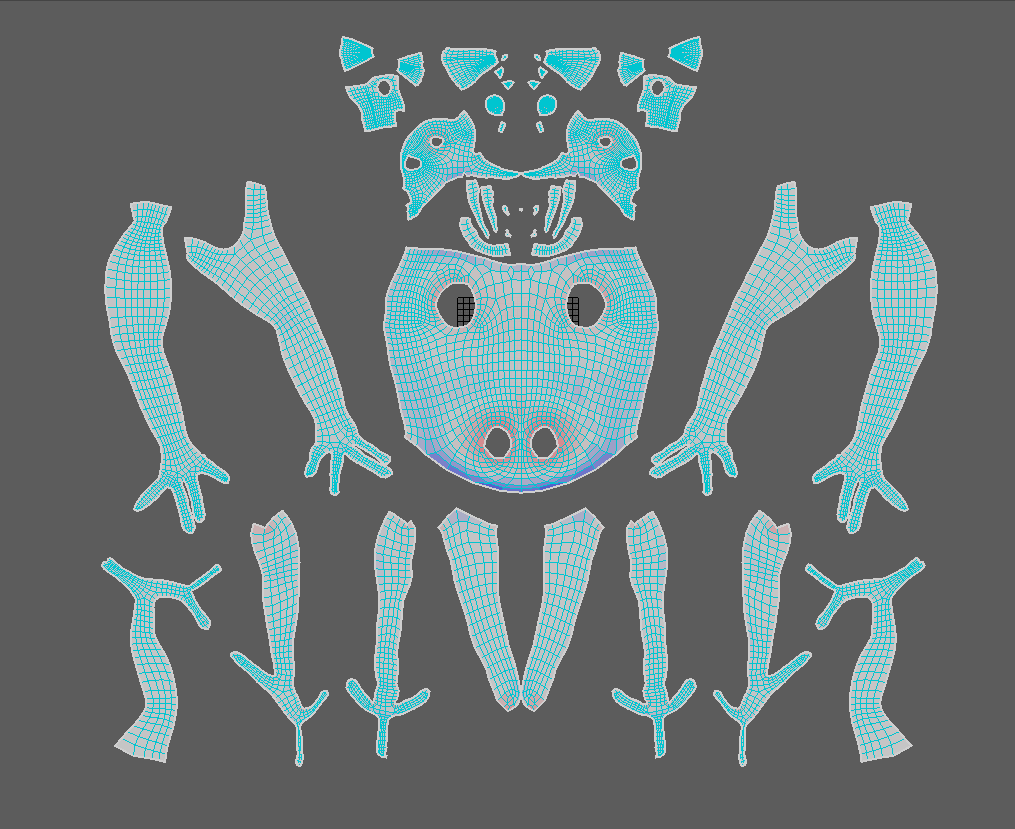
The images below show before (shown on the left) and after (shown on the right) screenshots of the UV maps for the teeth and the claws . I automatically unwrapped them both times, rather than using the 3D Cut and Sew tool with the tongue and main body, but the difference is that I retopologised the claws and teeth for the second time as the poly count was simply too large and the topology was less than ideal. The rest of the UV process was like the tongue and the main body, but it had far fewer issues that I needed to fix before it was good to go.