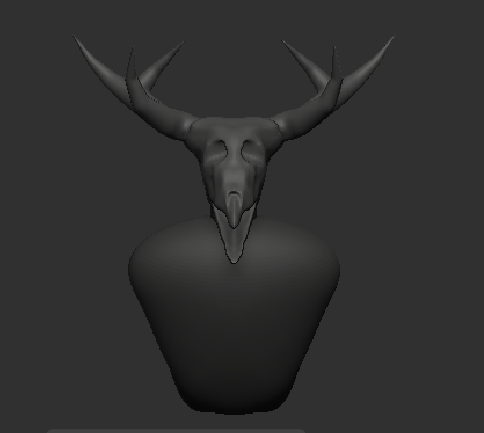
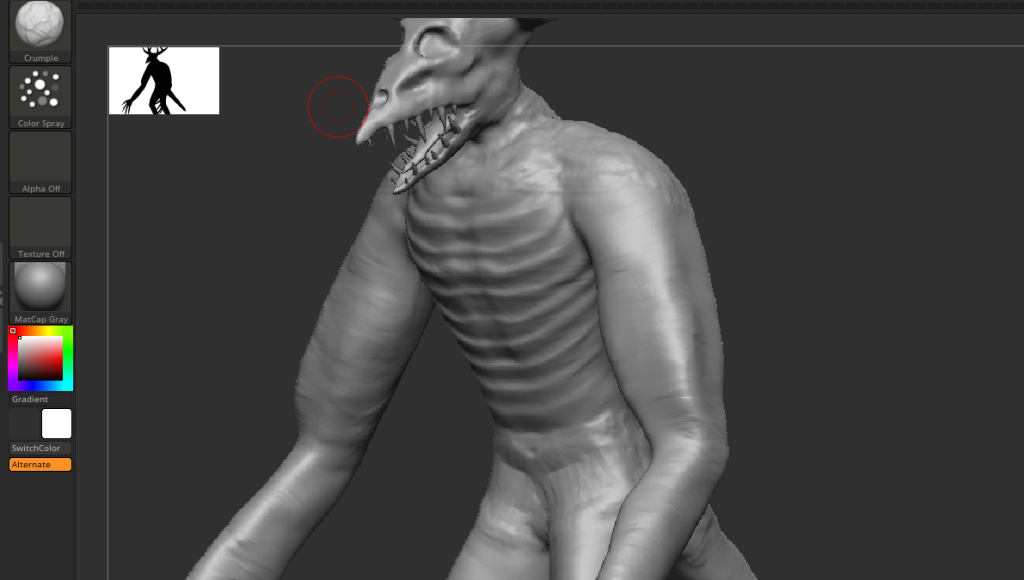
Head Sculpt
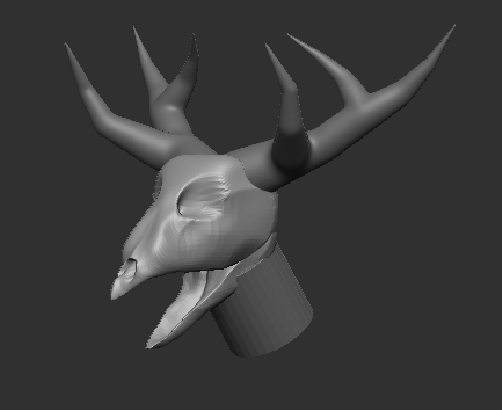
After I have finished with the blockout, it was time to start sculpting in the details on my character. Before I could do that, I had to merge several sub tools and then dynamesh them together. I started by sculpting the head by primarily using the move brush and knife curve tool (it is a brush that cuts out selected parts of the model) to get the overall shape of the head. I merged the head and the antler adaptive skin together as it would be easier for me to get the overall shape of the skull. I used a wendigo head reference image to make sure that the skull resembled that of Wendigo as seen below.

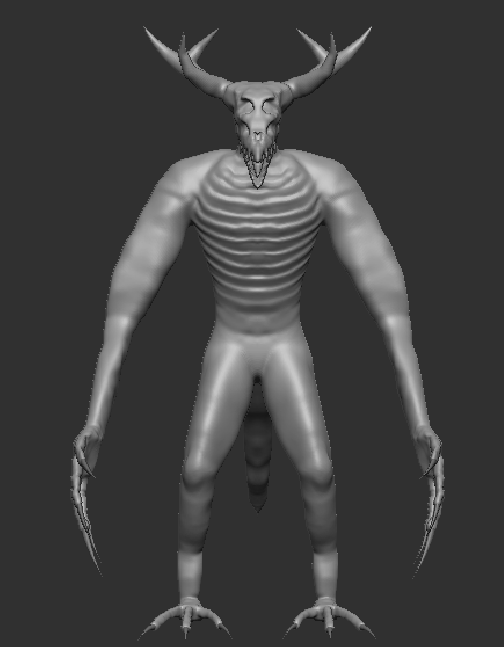
Body Sculpt
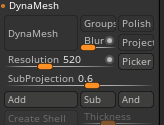
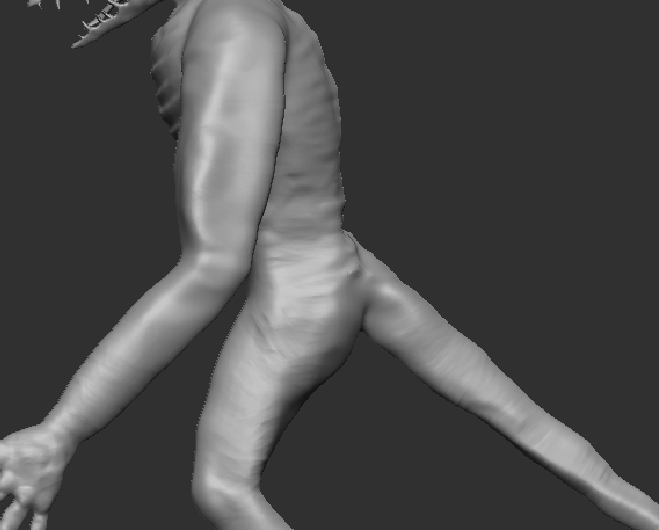
After finishing the head sculpt, I merged most of the sub tools together apart from the claws and made sure to dynamesh them to get the higher resolution mesh (this is to make it easier to work with the sculpt). Like with the head I primarily used the move tool to get the overall shape of the body parts, along with using the clay build up (this tool builds up on the surface of a mesh, creating a pattern depending on how you use it) tool to add more detail to the back and chest. I smoothed out parts of the mesh surface (mainly parts of the mesh where I used the clay build up tool) with the smooth tool and I also used dynamesh again to ensure that the overall geometry of my mesh is clean.
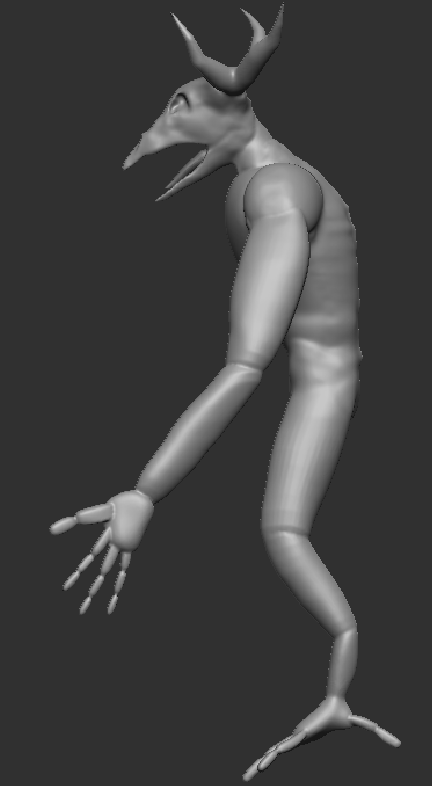
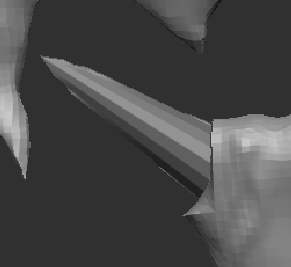
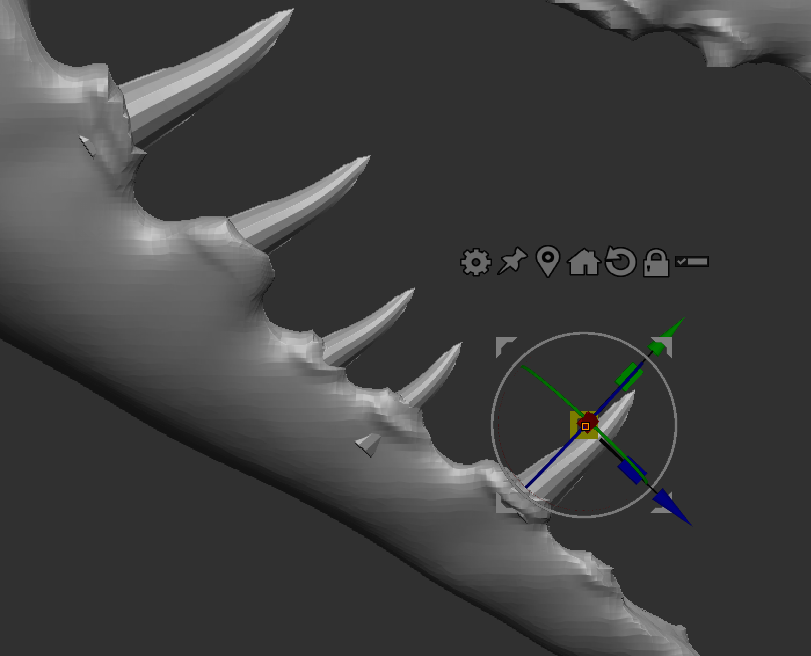
After that, I edited the head sculpt as seen below and started creating the teeth for the character. I initially started to make the teeth the using the IMM creature parts brush, but I was advised to keep the teeth as a separate subtool rather than sculpting them as part of the main body subtool. The process of creating the teeth was like the process I used for creating the claws, with initially starting by creating a cone subtool followed by a mirror and weld. This was followed by creating multiple duplicates and adjusting the size and curve accordingly.
Adding Detail
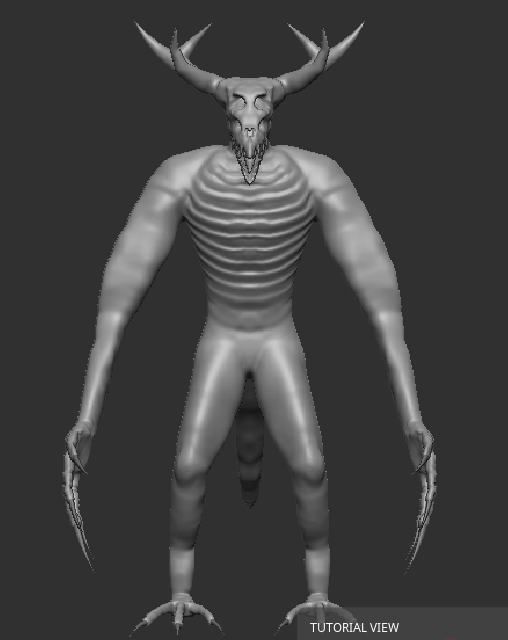
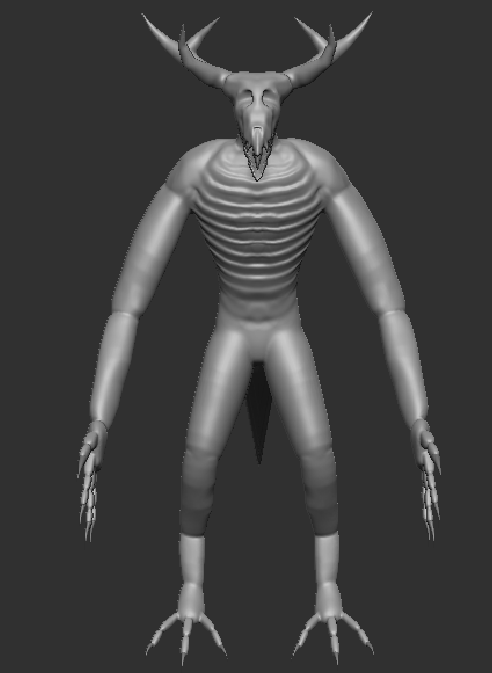
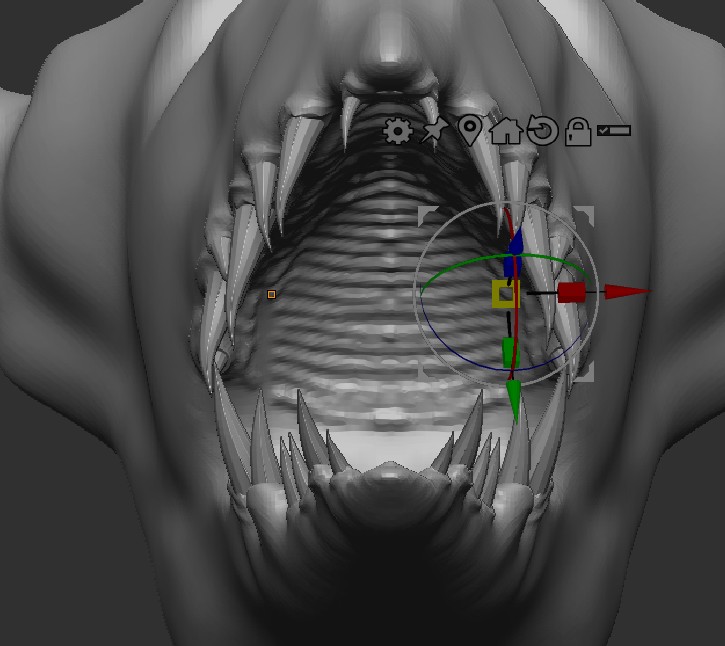
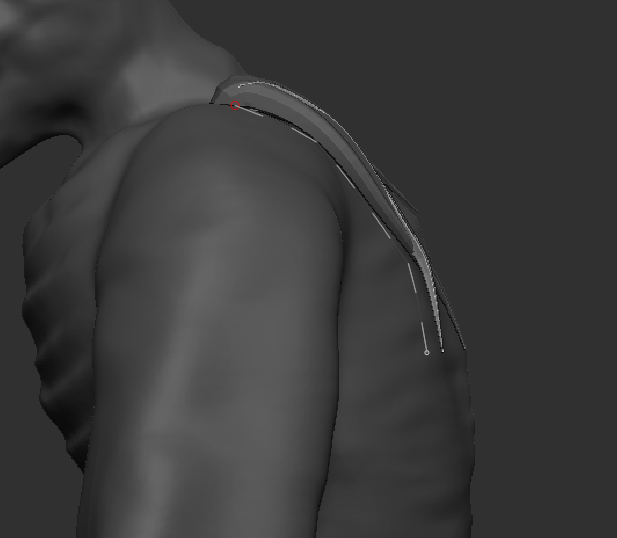
When I finished creating the teeth, I went back to finish the sculpt of the main body by continuing to use the move, clay build up and dam standard (it creates dents in the surface of a mesh) brushes to get the overall shape of the model. I also used the fungus tool on the hip and shoulder areas as seen below to get a bumpier surface on the mesh, followed by a smooth as it would have looked out of place otherwise. For further skin detailing I used the crumple (a brush used to create a crumple like effect, good to use for skin or paper surfaces) and pinch (as the name suggests, it pinches the selected surface of the mesh together) brushes. This allowed for a nice look on the skin and make the mesh look more alive.
Experimentation
After the whole body was sculpted, I experimented with a variety of different ways to create fur for my character such as the default brushes that are used for the hair. But since these did not work, I decided to download some online hair brushes that were easier to manipulate to the way I wanted to with the AH Hair IMM brushes and the Sherst brush. However, both these brushes would end up not working in my favour, either due to the hair not looking good enough for the model or just the hair would end up making the retopology and UV mapping process a lot more annoying to handle. So, in the end of my experimentation, I decided to scrap the idea of adding fur to my model and instead just make the skin look as it is.

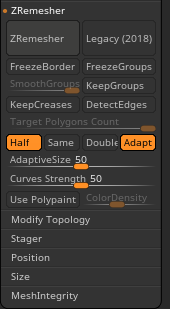
The final part of the sculpting process required me to ZRemesh my model using ZRemesher. ZRemesher is a tool used to reduce the poly count of an asset while also keeping major details on that asset depending on the edge flows that are present on the asset, but works on both hard surface and organic models.