After drawing out the concepts and gathering reference images, I decided to start on the blockout of my character. A block out is a draft of an object 3D or otherwise which uses primitive shapes to get a basic shape for the final product. In my case, I will use Zbrush for the blockout and sculpting phases for the creation of my model. There are various tools that I have access to in Zbrush, which includes various brushes (examples include the move brush, clay build up and dam standard), zremesher, dynamesh and sub tools (a shape that is separate from other sub tools).
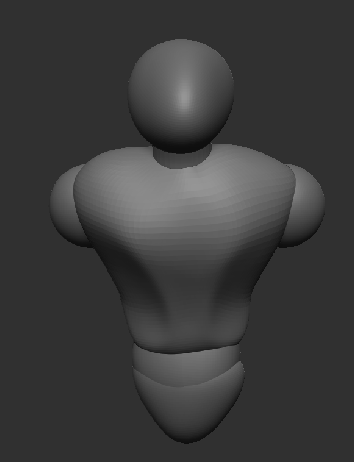
It is generally advised to start a character blockout from the torso as it is easier to add the other body parts later, so I started with the torso by creating a sphere and adjusting its width and height to fit a rough shape of a torso. Then I used the move brush, which moves a part of the surface, to get a more overall torso shape followed by adding the head and neck which had a similar process to the torso. One mistake that I have made during this procedure was that I did not activate symmetry across the x axis, which made the overall shape of the torso uneven as seen below. This problem did get fixed after I realised that there was a function called “mirror and weld”, which is on the geometry drop down on the right-hand side of the Zbrush interface. Mirror and Weld made things a lot easier going forward as it makes the sub tool symmetrical and cleaner looking than it did before. I also smoothed some edges out with the smooth brush to get a nice smooth surface to work on later when I come to sculpt the model.

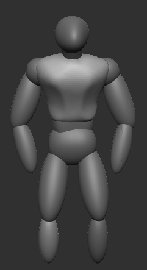
After the creation of the torso head and neck I created the shoulders and waist for the character, with the waist having a similar process to the torso with some adjustments to make sure it fit. Making the shoulders was simple, as I only had to create a sphere, shrink it down, position it in the right place and then mirror and weld it so that the other shoulder would get created. The only problem I had whilst making this was that the other shoulder did not appear after I pressed the mirror and weld option, so I had to turn off local symmetry (which is the symmetry for the shape in question and not the whole scene) and mirror and weld the other shoulder in like that (which caused me to adjust it so that the shoulders would be symmetrical on the torso). To create the arms and legs I used the IMM Primitives brush (this draws in a selected primitive shape, such as a cube or a cylinder) on the shoulders and waist respectively. This method required me to create 3 cylinders for the legs and 2 cylinders for the arms which I smoothed down and adjusted with the smooth and move brushes respectively. This then led me to the creation of the hands and feet, which I made as separate sub tools to the arms and legs with a similar process to the shoulders.
To create the fingers and toes, I used the IMM primitives brush again, but this time decided to create cuboids instead of cylinders, since they would be easier to smooth down and adjust. In this stage, I wanted to make sure that the fingers and toes were separate from each other as it might cause issues when I dynamesh later. Afterwards, I created the claws for each digit and made sure they were curved as they should. For that, I was advised to create a separate cone subtool, adjust the size of it and then curve it with the use of the move brush, and mirror and weld it so that I would have the claws on both sides. I copied the claws onto each finger and toe so that I would have the desired outcome for the claws.
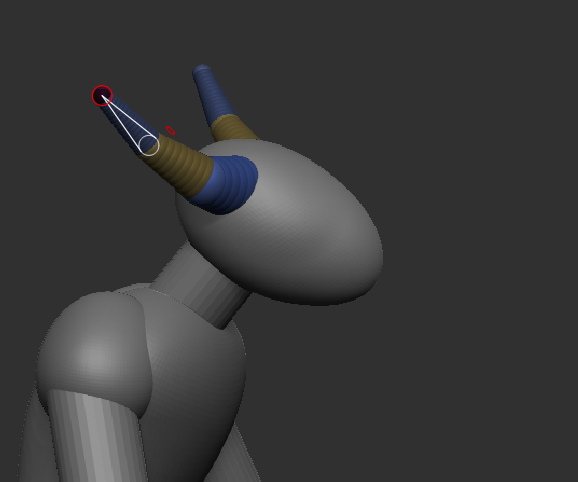
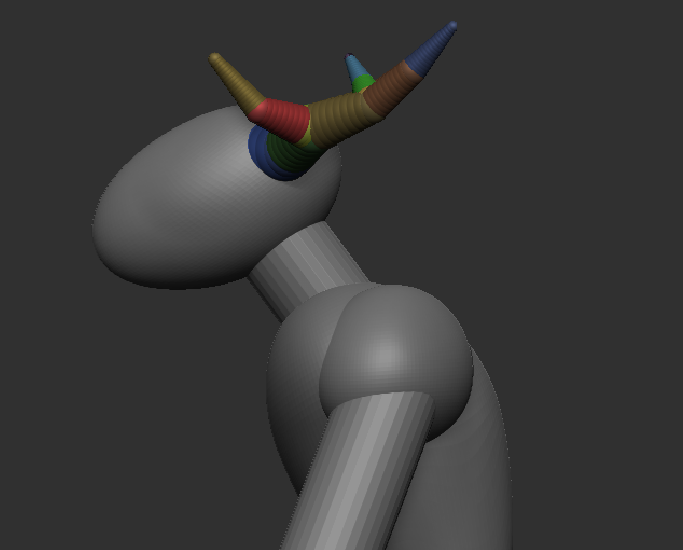
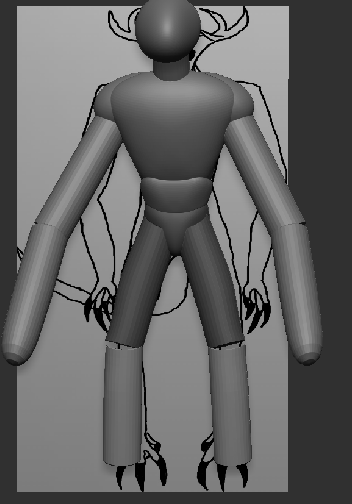
Since my character has a tail, I decided to initially make a tail using a few sphere sub tools, however it did not work out, so I used a sub tool that is known as a Zsphere. A Zsphere is a sub tool that can create a bunch of tube-like structures consisting mainly of spheres, which can be created by simply clicking on the Zsphere whilst having the draw mode selected (the branches could also be adjusted in a similar way). This is useful for creating horns, antlers and tails as each branch can be moved in different directions to create the desired shape. When done with creating the overall shape of the tail with the Zsphere, I clicked on adaptive skin and then clicked “make adaptive skin”. This created an adaptive skin shape which can be used as a sub tool in the scene.

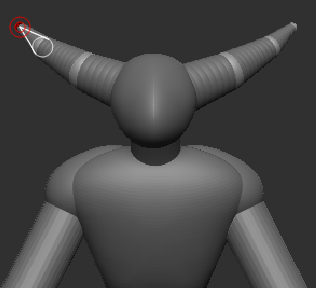
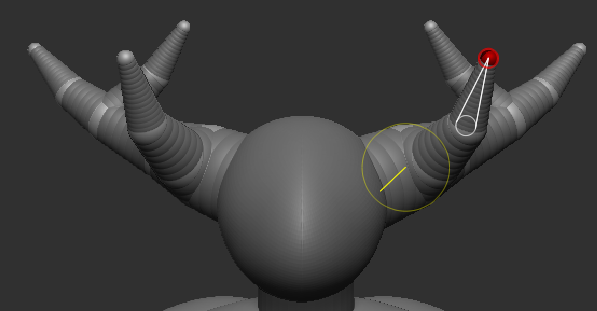
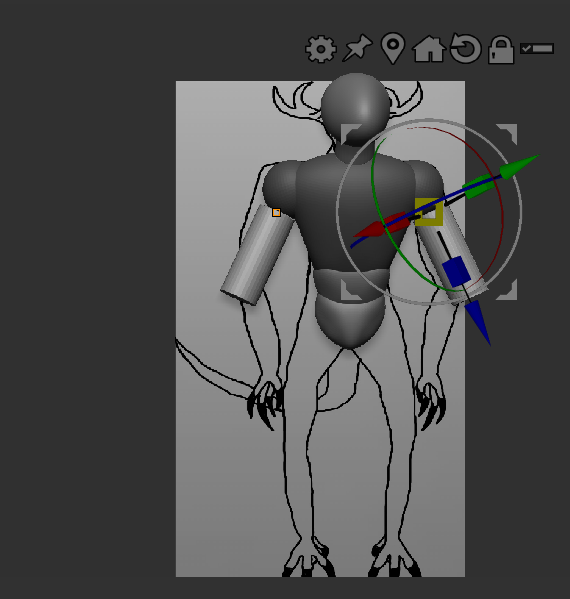
After creating a basic shape for everything else I started to create the antlers which had a similar process to the tail, with the only difference in the process being that I had to add multiple branches so that the Zsphere would look more like the shape of a deer’s antlers. Once I got the shape I wanted, I simply made an adaptive skin of the antlers and then added that adaptive skin as a separate sub tool within my scene.