UV Mapping
Before being able to export my asset to be texture in substance painter, I have to UV map it. The reason behind this is that if not UV mapped properly, faces can overlap with each other, causing a mess during the texturing process, as the texture will not look appealing. Round and distorted edges can make a texture look unclean, same with inappropriately placed seams, so this must be avoided as much as possible. Even an accurate UV map will have seams however, so it’s not fully avoidable as of right now.
Body, Legs, Mouth and Spike Rings
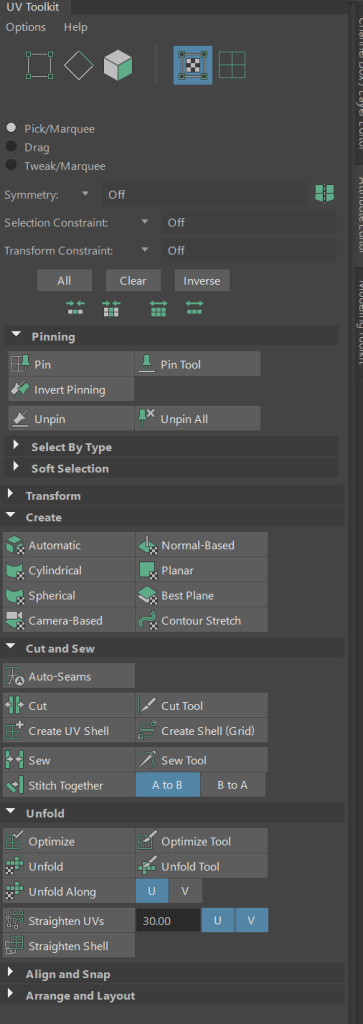
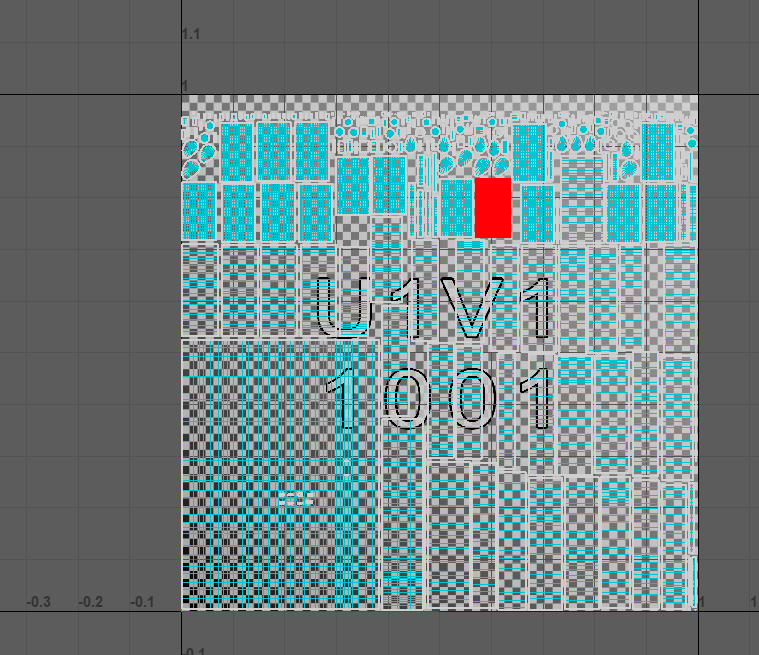
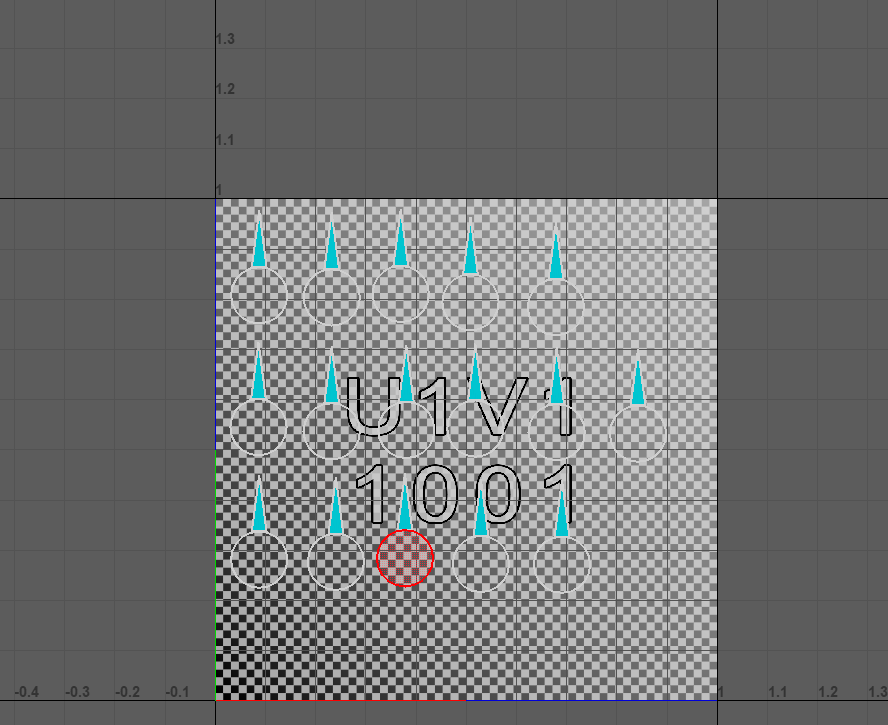
Before starting the UV process, I made sure to combine all the legs, spike rings (torus shapes), mouth and body together into one object. Then, along the top of the maya interface I selected the UV tab and selected UV editor. This brings me straight to the UV editor interface, with all the options described earlier along with other options not previously mentioned). It opened up with the main body with all the other aspects (apart from spikes, claws and eyes as I have not got them selected) and began by clicking a chequered box icon and it gave me chequered box on my UV map. This allows me to see where the UVs look good on the map and where the UVs have over stretching on the map.
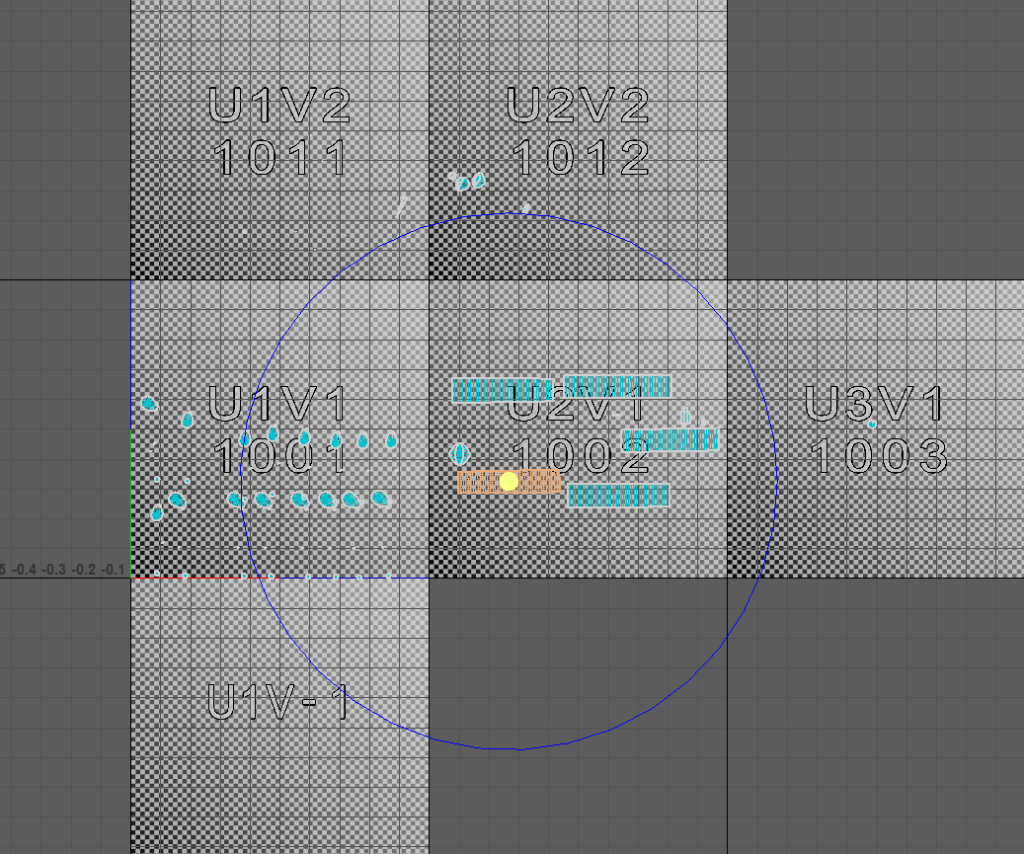
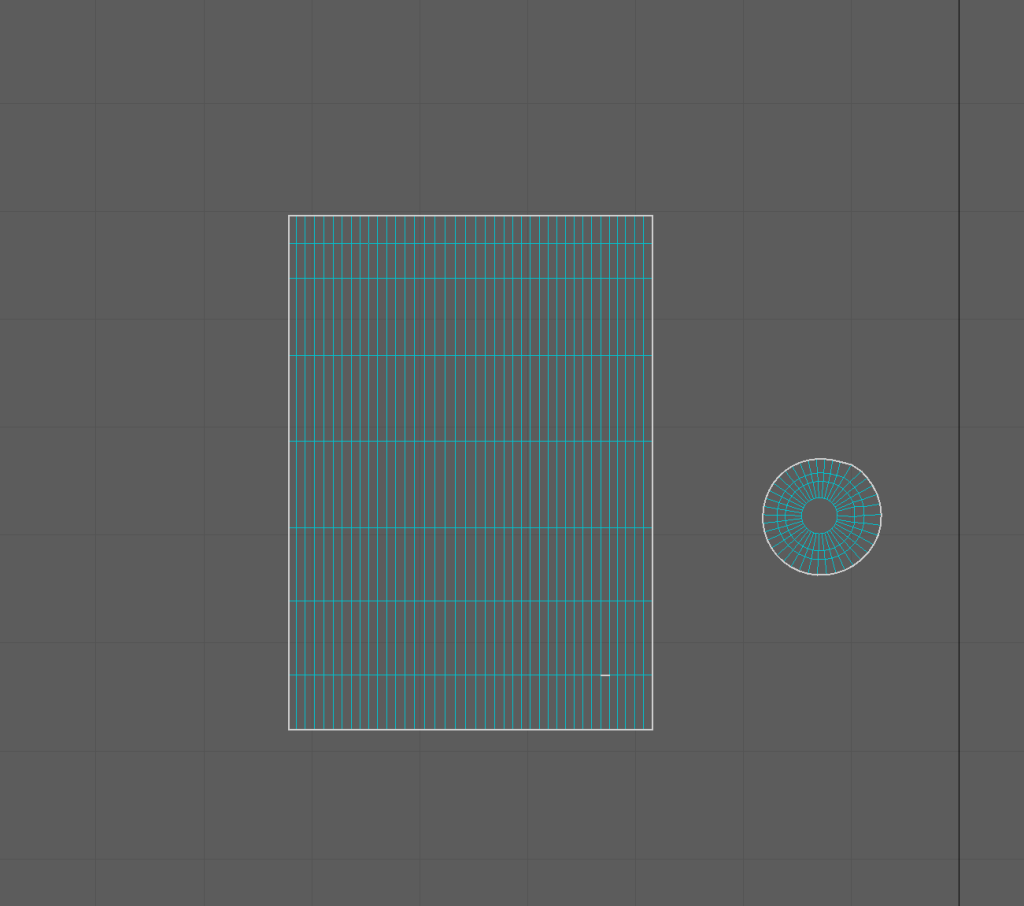
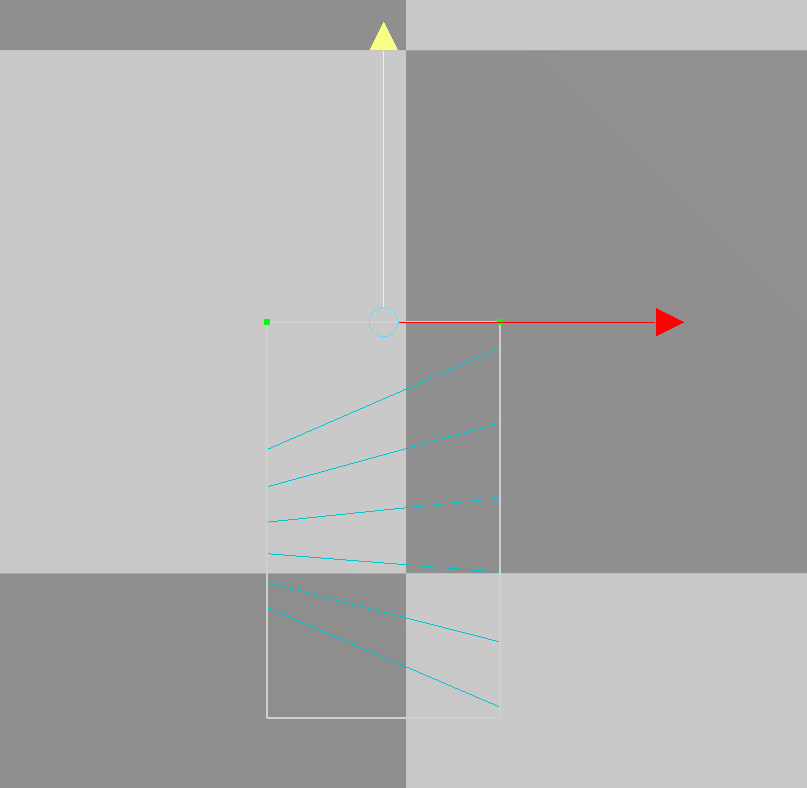
I started off my doing the easier shells, such as the ones along the main body, as those did not suffer from a large level of stretching or overlapping, so I straightened them by using a combination of the cut and straighten tools, and stitched these these shells by using the stitch together tools. Each time I used the stitch together tool the UVs were not straight, mainly due to the different spacing between each edge in the shell, and they could not straighten through the straighten tool, so I had to manually straighten UVs by selecting 2 UV and using the scale tool in the direction that all the selected UVs are parallel to.
The harder parts of the UV process were the legs, the section of the body that interconnected with the tentacles and the tentacles themselves, I had to separate all tentacles to a lot of smaller sections due to how folded, overlapping and round they were, same with the legs. However, the legs had fewer segments so they were easier to deal with, so I did those before focusing on the tentacles. After doing that, I would simply stitch these separated shells back together by using the stitch together tool to make a nice, uniform UV shell.
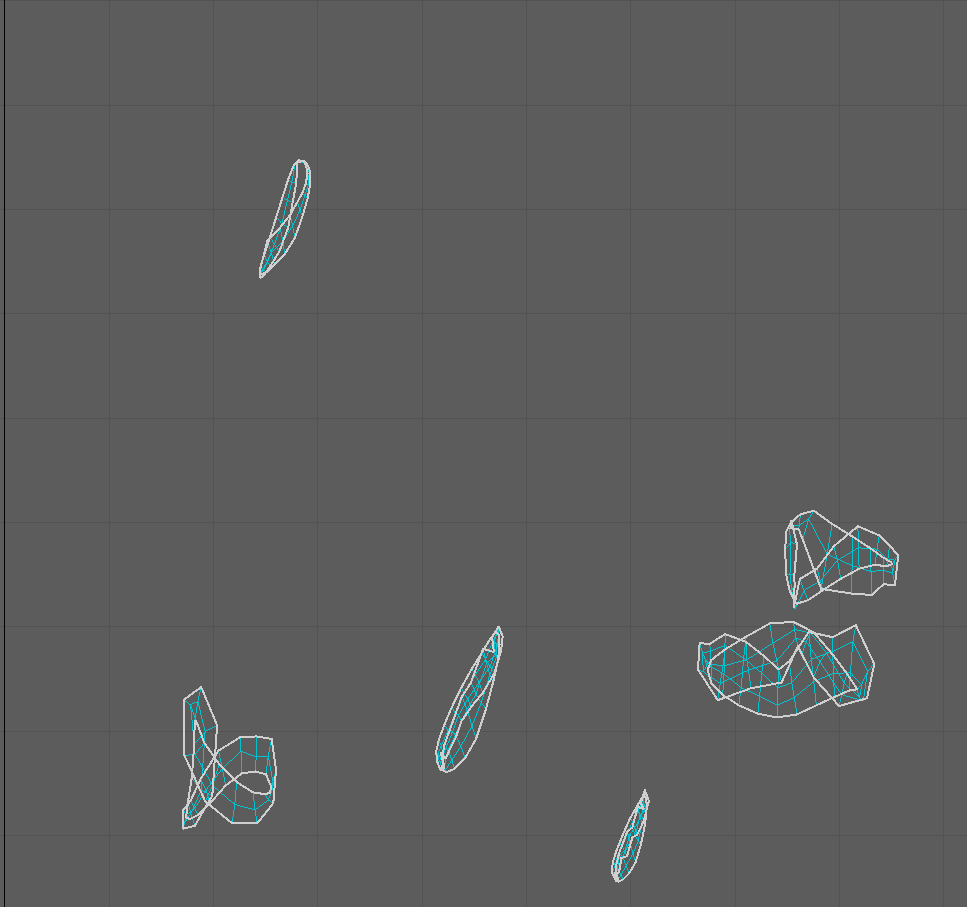
My approach to the UV shell interconnected with the tentacle UV shells and the main body was simple, like with the distorted round UV shells, I cut it wup into smaller UV shells, and when I straightened them with a similar process, I stitched them together along with the shell that covered the rest of the main body, with some adjustments to that shell afterwards to keep it straight.
Spikes, Claws and Eyes
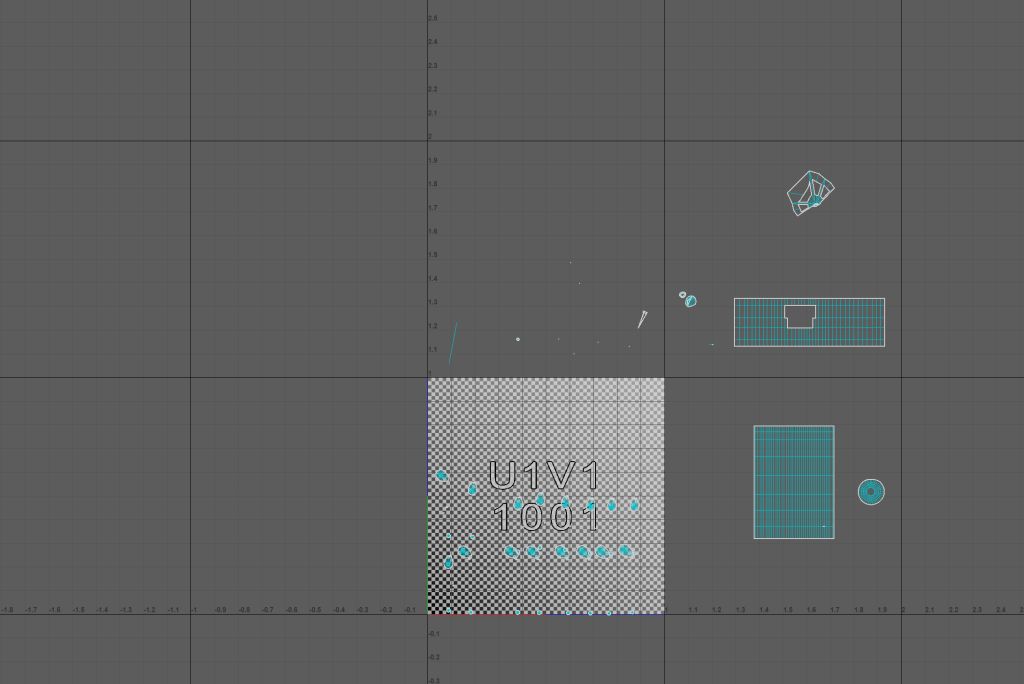
Luckily, for the other UV maps I did not have to heavily adjust the shells, so all I did was separate the shells out to make sure that they do not overlap with one another in the process, I did this manually until I discovered that I could automatically arrange them by using the arrange and layout tool, making the process less time consuming.
UV Reflection
The method I chose to do the UV with was time consuming, mainly due to the fact that it was one of my first times making a 3D asset, so I most probably made a few mistakes whilst going through the process. However, I learnt from my earlier mistakes when I began UV mapping and decided to experiment with different tools to see what they did, and the experimentation proved to be successful. Due to my lack of experience, I have spent a lot of time on my UV process and as a result I had less time to render and texture my asset. Suggestions for arranging my UV shells by one of my tutors was helpful to me, and allowed me to save more time on completing the asset.