Exporting to Substance Painter + Baking
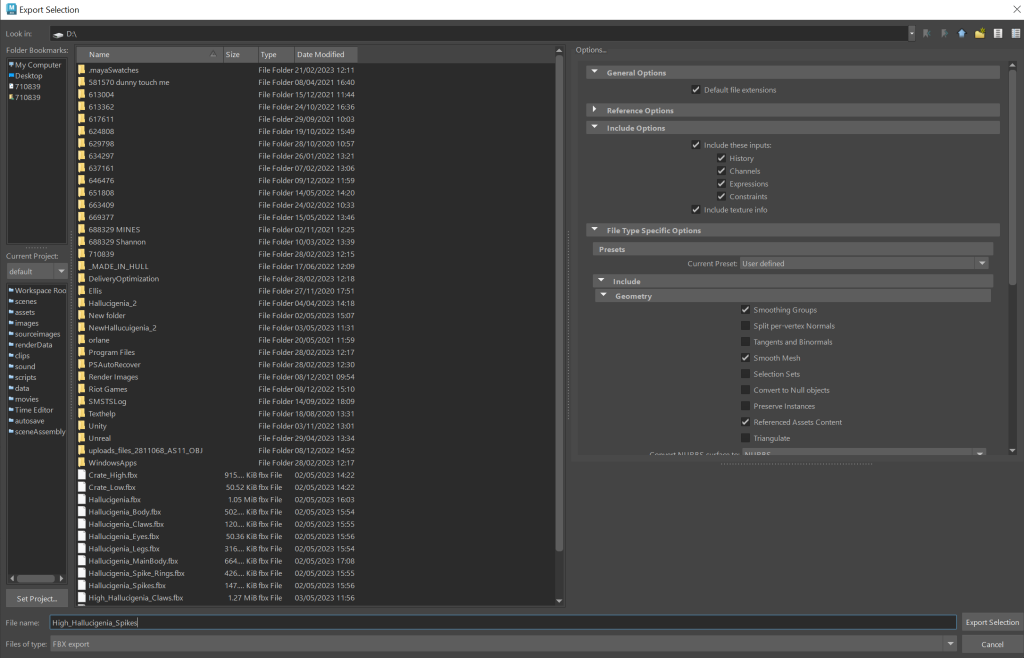
Once I have finished the UV mapping, I made sure to create a high poly version of my asset, with some refined details, and then I exported both the high and low poly assets as fbx files, as shown below, with referenced assets context ticked and everything else left as it is.
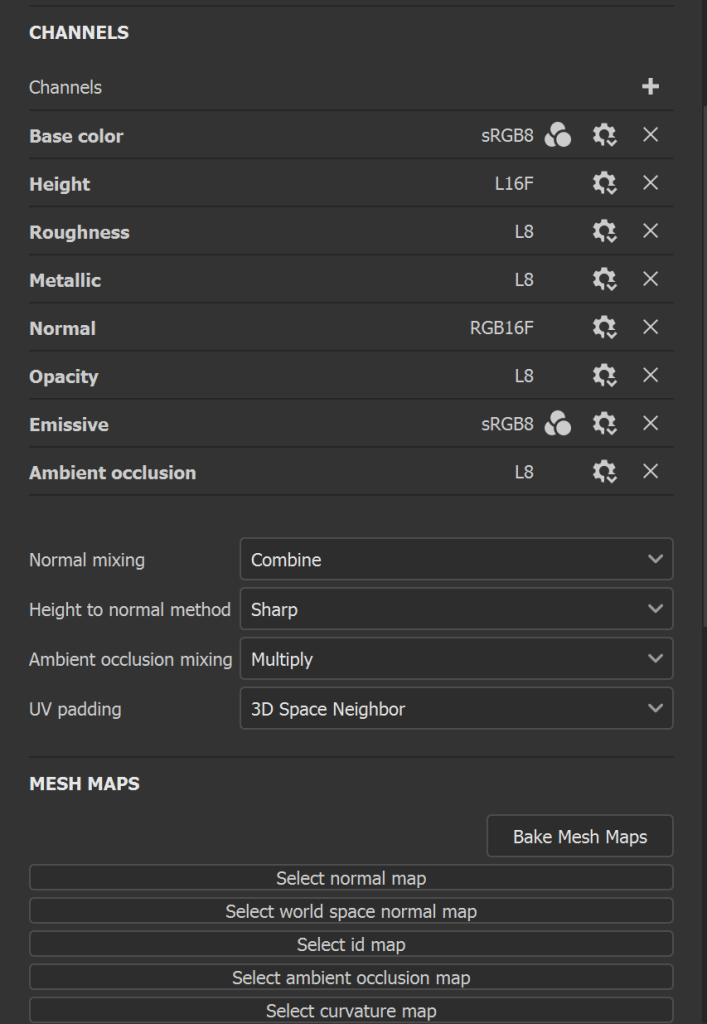
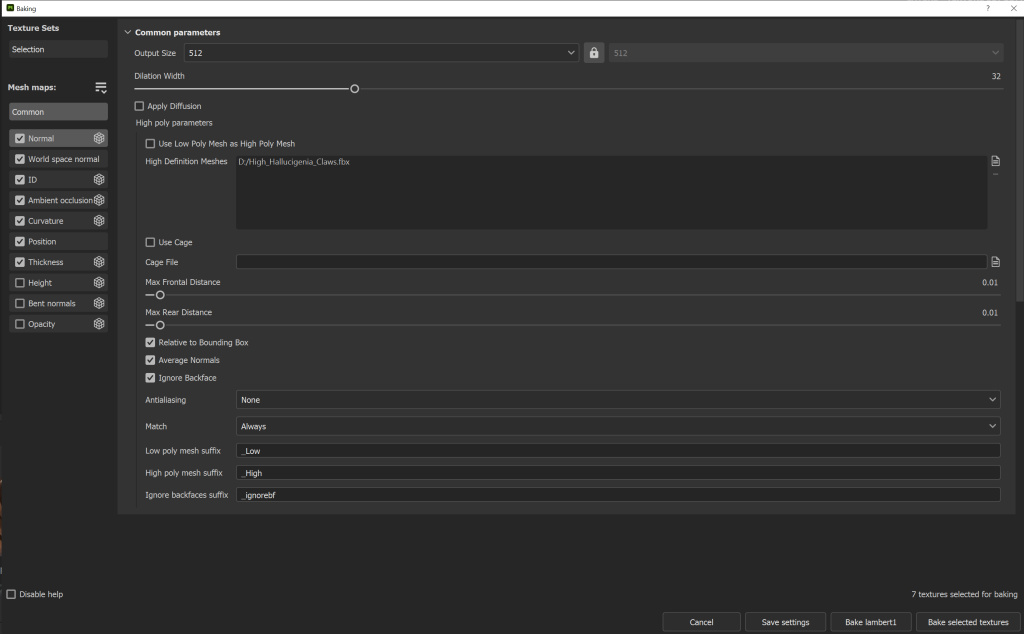
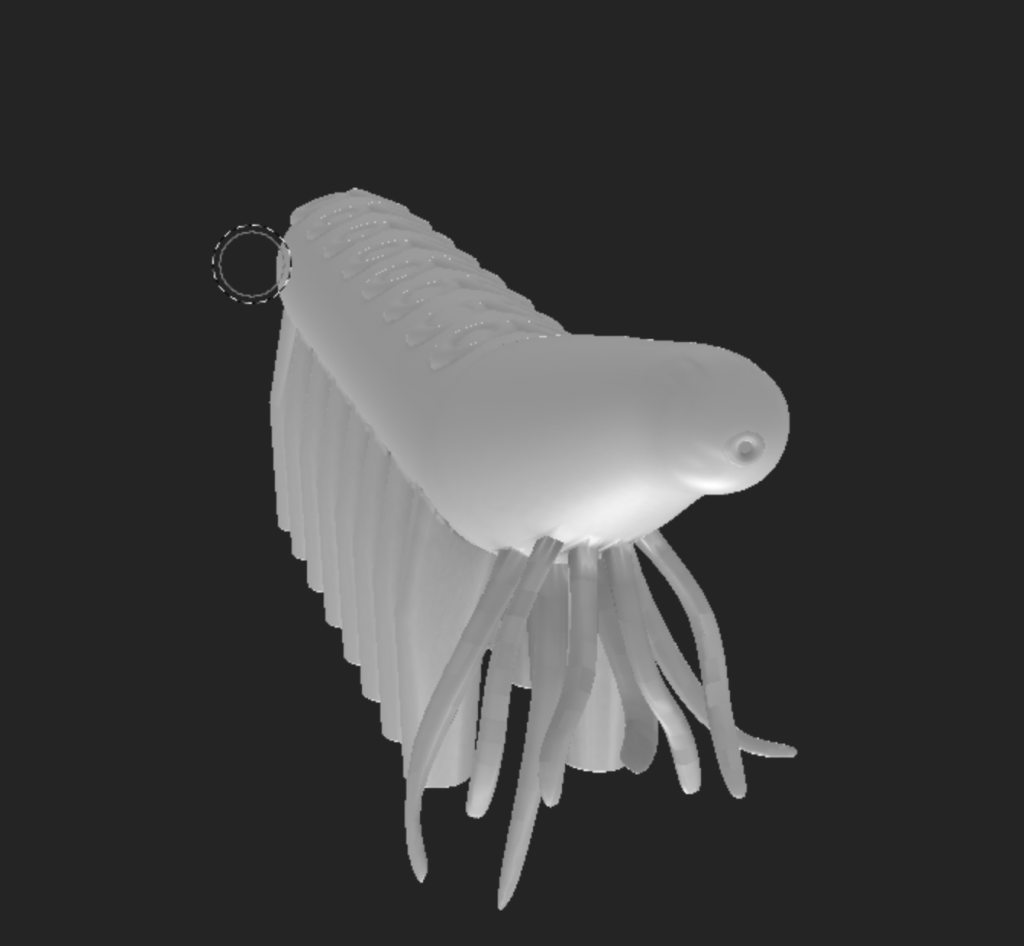
Then I loaded Adobe Substance Painter and created a new file, with the low poly Hallucigenia fbx files that I exported. This loaded the files in for me, so now what I needed to do was to bake the mesh, so I went over texture set settings, scrolled down to channels and clicked bake mesh maps. Like seen below, it came up with a baking window, and on the high definition meshes is where I placed the high poly fbx files.
Texturing
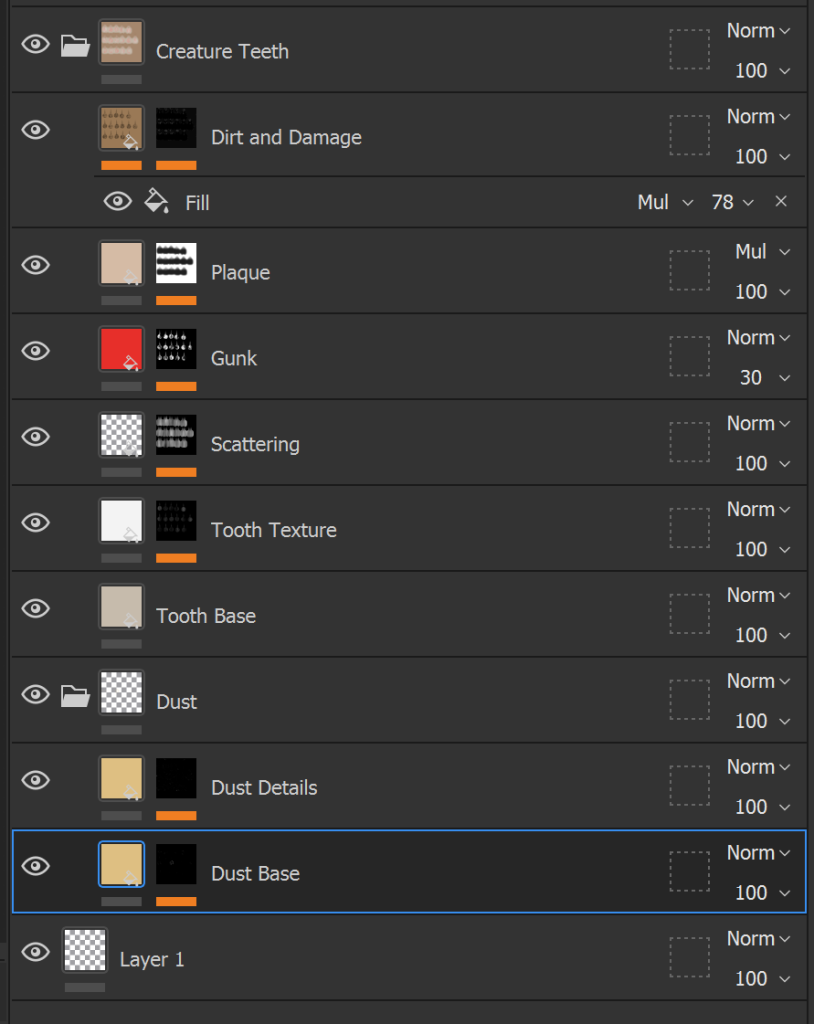
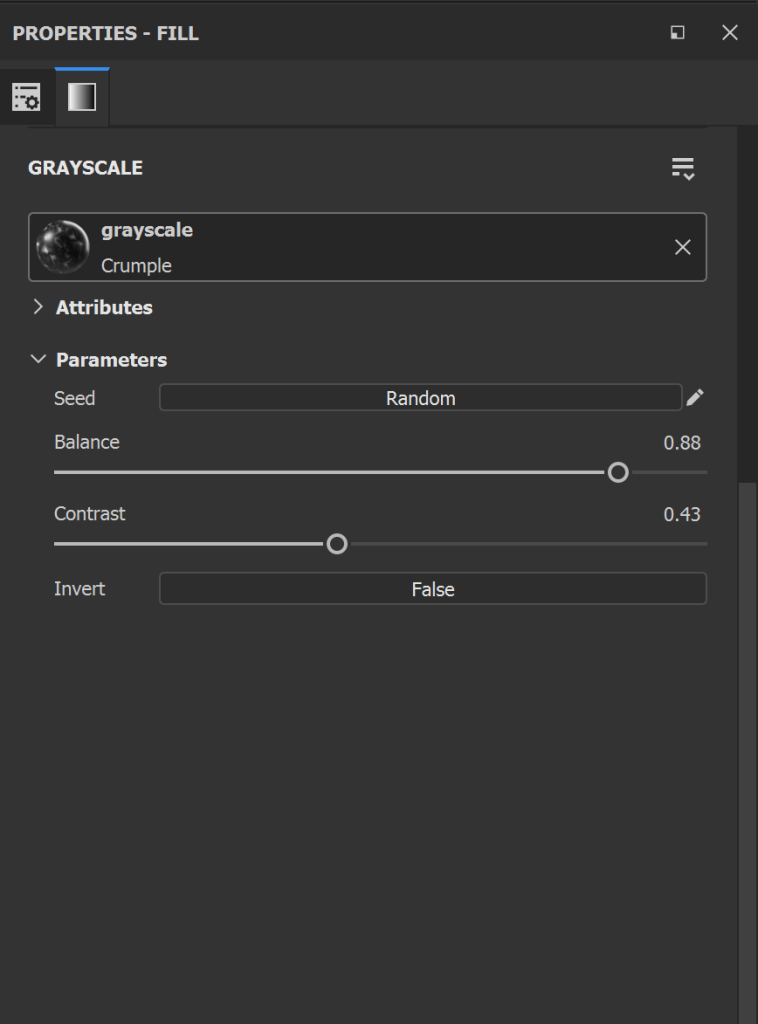
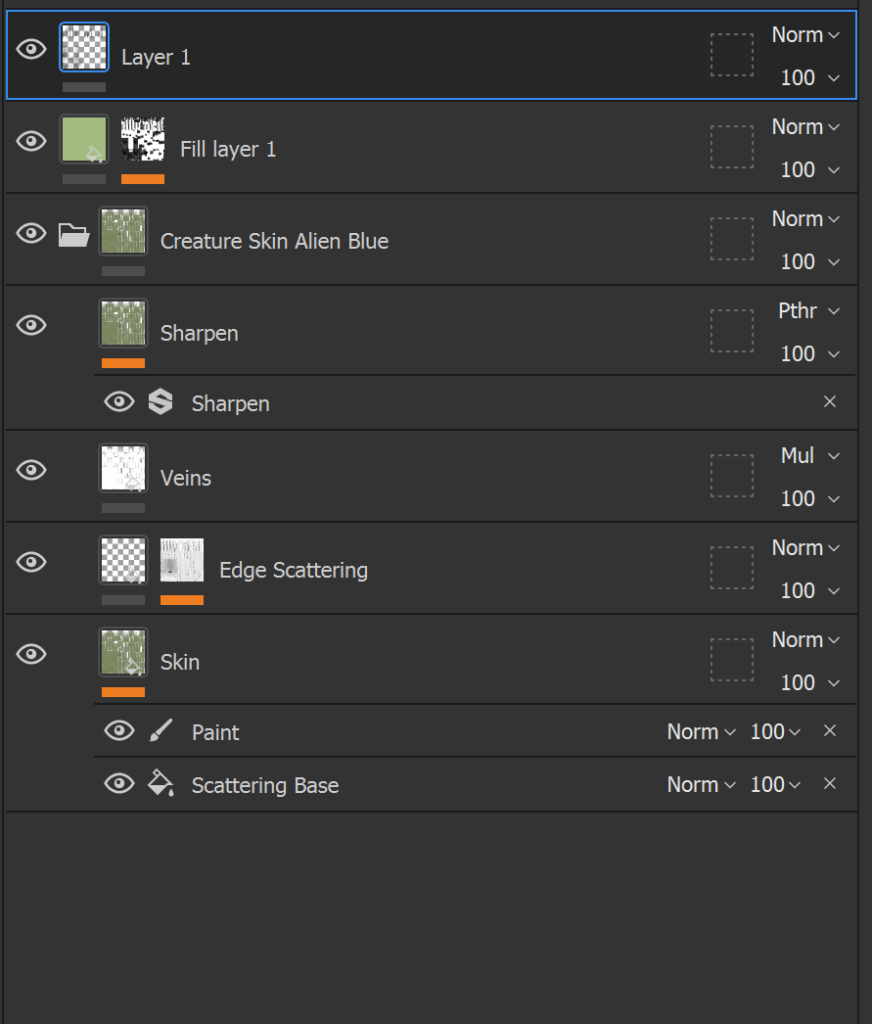
After I finished baking, I moved on to texturing my asset. In Adobe Substance Painter there are a variety of tools, layers and features that can help me with texturing, including paint layers (can paint in any colour across the asset), fill layers (acts like the base of the texture, can be any colour I want), black masks (allow to add layers that produce effects, such as paint for painting pattern on the mesh or dirt to add any dust, rust or dirt effects on the mesh), smart materials (include a package of fill layers, black mask layers ect) and smart masks (useful for adding more detail onto a texture).
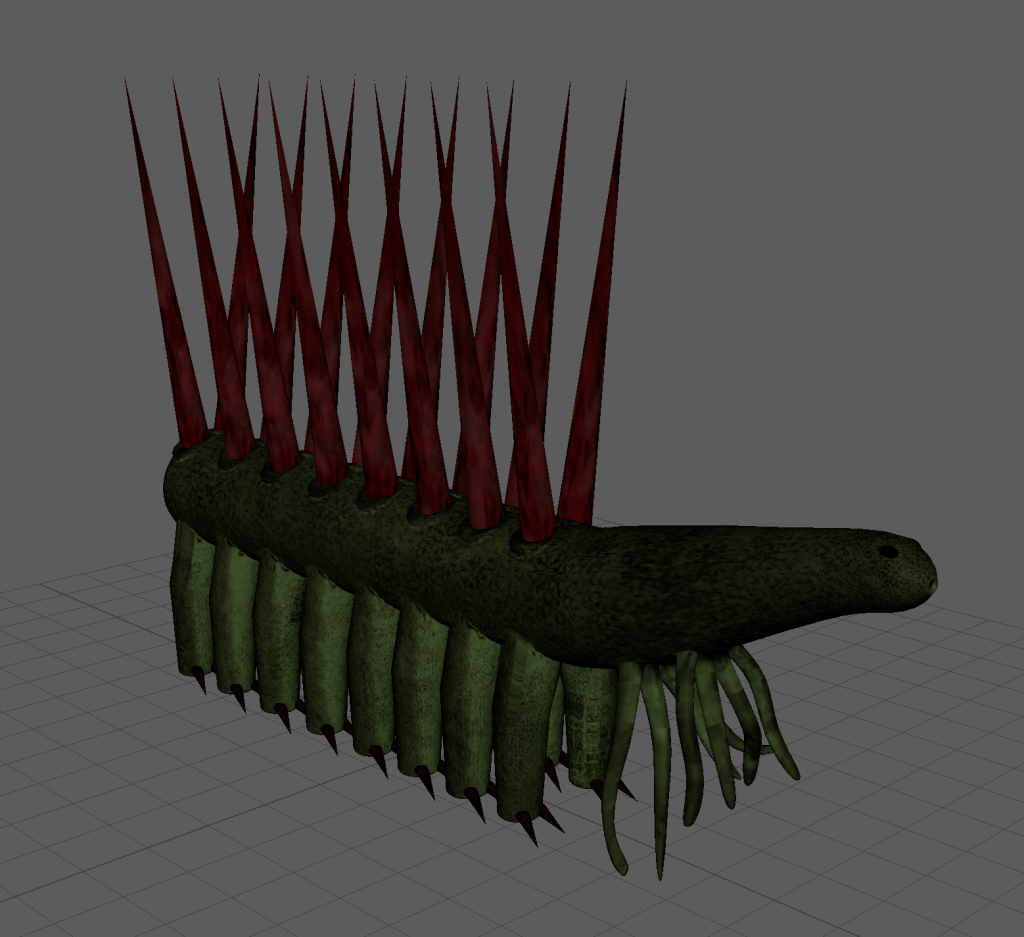
On top of that, I was able to adjust components such as metalness, roughness, height and ambient occlusion in each individual layer and mask, to fit in more with the style I’m going with and since my asset is a living creature, I used effects that made the asset feel more organic, rather than something that is metallic or plastic, hence why I chose creature smart materials as a base, instead of aluminium for example. For example, I decided to make the eye texture reflect more than the other textures, since eyes are reflective, but I also wanted to keep alien like aspects in those eyes, such as the obvious lack of liquid like textures present in the eyes, to demonstrate that it’s something out of this world.
Exporting Back to Maya
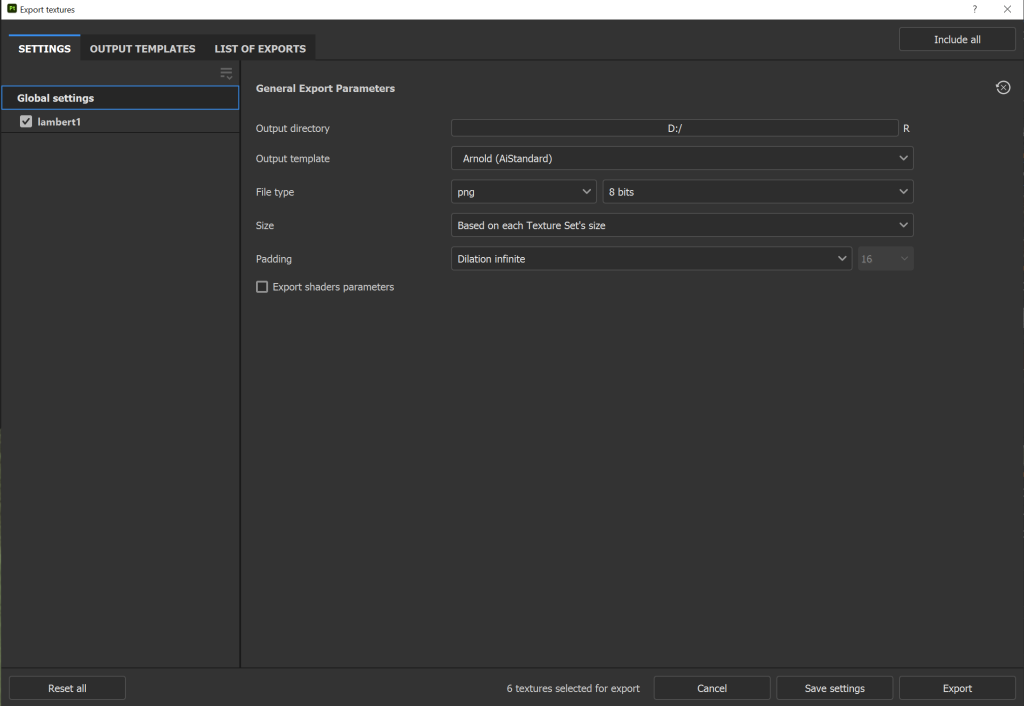
After I have finished with my textures, I exported the texture maps by going into file export textures and it gave me window to export them into, with options for the output template, file type and output directory. I wanted the output template as Arnold(AiStandard) and set the file type to a png, saved it to the D drive on the PC and clicked export. Then, I returned to my low poly asset in Maya, assigned an ai standard surface material for each section of the asset and clicked the chequered box icon just above the scene (this is done in order to see the textures on my mesh). In the Ai standard material attribute editors, I added the appropriate base colour, metalness, roughness, height, normal and emissive texture maps whilst choosing appropriate settings for each of these texture maps (SrGB for base colour, and Raw for the rest).
Texture Reflection
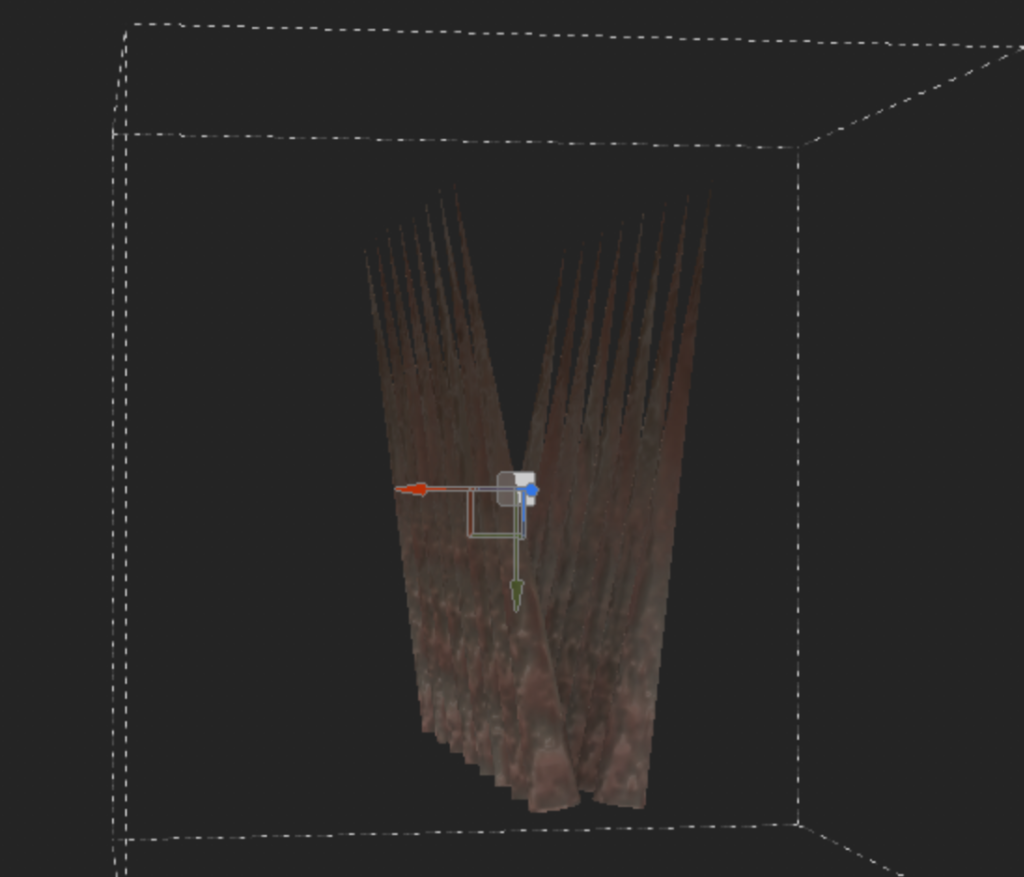
Overall, I am fairly happy with how my textures turned out, but it seemed to have problems which a few of my peers pointed out, like the unexplained stretching on my spike texture and the noticeable seams on the tentacles. Due to the lack of time I had remaining, I could not have repaired this in time so I had to keep it as it was.
