Process
In order to model in any 3D software, I must be aware of the various tools that I have in disposal. Maya has quite a few useful tools that can help me with my modelling process, including the multicut tool (allows to create new vertices and edges in a mesh), target weld tool (snaps 2 or more vertices or edges together), bridge tool (creates a face between selected edges), bevel tool (makes the shape more blunt and round like) and smooth tool (smooths out any sharp edges near selected faces/edges), along with other options such as extruding (allows to stretch a selected face(s) of a mesh outwards in any size rotation), scaling, rotating and moving. All of these tools are useful for some purpose, such as the target weld tool being used to reduce or completely eliminate the amount of ngons (shapes with more than 4 vertices) in a mesh.
Main Body
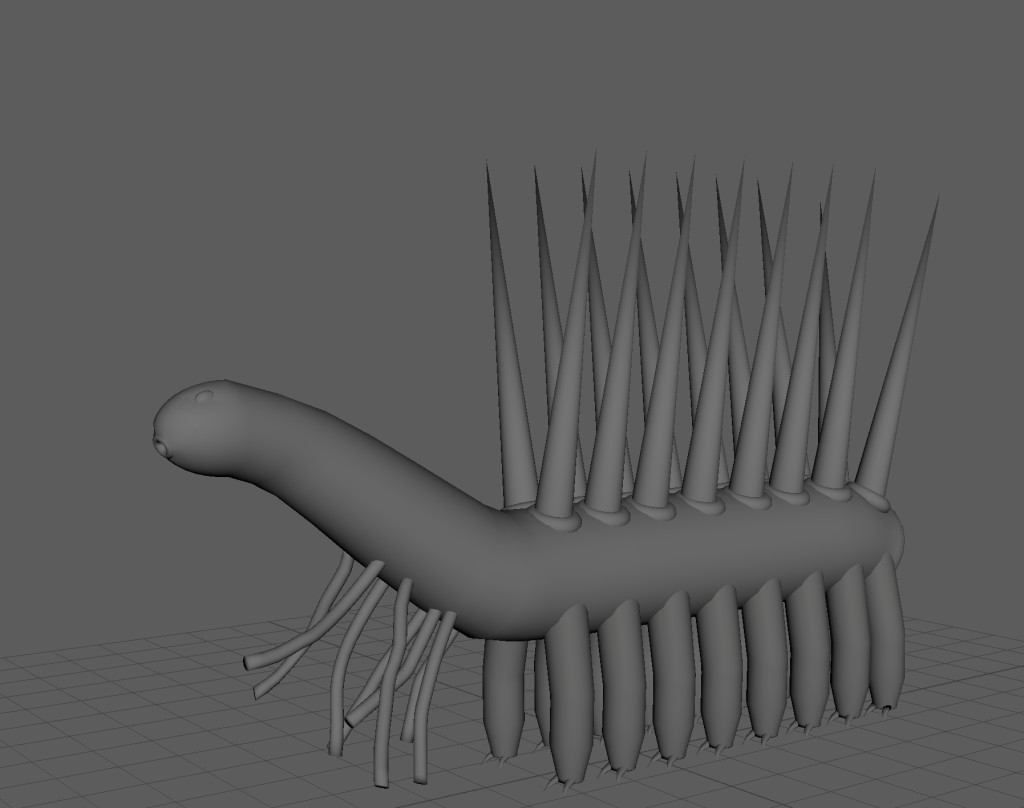
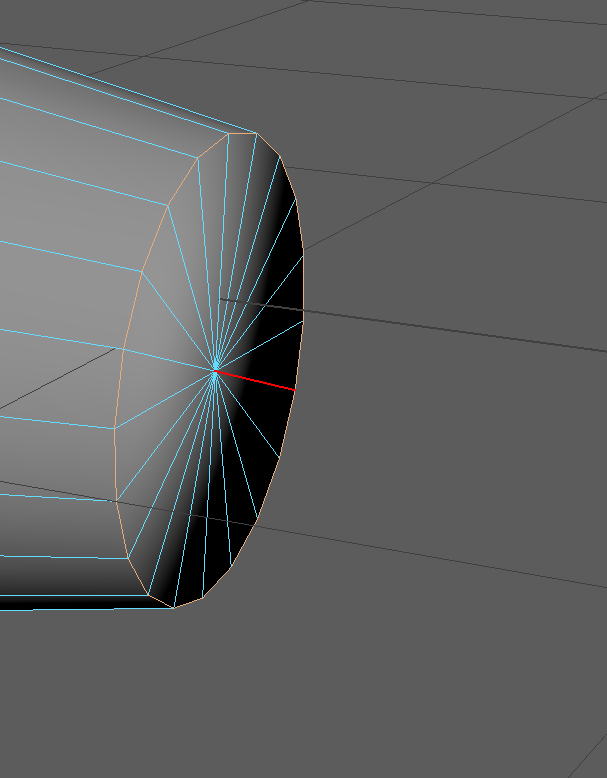
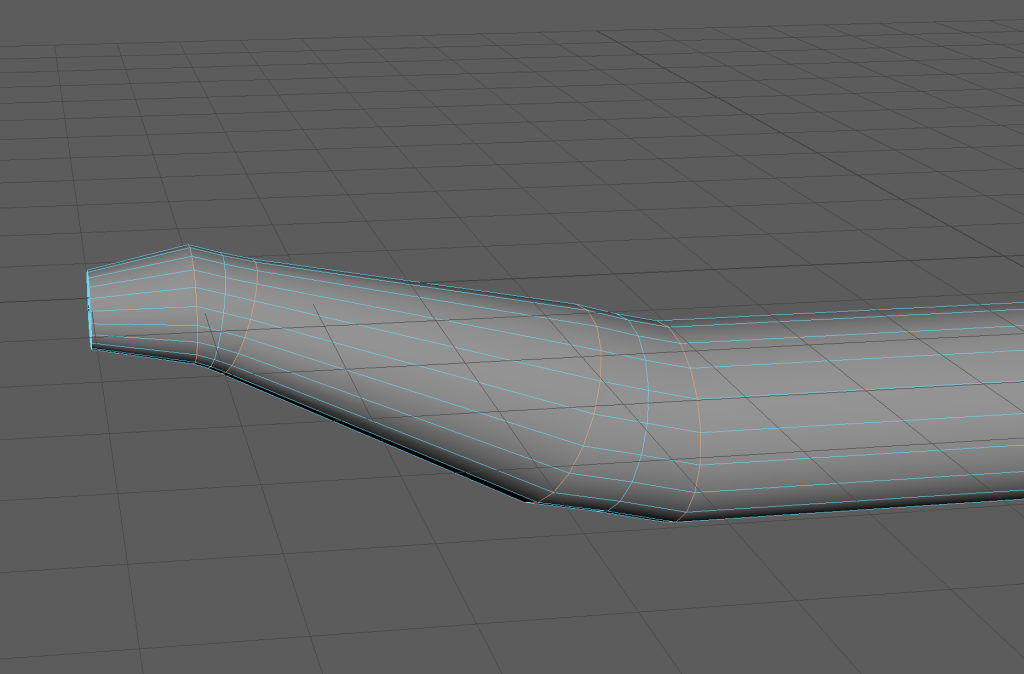
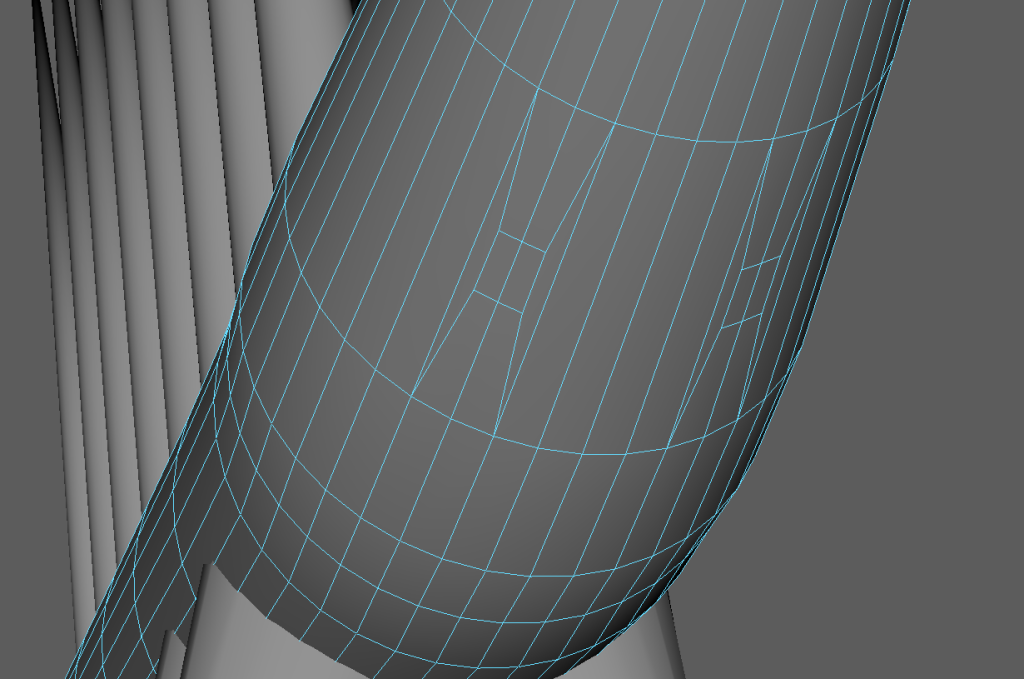
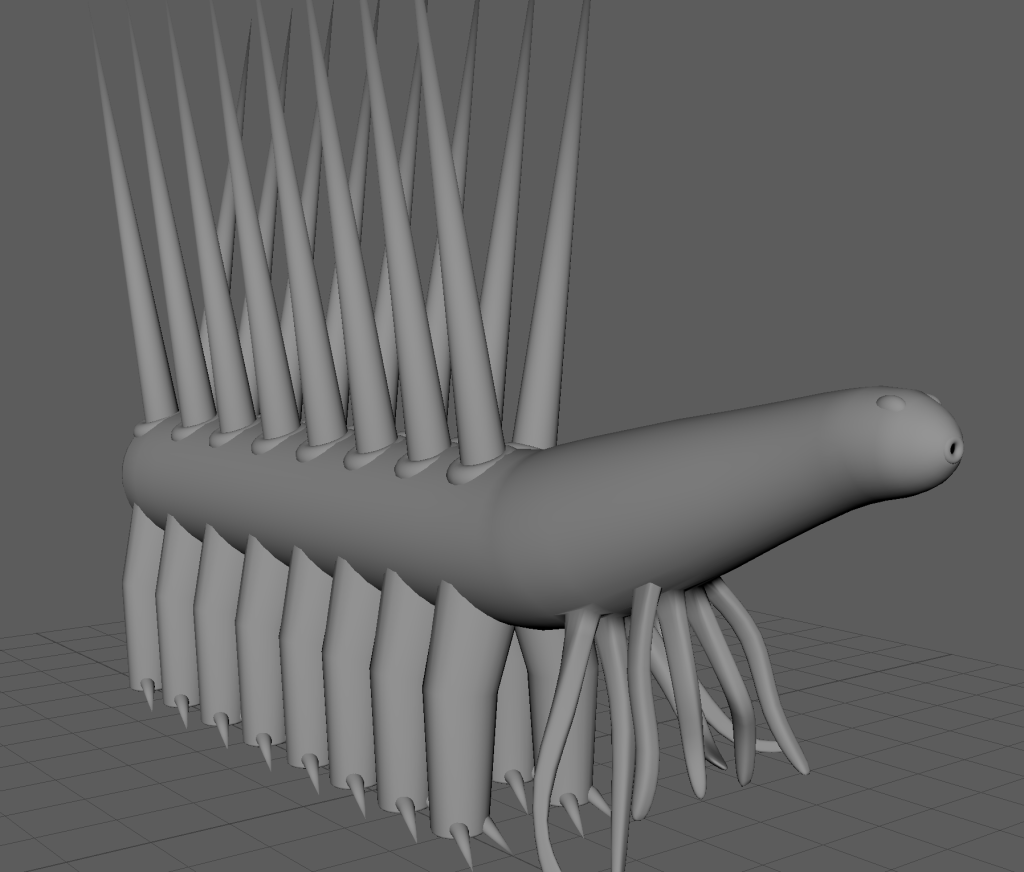
I started this project off by creating a cylinder and adjusted its scale, position and rotation. After that, I selected the faces making up one of the circles and extruded them outwards, adjusting their size as I was doing so, rotated them and extruded them out in a different angle. I kept doing that until I got a shape that more closely resembles that of a Hallucigenia’s main body structure. there was one problem with this process, and that is the fact that the edges where I changed the direction of which I wanted to extrude my faces were too straight. Despite this issue, I was able to easily repair it with the help of the smooth tool, at the cost of having ngons, which I could easily deal with by using the target weld tool as I mentioned earlier.
Spikes, Legs and Claws
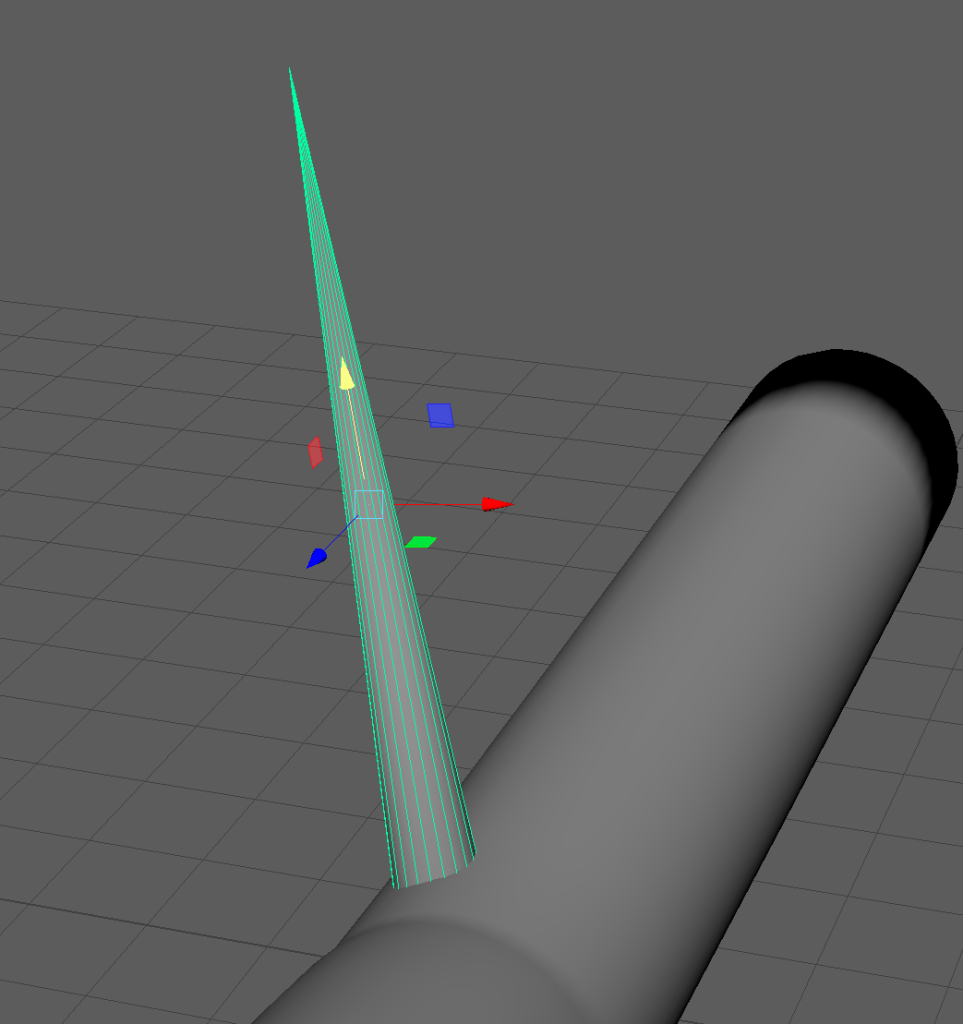
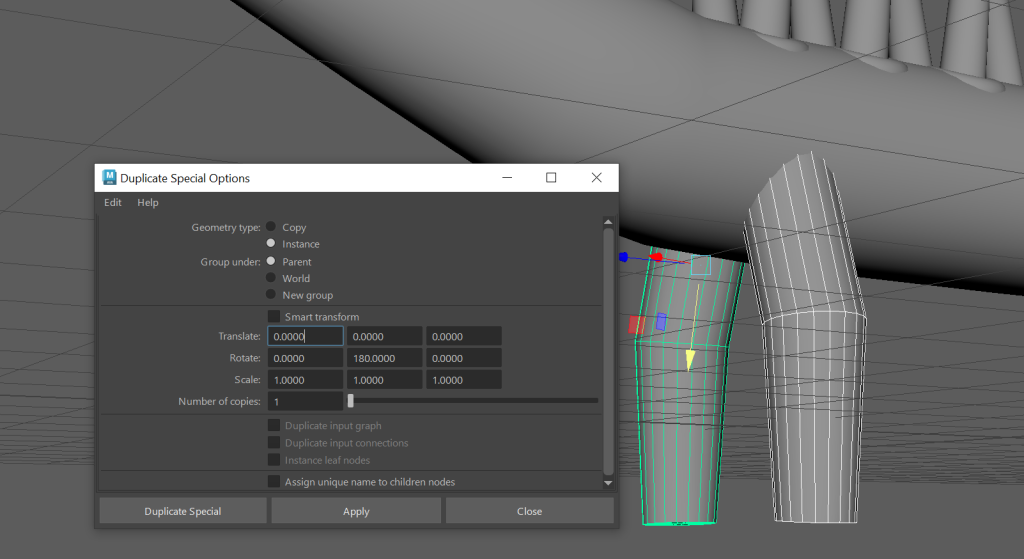
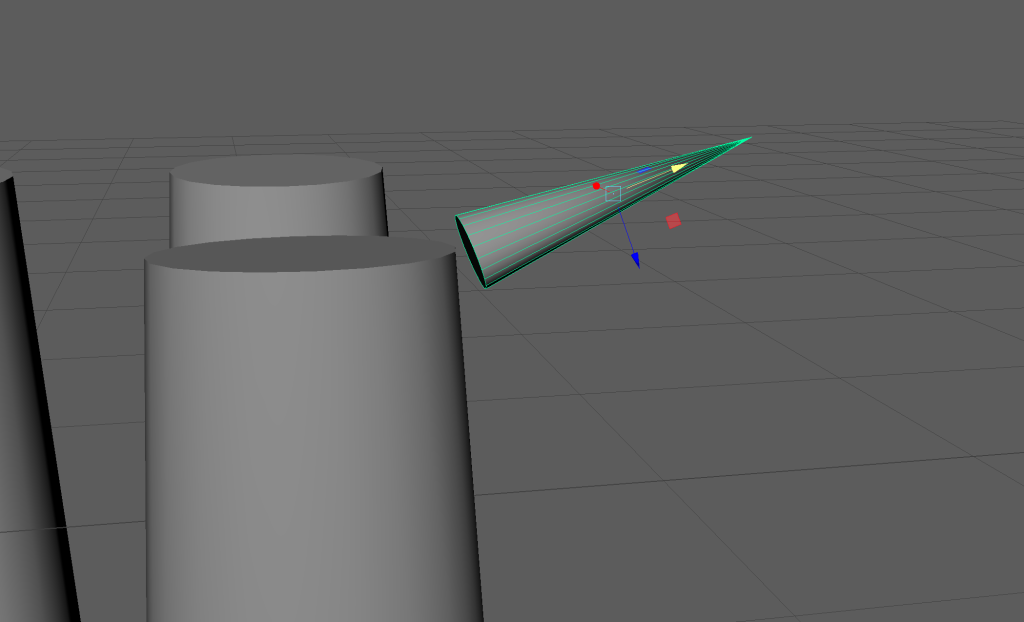
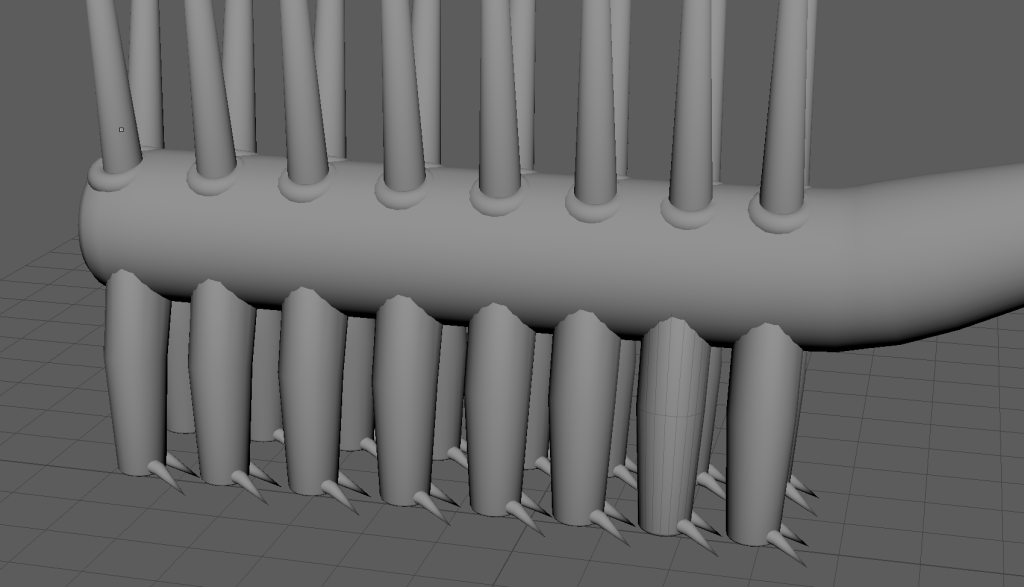
Then, I decided to focus on adding the spikes along the back of the Hallucigenia, so I created a cone shape and a torus shape, and adjusted their position, size and rotation on the asset. After that, I duplicated those shapes by using the duplicate special option (also known as instancing) and positioned the duplicated shapes appropriately, like seen in the screenshot on the bottom right.
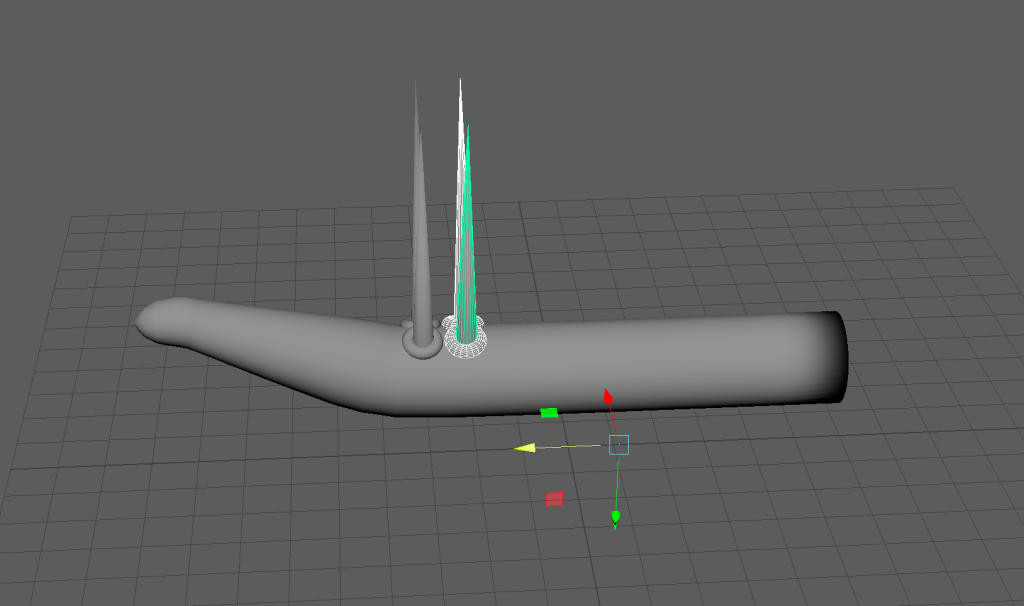
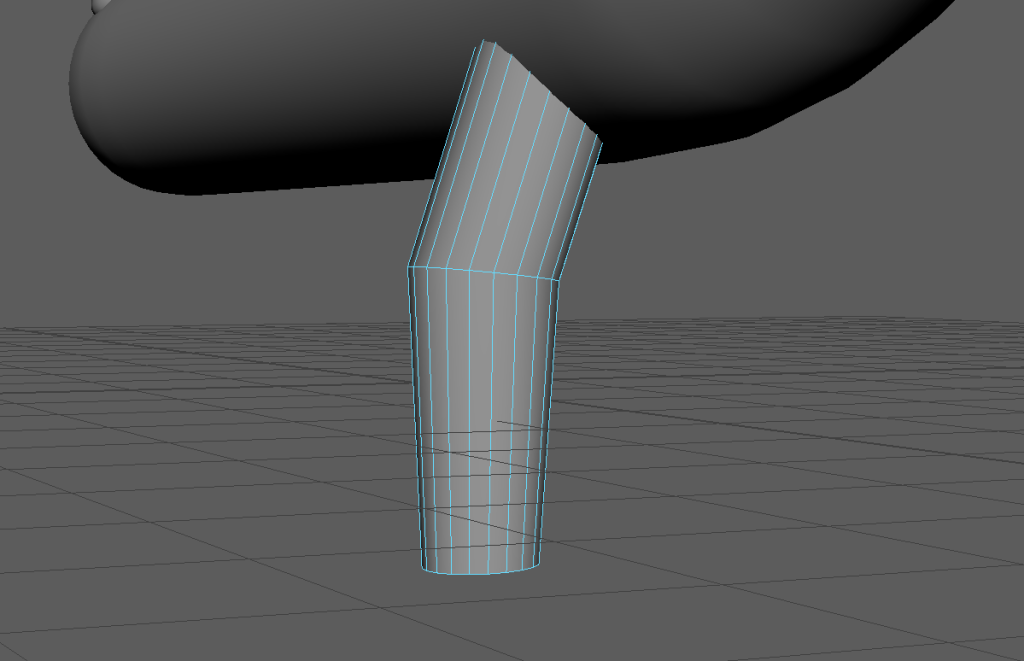
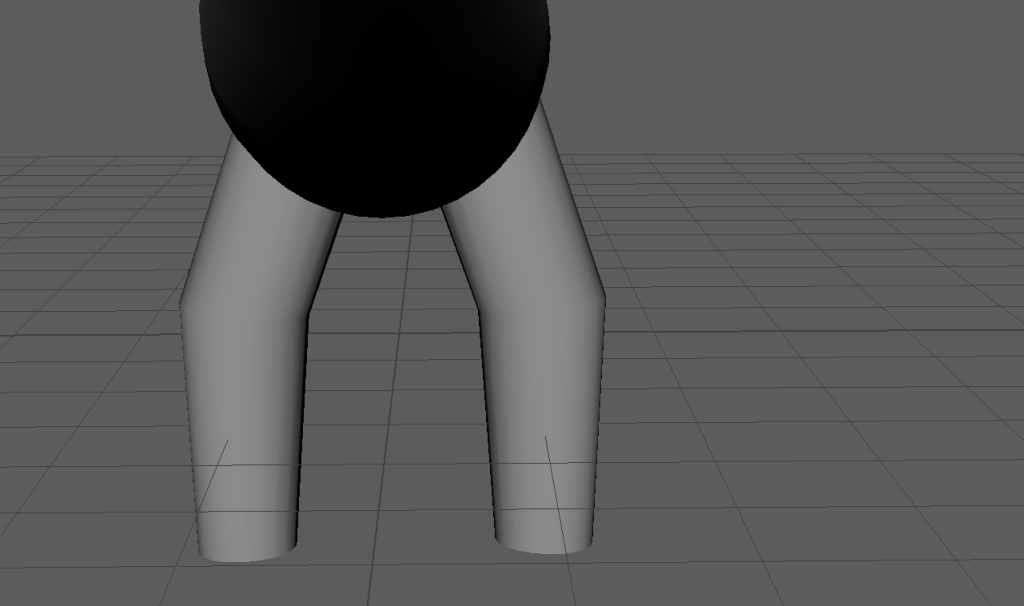
Next was the creation of the legs. The process of creating the overall shape of the legs was similar to that of creating the body, but with fewer segments and the legs being smaller.
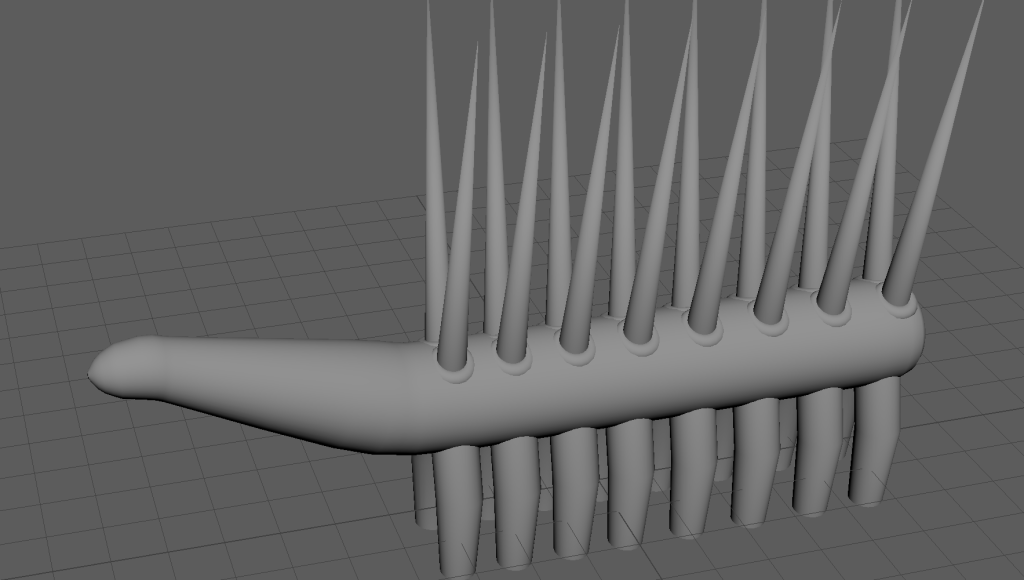
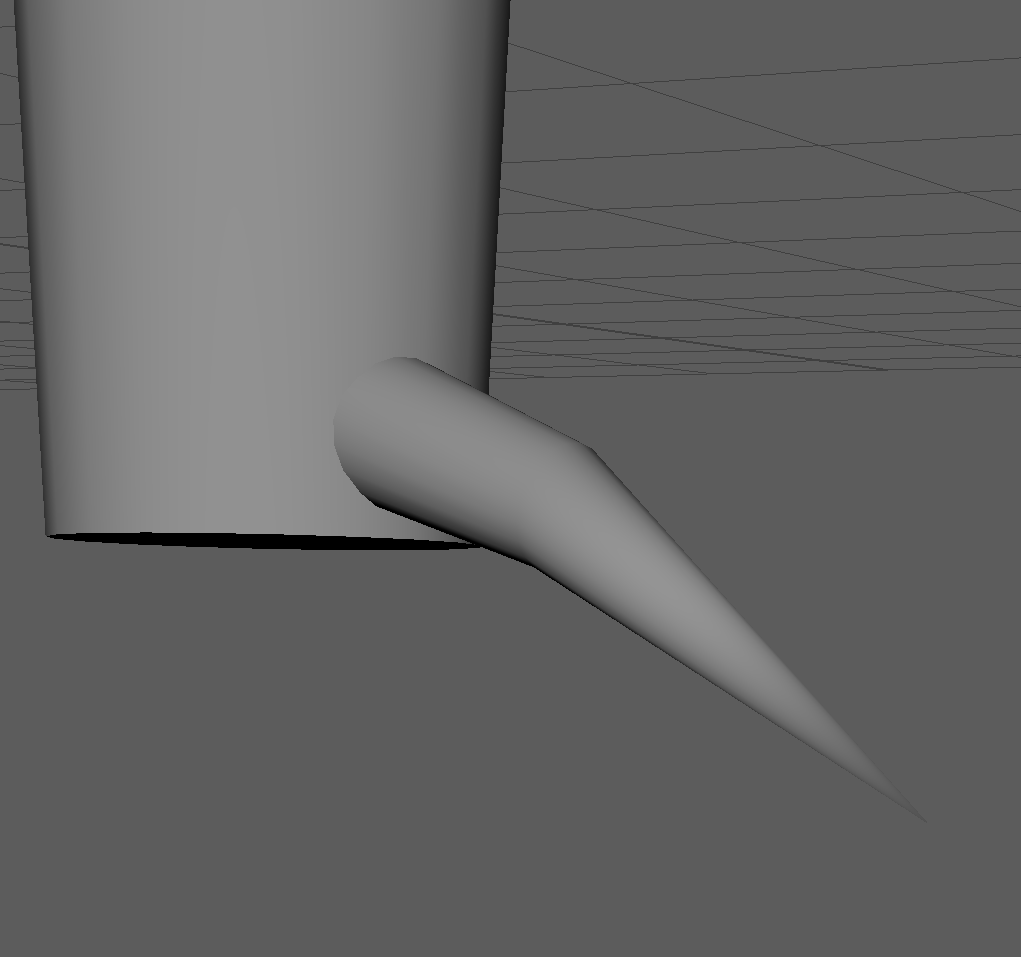
The leg claws had a similar process to the legs, the only difference being their size, shape, position and amount of them that were present in the asset (16 pairs)
Eyes, Tentacles and Mouth
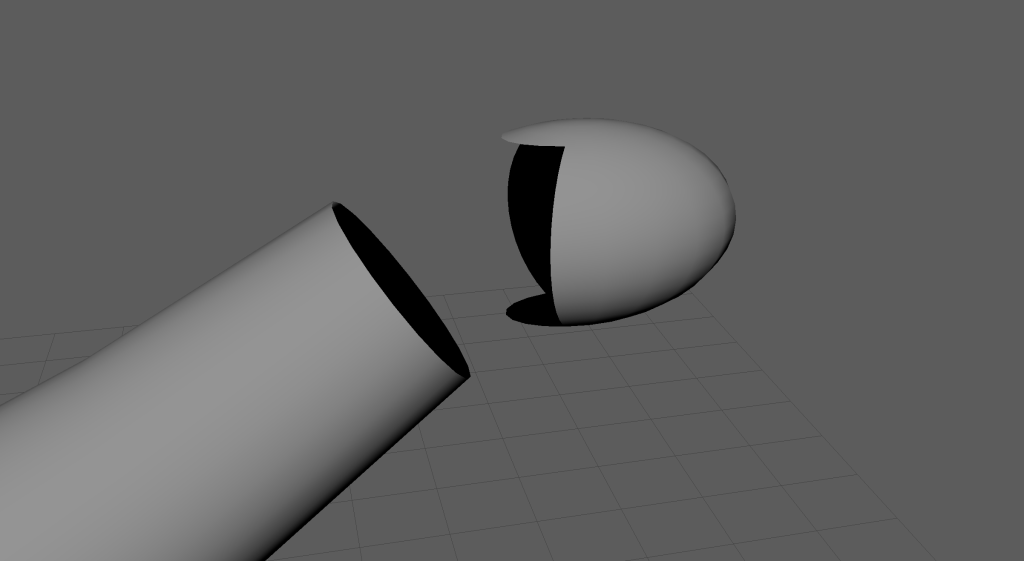
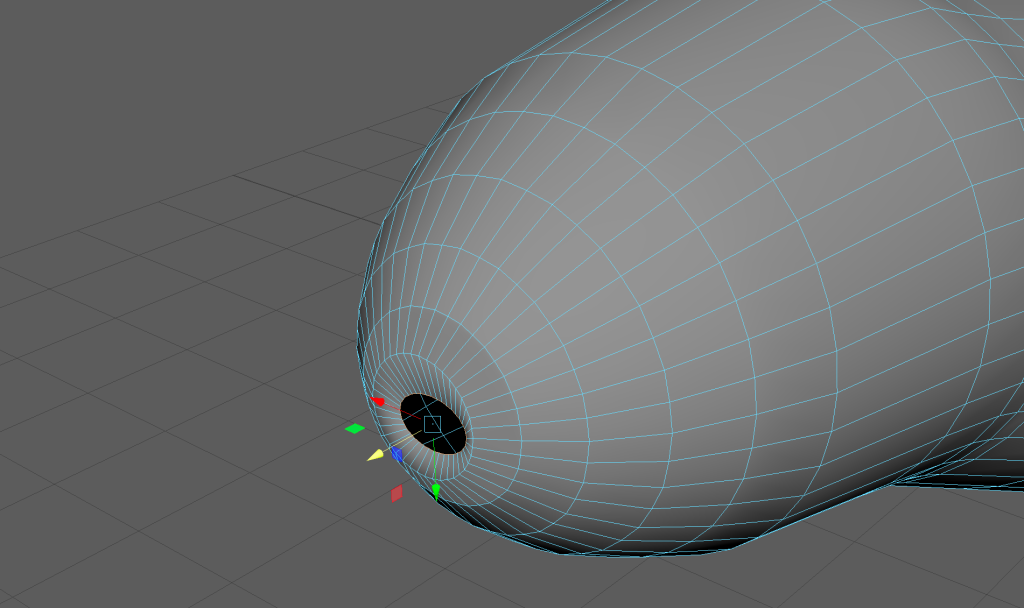
The eyes were the most simple part of the asset to make, I just created a sphere shape, adjusted its position, size and rotation onto the top of the head and then instanced it and adjusted the other shape’s position and rotation where appropriate. For the mouth, I created a torus shape and positioned, scaled on rotated it onto the the end of the head, like seen below on the right.

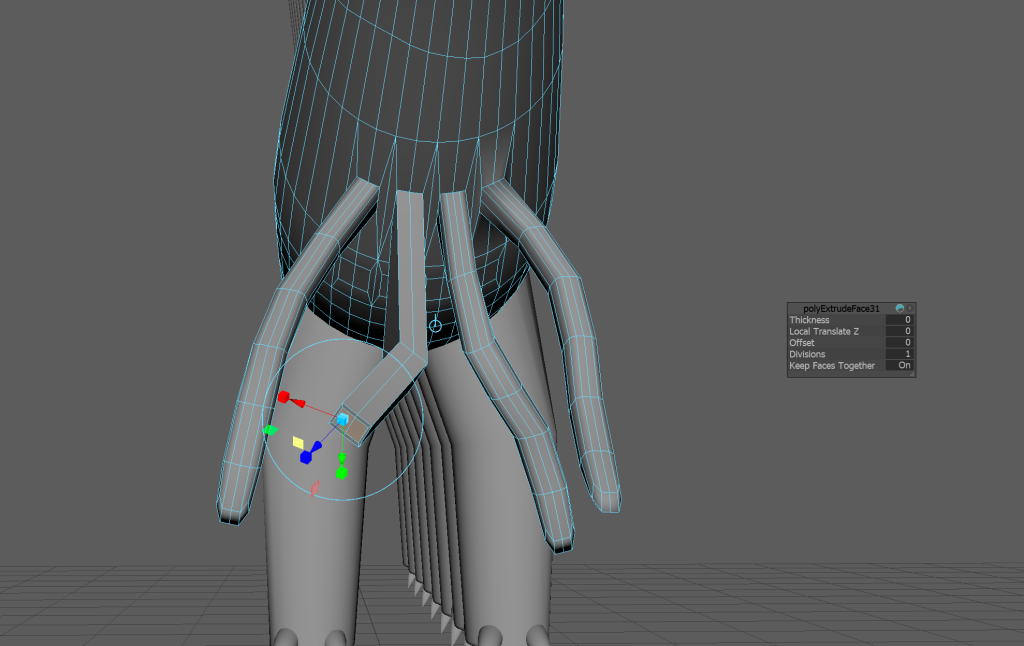
Finally, I created 8 tentacles on the bottom of the neck near the front legs through extruding some of the faces nearby several times, allowing me to have several segments in my tentacles which can be rotated in different directions as seen below. However, since these extrusions ended up being square, I had to end up with utilising the smooth and bevel tools in order for the tentacles to look more smoother and more organic.
After showing the result to my peers during a session, I had quite a few positive reactions based on its design and because of this I decided to keep the model as it is.
Problems with modelling
When starting off with this project I had a file that I only manged to get the modelling done on, due to unexpected crashes that occurred when I last worked on it, there are many reasons for Maya to crash and it could have been for a variety of reasons, and I did not manage to get the first file working again. I have overcome this issue through contacting various people for help, and when that failed to solve the issue (which it did), I decided to start creating a new file and starting all over again.