Creating the temple base
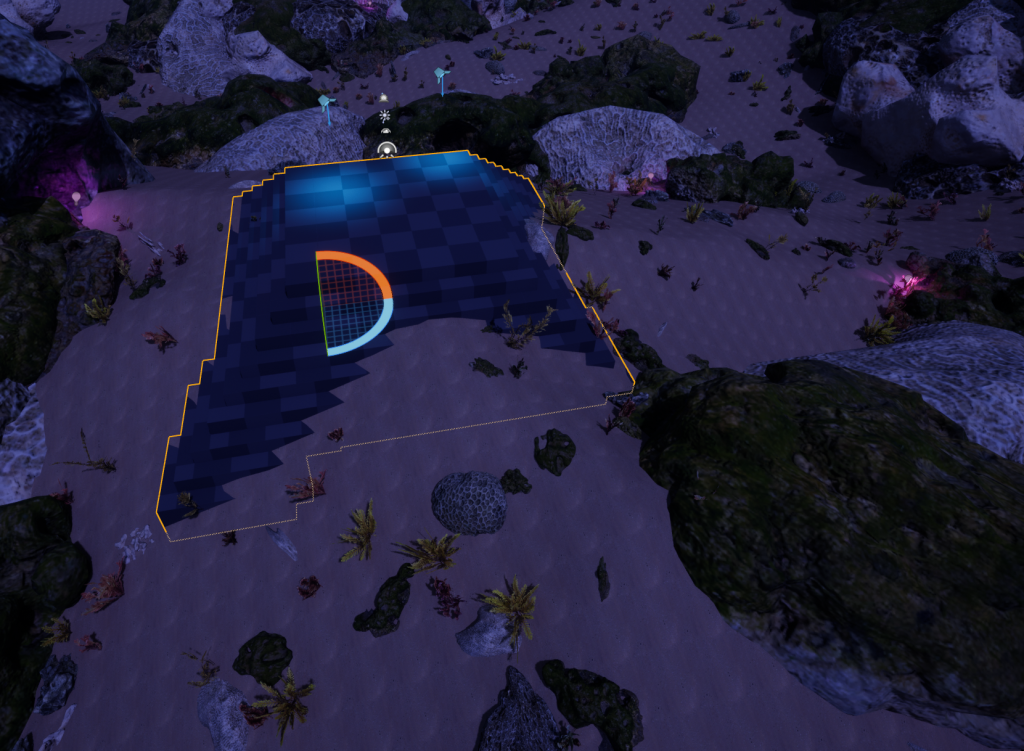
After placing the lighting where I wanted it to be, I switched over to modelling mode from the same dropdown menu that I could select the foliage and landscape modes from, and selected the cubeGR option in the modelling mode menu.
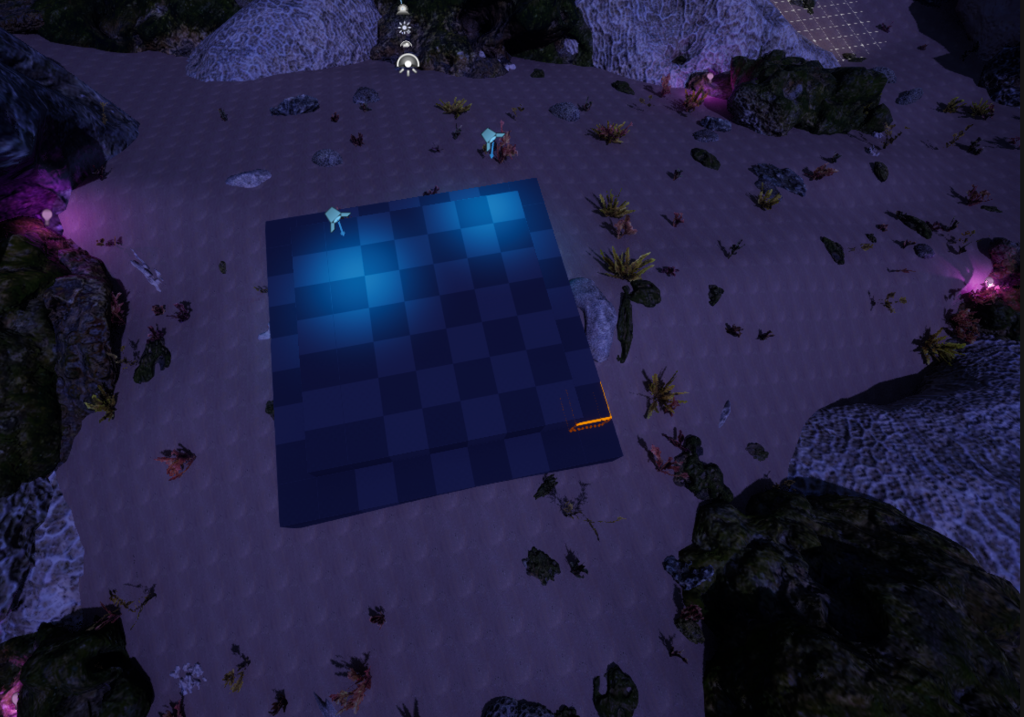
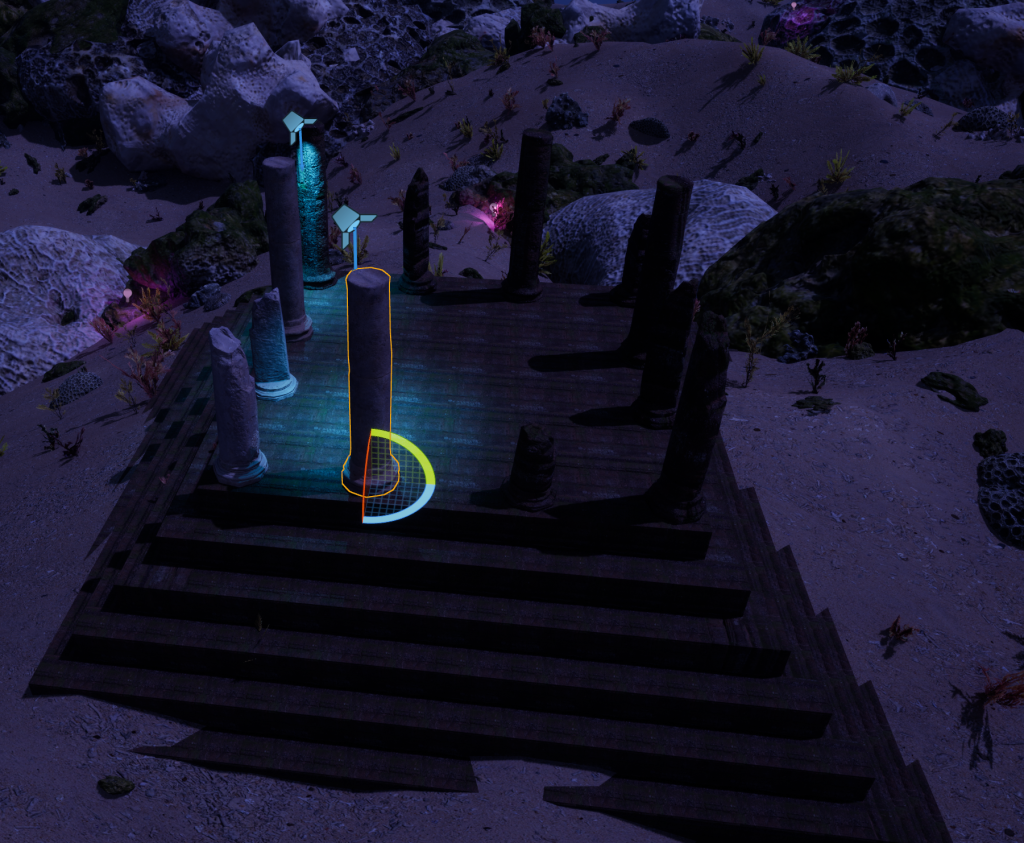
CubeGR allows me to make a structure by placing cubes in any direction by selecting a few squares on the shown grid and pressing e on the keyboard, and make adjustments to the size of the cubes so that I have more options on how to place these cubes. This tool can also allow me to delete any cubes that I think are unnecessary to add by selecting a one side of the cube and pressing q on the keyboard. This is not restricted to only single cubes, and I can select multiple cubes to either delete them or add more as I need to. Eventually, after a few attempts at positioning the structure in the right place and placing cubes in an orderly fashion, I finally created a structure like shown below.
Assets and Materials
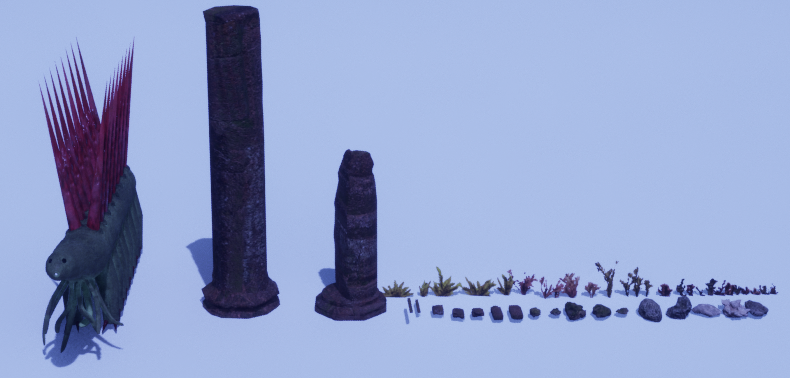
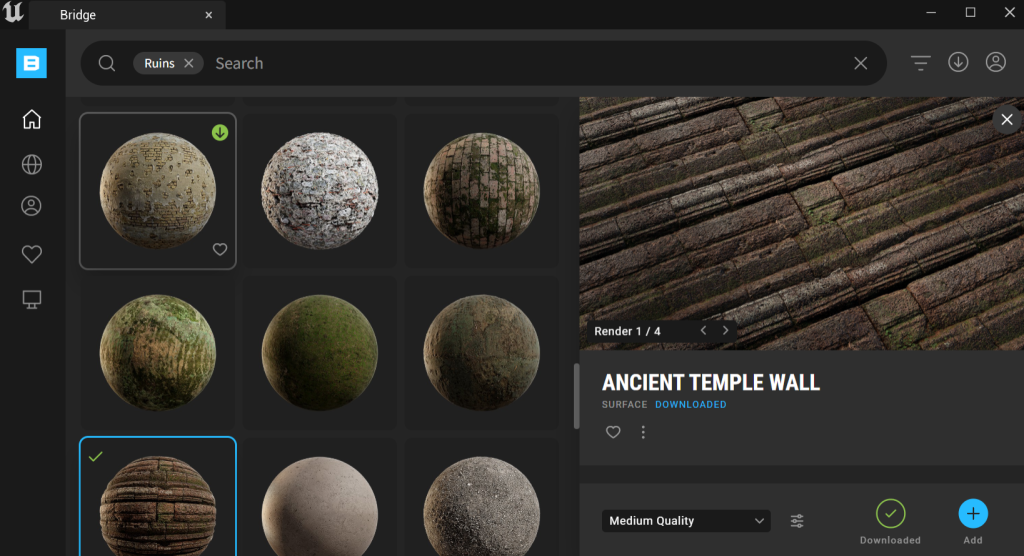
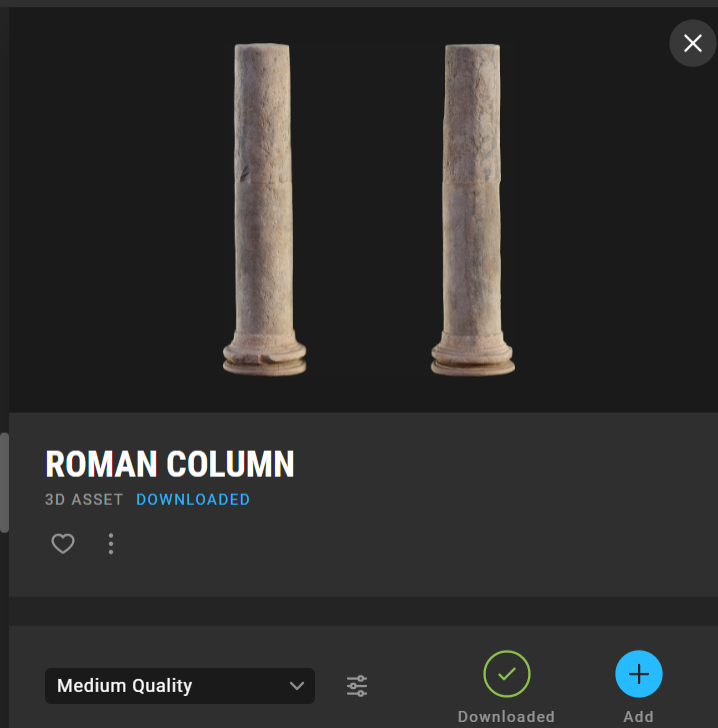
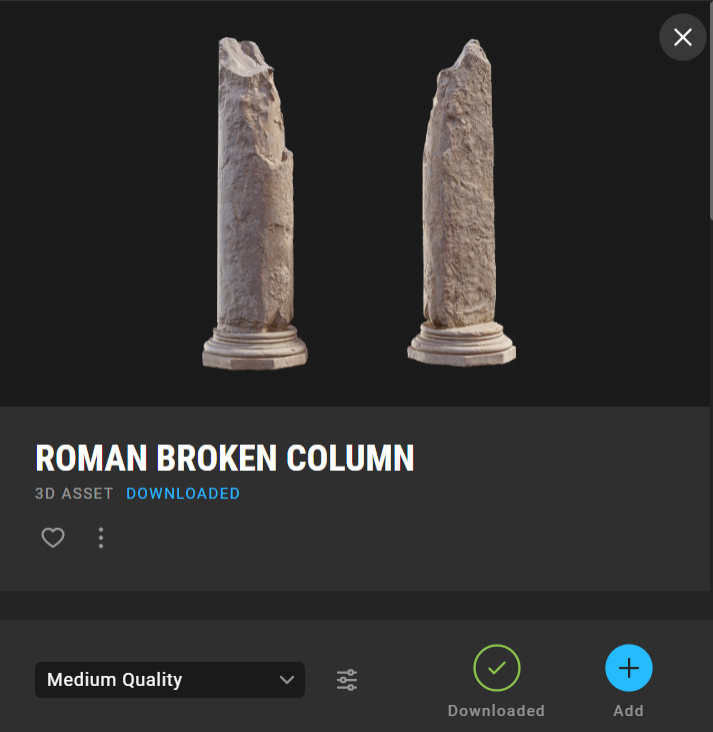
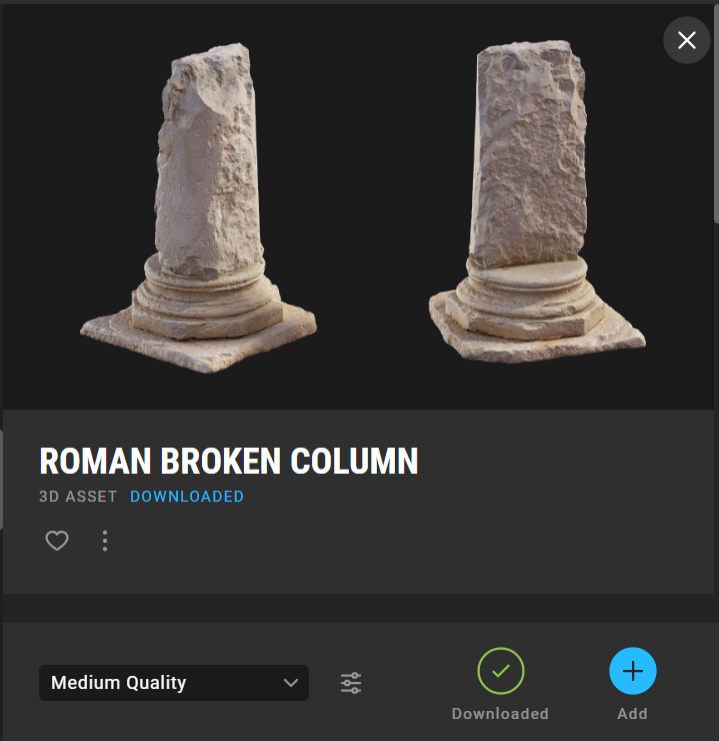
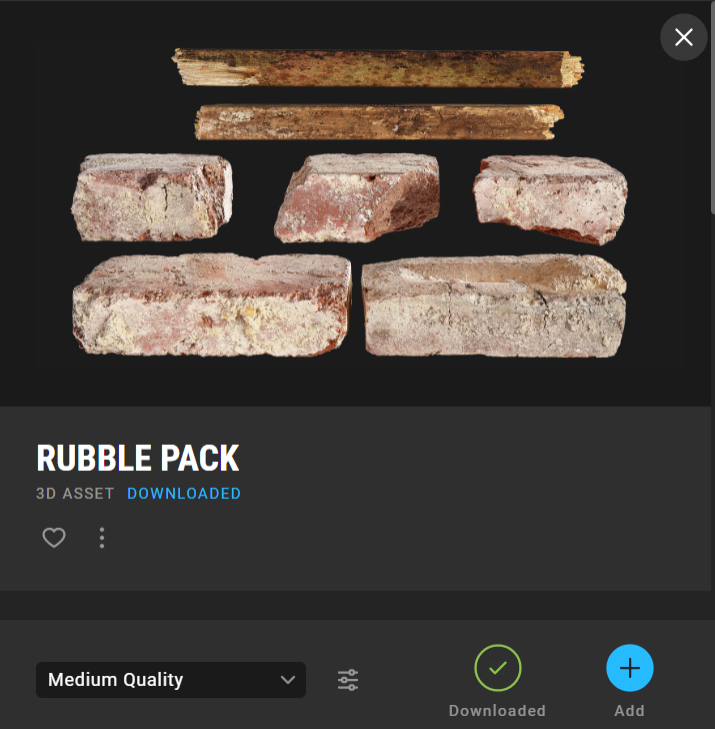
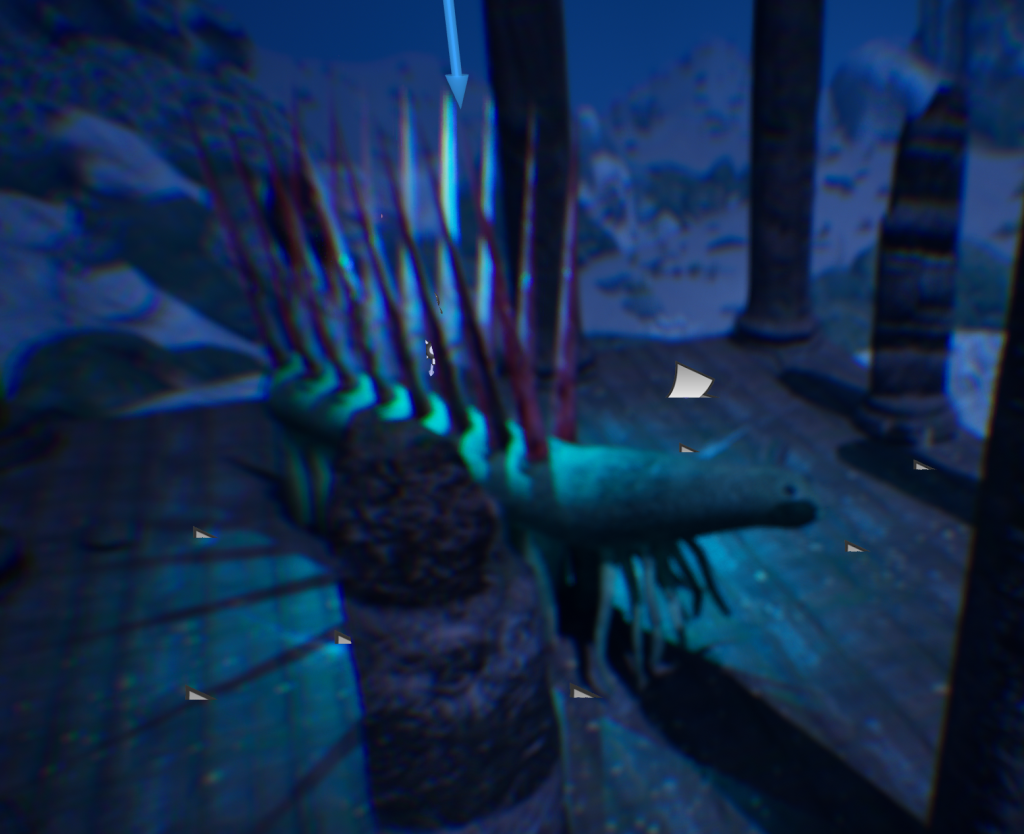
After that, I decided to find a suitable material for my temple asset in quixel bridge, and I ended up choosing the ancient temple wall material, as it was the best fit to the environment that I created. I also decided to add a few pillars and rubble from quixel bridge and also assign those assets with the same ancient temple wall material that I have added to the structure I created earlier. I also added my own Hallucigenia model as the centre piece of the environment by placing it in the middle of the temple, with the textures that I have created for it. I made sure to position these assets appropriately so that they would flow with the whole structure, and not just be placed randomly, so I adjusted the height and rotation of the pillars and the size, shape and rotation of the pieces of rubble as seen on the bottom left screenshots below.

Decals
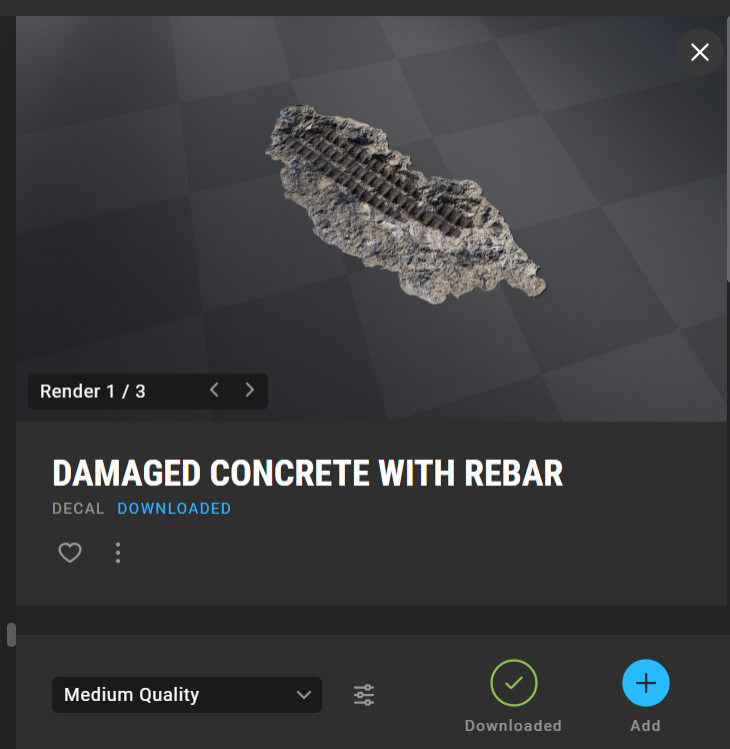
After placing down the rubble and pillars where I wanted them to be, I decided to also add some decals to the temple so that it would look more damaged and run down than what it did at the moment. So, I went over to quixel bridge and looked for some suitable assets, I downloaded a variety of assets that I think looked good enough to fit in the scene, but ended up scrapping a few of them, like the damaged concrete with rebar for example as the colour difference was way too noticeable and it just looked out of place. I ended up using the variety of different shaped gravel decals (with the same colour) and the damaged concrete decal as those fit in more to the temple scene than any other decal that I have downloaded for this project.
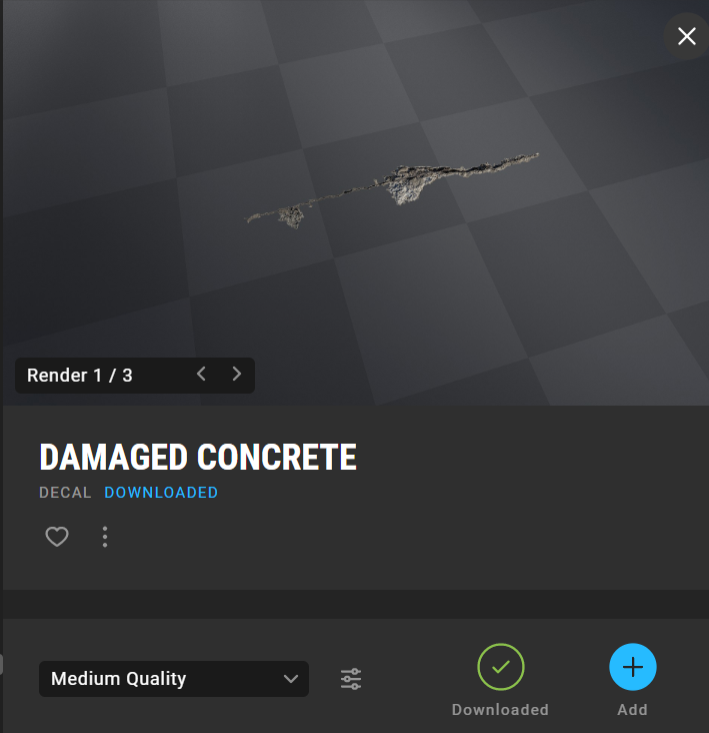
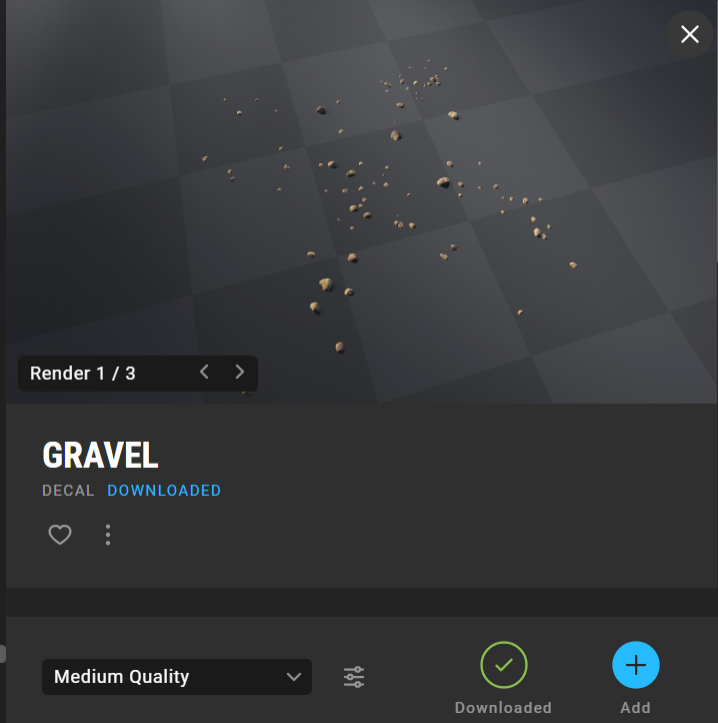
My reason as to why I placed the damaged concrete decals, gravel decals and damaged pillars and rubble when making my temple is because I wanted to make it seem as though the temple was attacked by something massive, and got damaged as a result. The material I used also has a role in the storytelling aspect, as it suggests that the situation that caused the temple to be abandoned happened a very long time ago, with the sand and corals engulfing parts of the temple as well as seen by the previous screenshot. The pyramid structure of the temple was also inspired by Ancient Mayan architecture, as the Mayans would use their pyramids as temples where only priests were allowed to enter in order to perform rituals (Staff, 2021).
Assets I have used