Landscape
When I loaded my project in unreal, the first step I took is deleting the objects that appear in the project by default, such as cubes and ramps. Once I sorted that out, I clicked on the box that said select mode and from the drop down I changed it to landscape mode, which started off as a grid. I decided to go with a 3 by 3 size landscape as I would not want it to be too large or too small.
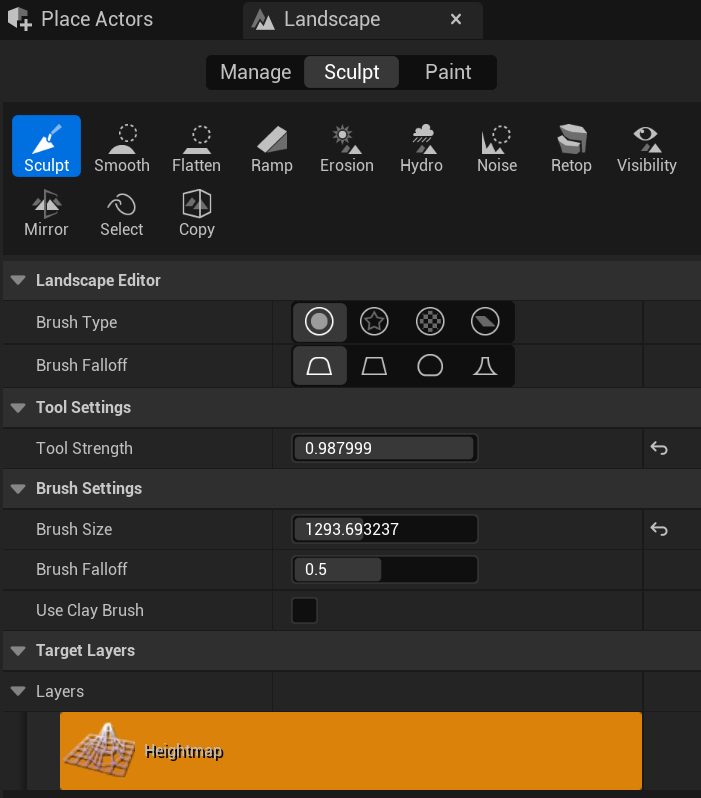
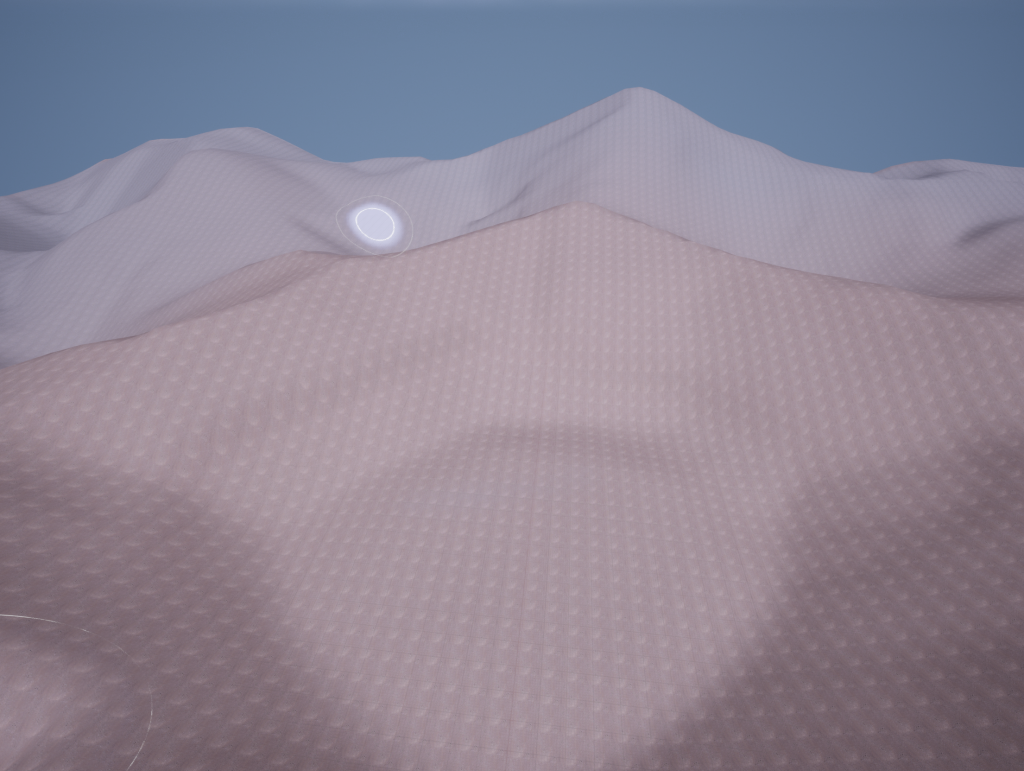
Then, I started sculpting the landscape by using the sculpting tool, the smooth tool, the flatten tool, the erosion tool and water erosion tool. The sculpt tool allows me to raise the selected part of the landscape to a height I want it to be, to raise the selected part of the landscape higher I could adjust the strength of the tool when I go to the landscape mode tool settings or just hold the left mouse button down and let go if I get the right height. The erosion and water erosion tools are exactly like the name suggests, with those tools, I could make the selected amount of landscape look more eroded, and therefore a bit more realistic, on top of that, the flatten tool also does exactly as the name says, it flattens the selected area of landscape and flattens the area around it to the height that I clicked on first. Finally, the smooth tool just smooths out the selected part of the landscape and is primarily used if you do not want the landscape to look rough/rocky.
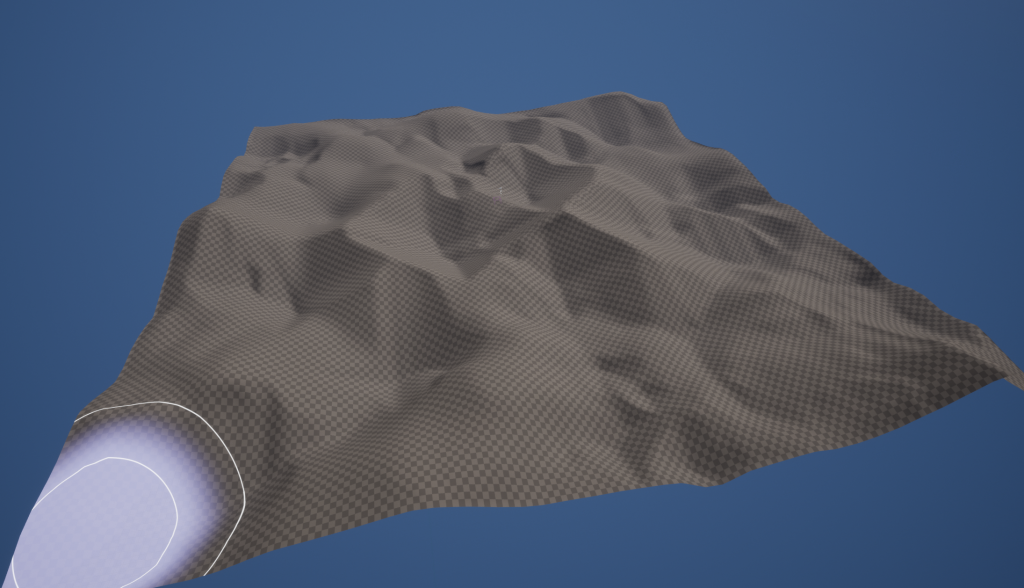
Since I was making a coral environment, I wanted the landscape/floor to have a sand like texture, since the ocean floor is made up of sand. So I tried to not make the ground peak too much and set the sculpt tool strength pretty low. After that, I used the erosion tool to make the peaks created by the sculpt tool less round, and slightly more triangular, so that it looks a bit more like sand. I also used the smooth and flatten tools in some parts of the landscape since I did not want my landscape to be too rough or too different in terms of height.
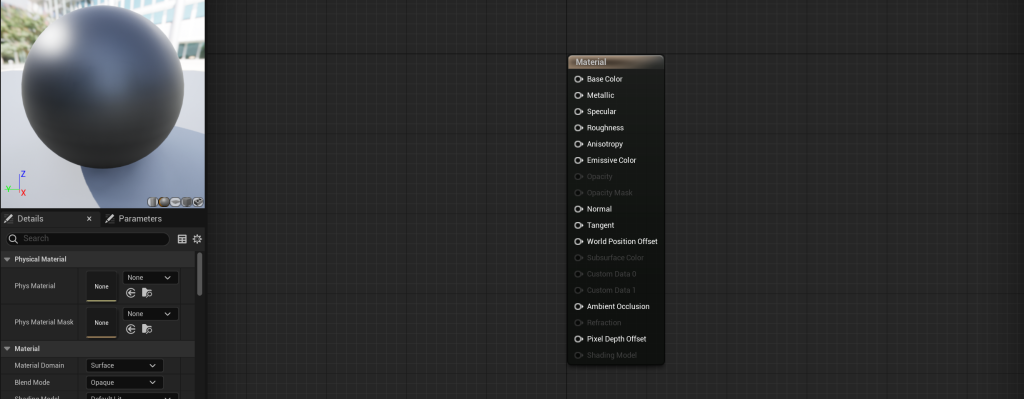
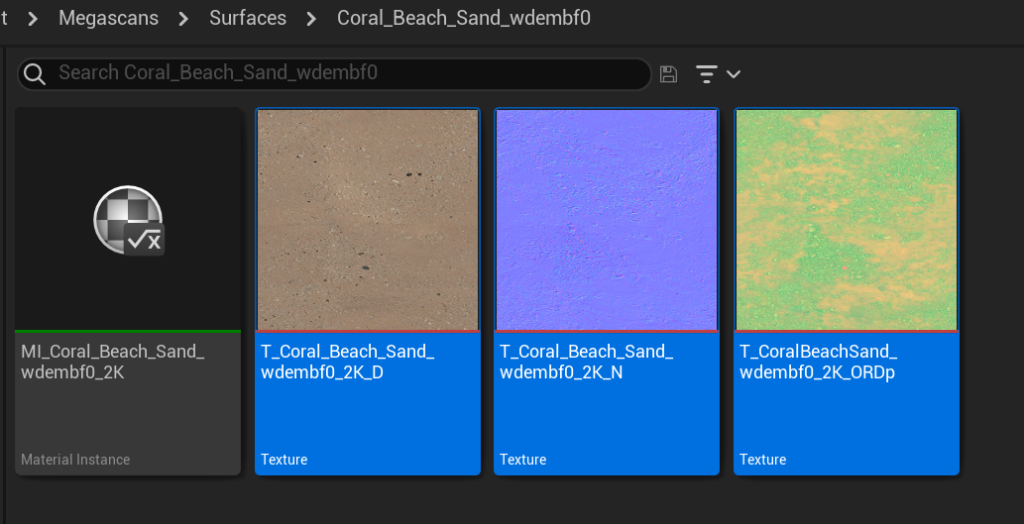
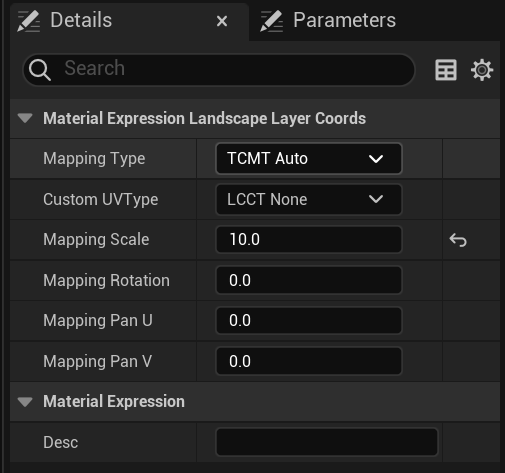
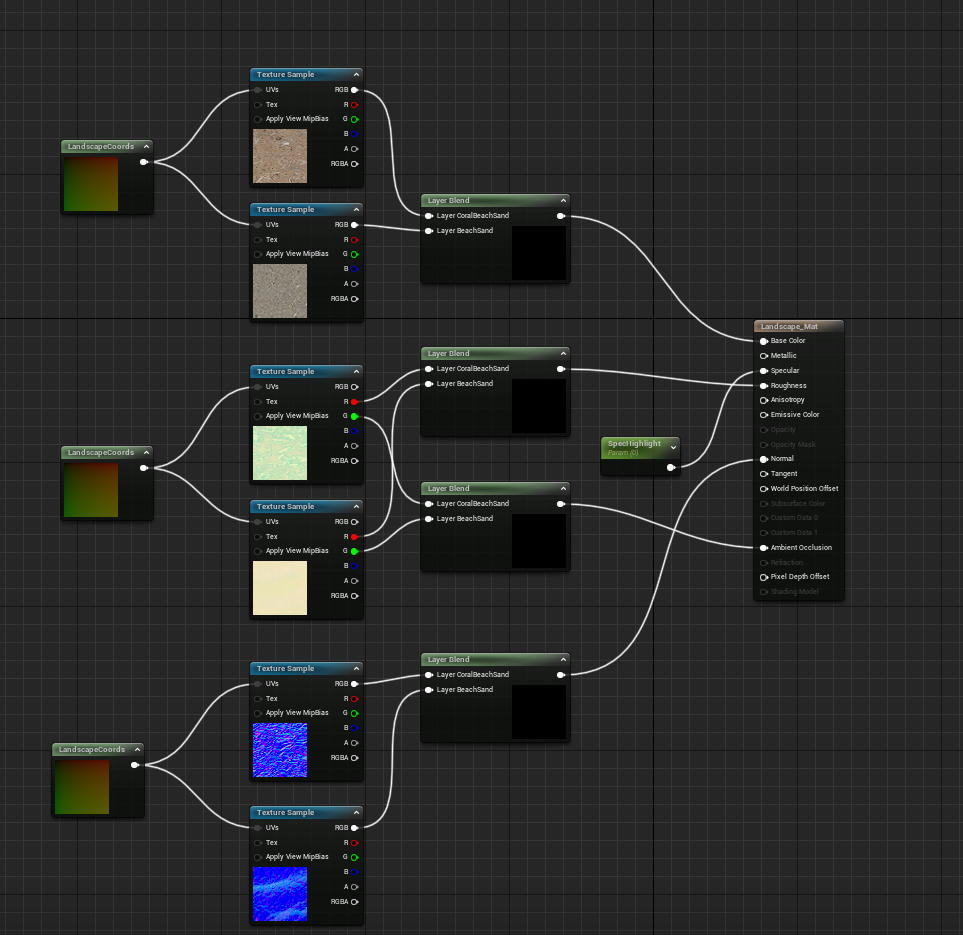
Afterwards, I wanted to add materials to my environment, so I went to window and to Quixel Bridge. Then I searched up coral sand and ended up choosing the beach sand and coral beach sand materials, as seen below. When I sorted that out, I went to the content drawer and created a new folder in it called “my content” and in that folder I created a new material that I called “landscape_material” (you cannot have spaces in material or object names). After that I clicked on the material and it came up with some blueprints as seen below.
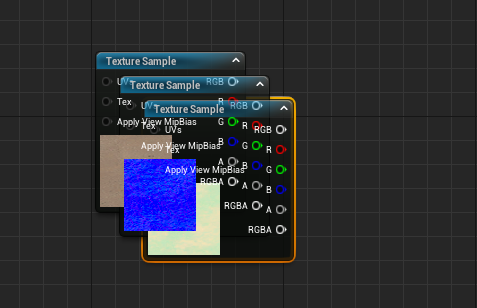
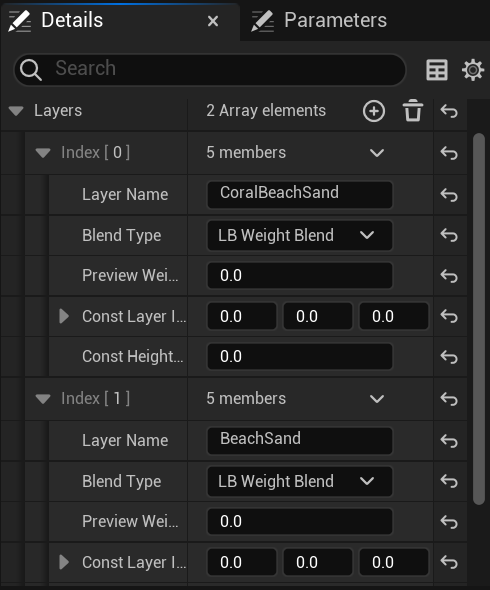
After Creating that material, I created 4 layerblends with two layer names, one for the coral beach sand material and the other for the beach sand material that I got from Quixel Bridge. Then I selected all the different textures for both materials and dragged them into the landscape material where the blueprints were located. After that I assigned each corresponding textures and layerblends to the right section of the landscape mat blueprint, like seen below.
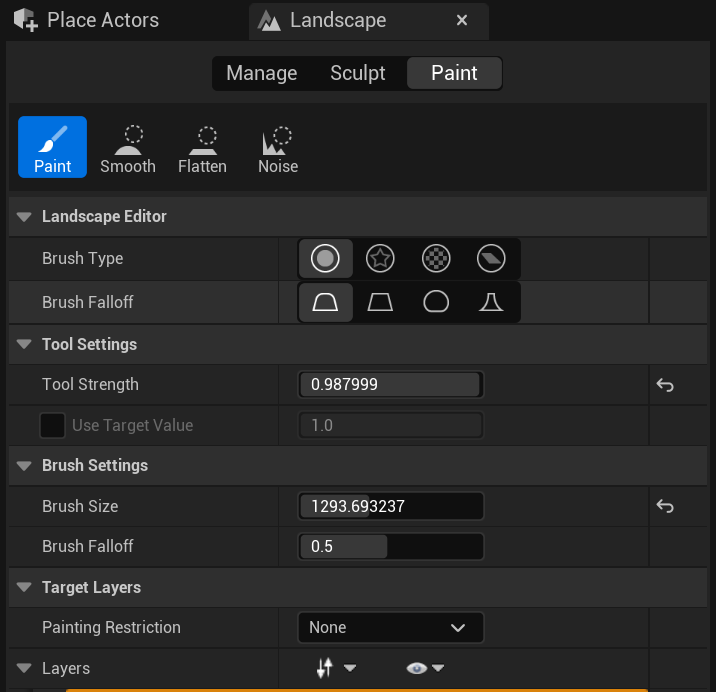
After that, I saved the landscape material blueprints to make sure my progress was not lost and attached it to my landscape. Afterwards, I went back to landscape mode and chose paint instead of sculpt as I wanted to add the coral beach sand and beach sand materials to my landscape. I added the coral beach sand and beach sand materials through the layer section of paint mode. Paint mode allows me paint in any material I have selected under the layer section with an adjustable brush size, with the smooth and flatten options allowing me to blend any material together under the selected area so that the transition between each material is smoother and less obvious.
Foliage
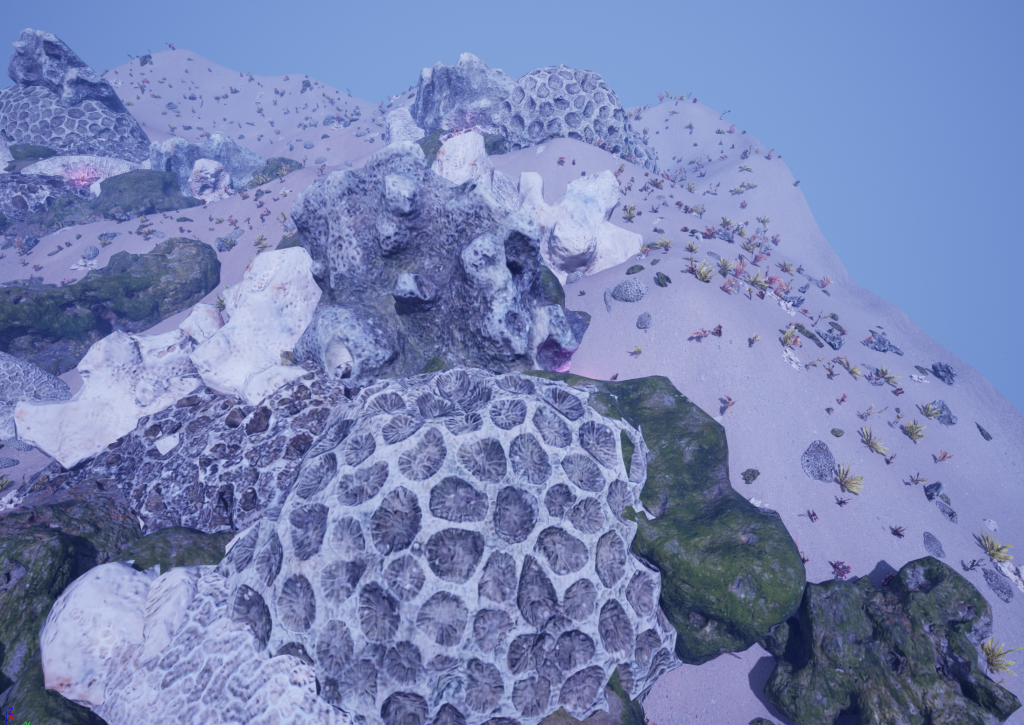
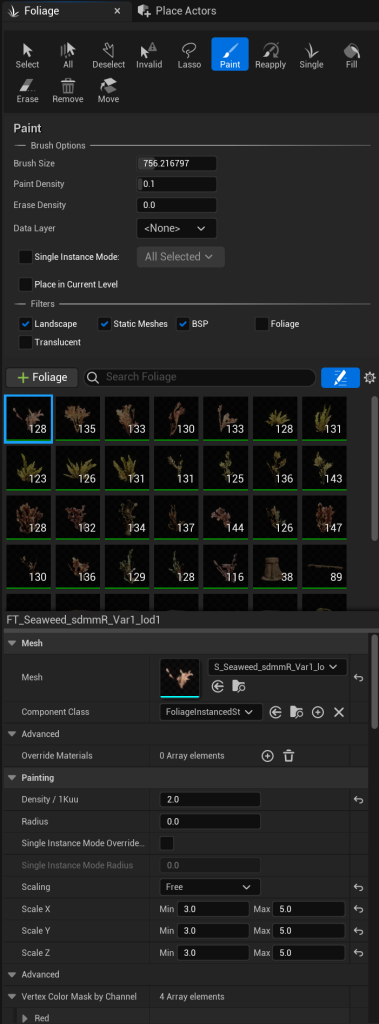
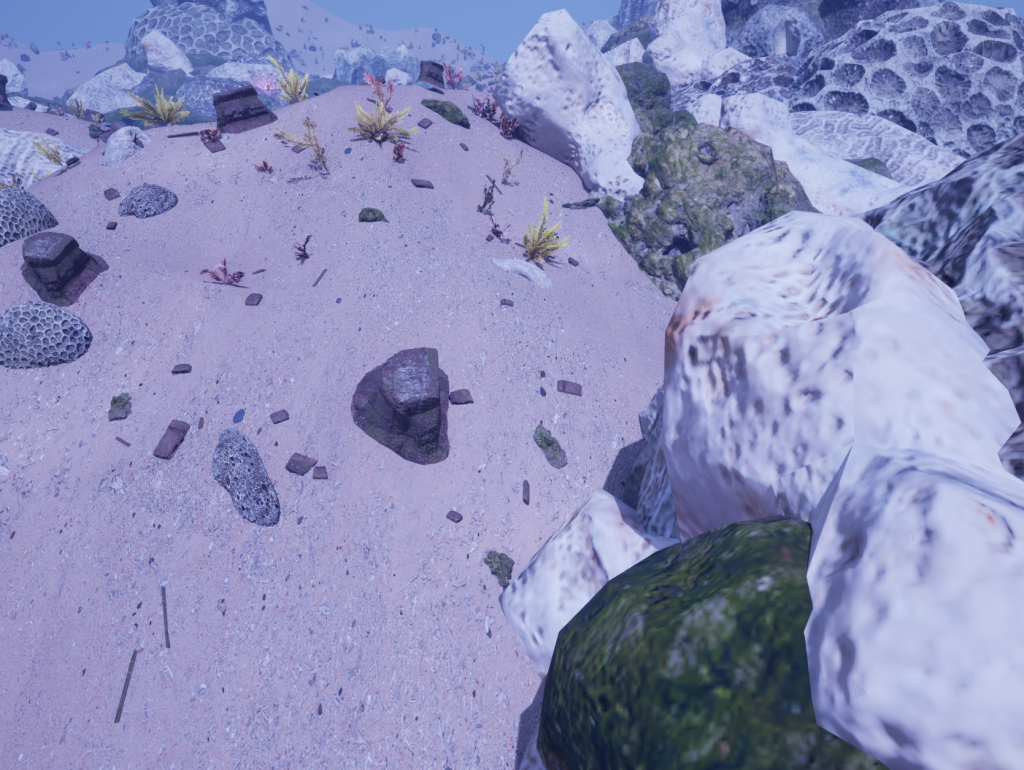
When I finished making the landscape, I started to search for some coral assets from quixel bridge, and I found a variety of different Thai beach corals which I liked quite a bit, so I downloaded those and saved them into the project. After that, I located the coral assets which were located in the mega scans folder and made a foliage copy of each coral asset (any asset can be made into a foliage asset, it needs to be dragged where the other foliage is shown in the foliage mode). When I sorted that out, I changed the mode to foliage mode and chose the foliage coral assets to paint with. In foliage mode, you can paint the foliage in a similar way to how I painted the sand material in landscape mode, but instead of having smooth tool, flatten tool and sculpt tool, you can either erase or add in foliage of different sizes and and densities. It took a few attempts to get the corals to be positioned how I wanted them to look like, but eventually with a few size and density changes throughout painting it on I finally managed to make it look more appealing.
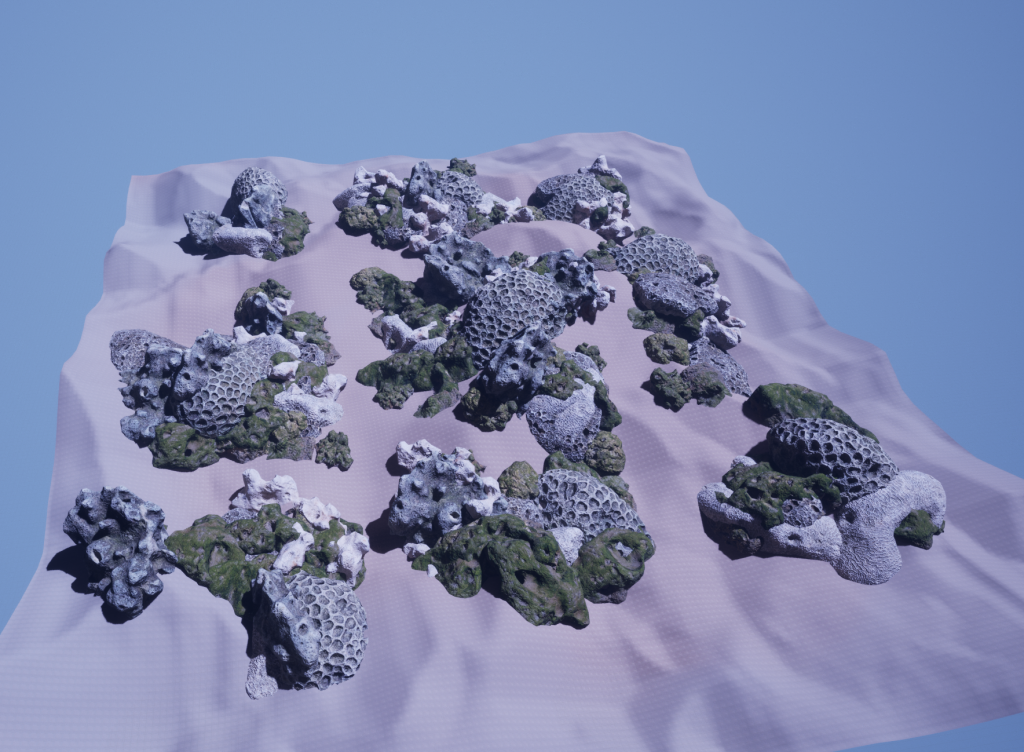
After painting in the coral foliage I realised that the scene still looked a bit bland, so I decided to add some seaweed to make it look more like an actual environment instead of just some randomly placed corals in a scene. So I searched up some seaweed/aquatic foliage assets in quixel bridge and ended up choosing quite a lot of seaweed assets that were of different shapes and sizes, with colours that would fit the overall flow of the environment.