In this week we have been taught how to photo bash images obtained from various sources, whether it would be images we have created or images we found on the Internet. When I started experimenting with it, I decided to find a sunset background on the internet to use as I wanted to create a photo bash of a person standing in the background.
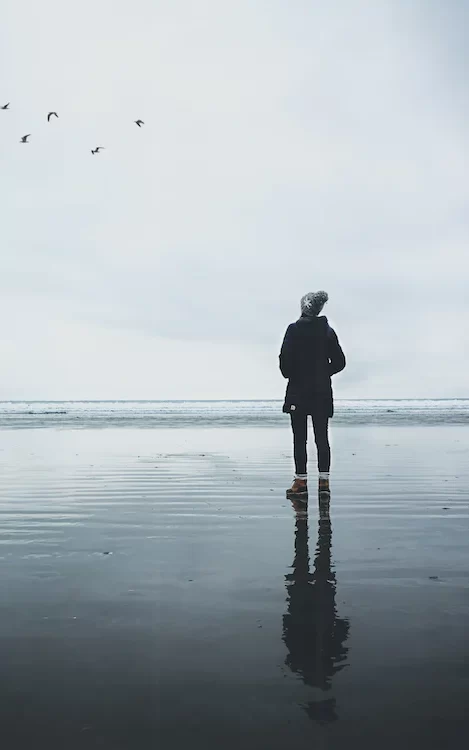
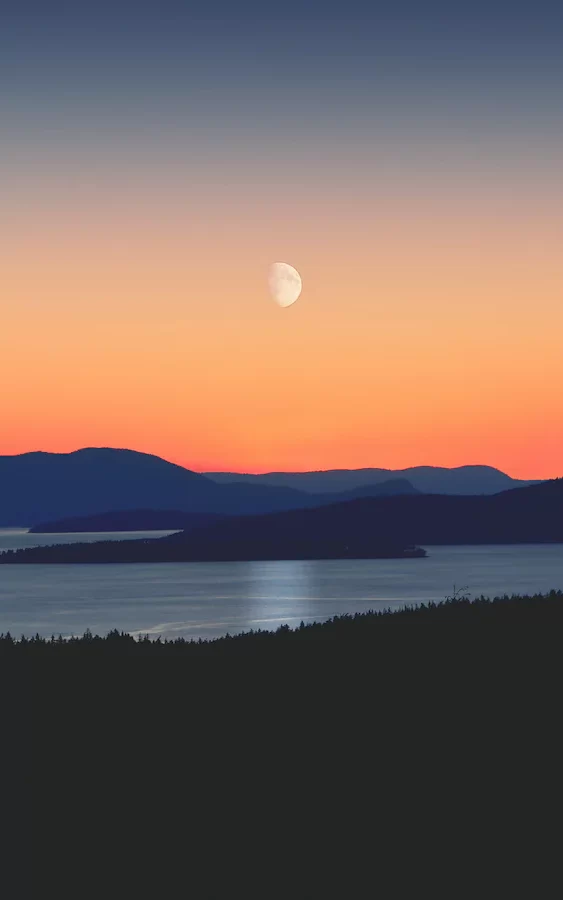
So, I went on to unsplash to get an image of a person, picked the image I liked the most and then downloaded it (image shown on the right). When I put it on photoshop, I selected the person on the image using the quick selection and select subject tools. Then, I layered the selected object (which in this case is the person) via cut which put it as a separate layer to the rest of the image. I went to unsplash again to download the background image (which in this case is a sunset background) and then I added it onto the same photo shop project (image shown on the left). I made sure to layer it backwards the person would be layered on top of it.
After I got the image to how I wanted it to be I decided to create shadows for the person on the image so that I would be more realistic to the viewer. I made the shadows by copying the person figure and painting the copied layers in black, and I adjusted the opacity of those layers so that they look like shadows and not just black copies of the person figure. I rotated them to how I wanted them to be and made sure that they layered behind the person figure but in front of the sunset background.
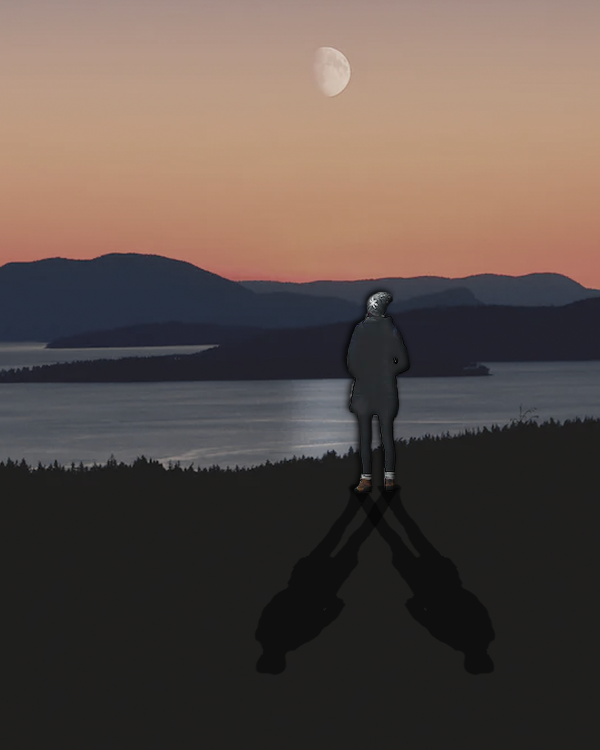
I really liked the finished product, but I think next time what I need to do is to try to do this with images I created myself rather than downloading random images from the Internet. I also should have cleaned up the person a bit more, as it didn’t look particularly good when I finished with the product. Other than that, I think I experimented well with changing the opacity and colour of the image and layers and also using different tools to create it.
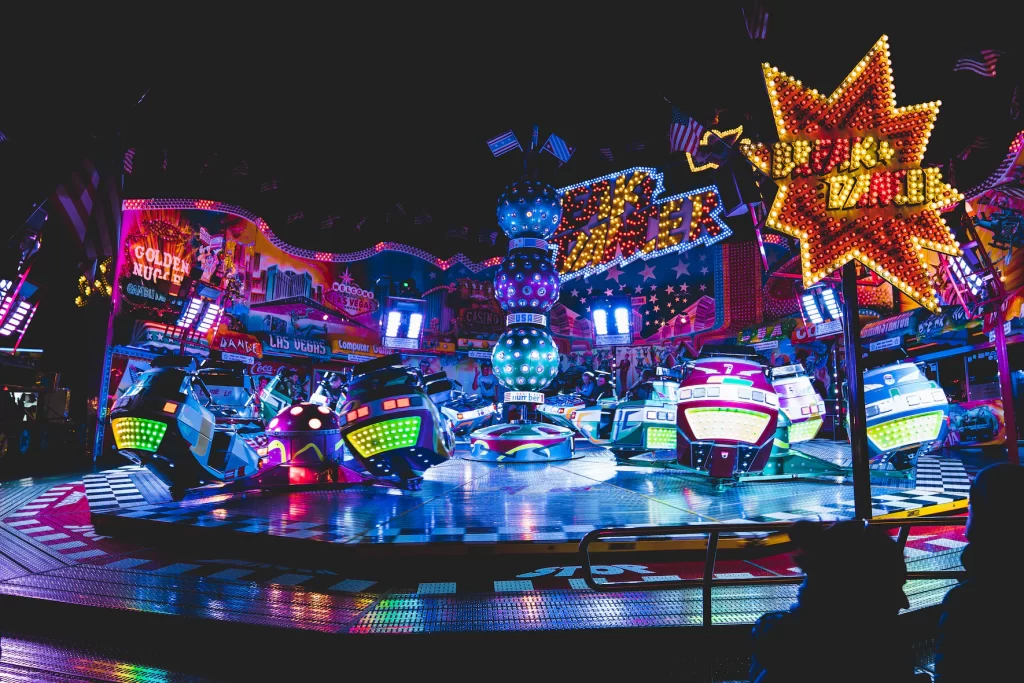
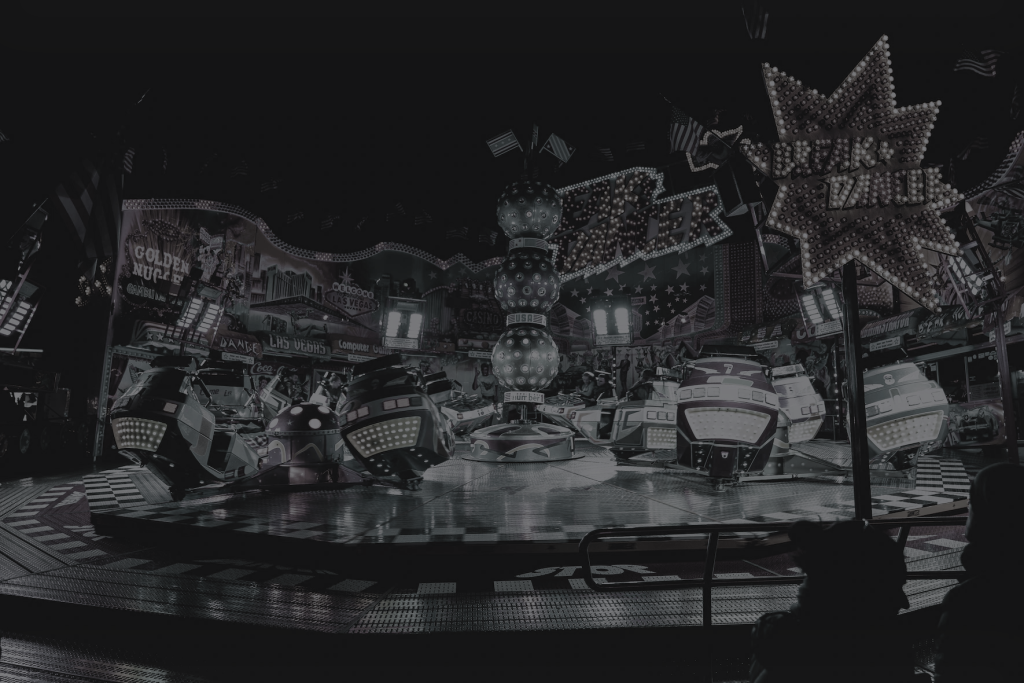
I also experimented with another image I downloaded (this time a fair ride) from unsplash but this time I decided to mess around with the brightness and colour of the image instead of photobashing it. Only it to have darker colours as I wanted the final product to be particularly moody in comparison to its previous state, which was particularly cheerful. So, after messing around with this I managed to meet my goal in making the image moodier as it was greyish in comparison to the break because it had earlier on. I would definitely use this in any future projects as it would be useful to me if I ever wanted to make a game where the atmosphere would change in the same location.
References
(1) Boesten, S. (2018) Human with Background. Unsplash.
(2) Sollmann, G. (2019) Funfair Ride. Unsplash.
(3) Steranka, J. (2018) Sunset with Background. Unsplash.